)
In part one of this article, I will show how you can create backups through the OpenStack CLI utility.
In the image above, you can see my OpenStack LAB topology. I’m running four KVM Virtual Machines, one for the cloud and Network Controller, and three VMs for Compute nodes.
In this section, I’m going to:
- Create a VM bc1
- Create new volume finance-vol1
- Attach finance-vol1 to bc1
- Format and make the filesystem on the new disk in bc1
- Put some data in the mounted new disk
- Create an OpenStack backup
First, let’s source the run control file to be able to talk with the identity service with the correct credentials:
#source keystonerc_finance
Now, let’s create the VM bc1:
[root@cloudcontroller ~(keystone_tester)]# openstack server create --image centos-http --flavor m13.tiny --network finance-internal --security-group default --key-name finance-key bc1
Create a new volume and attach it to the VM bc1:
[root@cloudcontroller ~(keystone_tester)]# openstack volume create --size 1 finance-vol1

[root@cloudcontroller ~(keystone_tester)]# openstack server add volume bc1 finance-vol1
Check bc1’s IP and server where it is running:


As we can see bc1 is running in computenode03, so let’s login into that compute node and connect to bc1 via ssh.
Once logged in computenode03 let get connecting with bc1 through the corresponding network namespace:
[root@computenode03 ~]# ip netns exec ovnmeta-20393494-698c-4d88-8576-faf0166ec845 ssh -i finance-key [email protected]
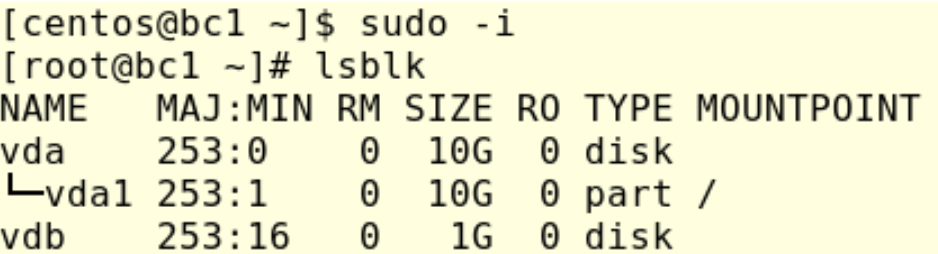
In bc1 check the connected volumes, we will see the new volume finance-vol1 attached as vdb.
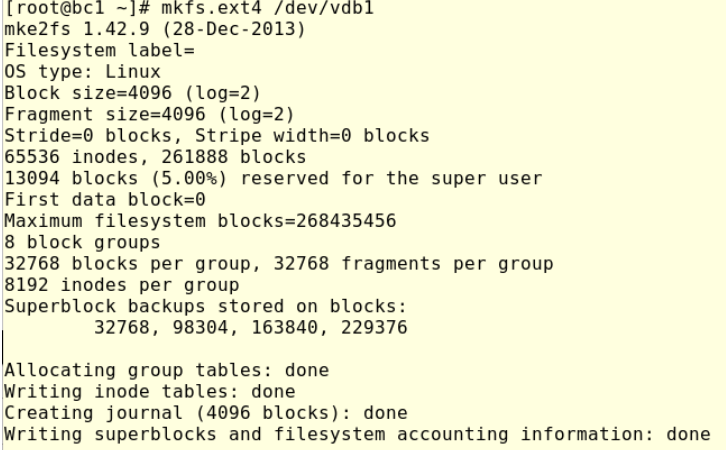
Now let’s format vdb and make the file system:

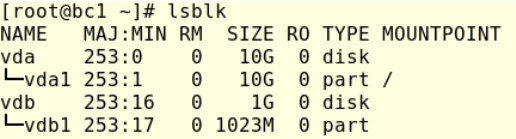
Fdisk will create a partition vdb1 in which we can make a filesystem as follows:
Let’s mount vdb1 in /mnt and put some data there, so run:
[root@bc1 ~]# mount /dev/vdb1 /mnt

[root@bc1 ~]# wget -P /mnt http://download.cirros-cloud.net/0.6.1/cirros-0.6.1-x86_64-disk.img

So far we have attached a new volume to a VM just as I demonstrated in my last article. Next, let’s do a backup and restore it.
OpenStack provides two methods to do a backup of a volume, the main difference between the two methods is how the backup is created and where it is stored. To create a backup we can run:
#openstack volume backup create –name finance-vol1-bak –container finance-backup finance-vol1
This command will try to create a backup with the name “finance-vol1-bak” in the swift(object-storage) container “finance-backup”.
(Note: in the next article we will work with swift, the default OpenStack’s object storage.)
![]()
Due finance-vol1 was attached to bc1, OpenStack will warn that the finance-vol1 is in use, so for safety, we need first umount the filesystem and then de-attach the finance-vol1 from bc1, so in bc1 run:
[root@bc1 ~]# umount /mnt
Then, de-attach finance-vol1 as follows:
[root@cloudcontroller ~(keystone_tester)]# openstack server remove volume bc1 finance-vol1
Now let’s proceed to create our volume backup, run:
#openstack volume backup create –name finance-vol1-bak –container finance-backup finance-vol1

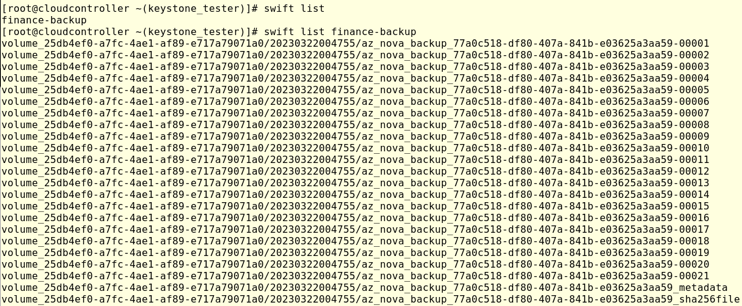
As mentioned above, by default, OpenStack will store the backup in the object storage service as an object. We can check if it’s running by:
#swift list
and:
#swift list finance-backup
We will see how the OpenStack CLI utility has created a container finance-backup and several objects into the container, additionally, we can note that every object was named using the volume backup ID 77a0c518-df80-407a-841b-e03625a3aa59.
Now, I will show how to restore volumes and snapshots in OpenStack.
Restoring a volume backup
In this section, I will remove and delete finance-vol1, then I’ll create a new volume in which I will restore the backup created previously finance-vol1-bak.
So, let’s remove volume finance-vol1:
[root@cloudcontroller ~(keystone_tester)]# openstack volume delete finance-vol1
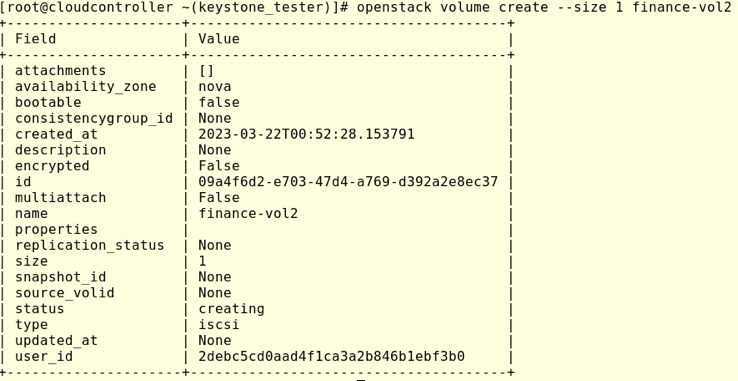
Now let’s create a new volume finance-vol2:
List the available backups and proceed with the restore processes:

To restore the backup run:
#openstack volume backup restore finance-vol1-bak finance-vol2

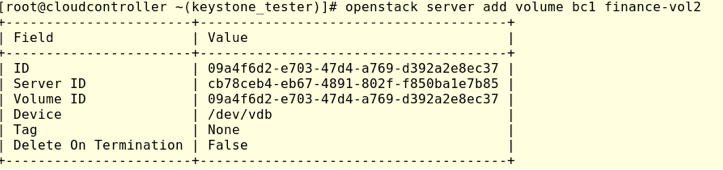
To verify let’s attach the new volume finance-vol2 to bc1:
Log in to bc1 and check the available block storage in bc1:
[root@bc1 ~]# lsblk

NAME   MAJ:MIN RM  SIZE RO TYPE MOUNTPOINT

vda    253:0    0   10G  0 disk

└─vda1 253:1    0   10G  0 part /

vdb    253:16   0    1G  0 disk

└─vdb1 253:17   0 1023M  0 part

Mount /dev/vdb1 and check the content

In this opportunity, we don’t need to create a partition and filesystem to mount the disk because the backup restoration will restore the partition table and partition schema as well as the filesystem and files. Finally, we can see the data we populated in volume financev-vol1 was restored in new volume finance-vol2.
In this small tutorial, we were able to learn how OpenStack provides functionalities for backups. To learn how to restore volumes and snapshots in OpenStack, check out part two.
Want to write a blog post or have an idea for a Superuser article? Fill out the form at openinfrafoundation.formstack.com/forms/superuser_pitch or email [email protected] to submit your pitch.
- Working with Swift, the Object Storage service in OpenStack - April 21, 2023
- Part 2 – How to Restore Volumes and Snapshots in OpenStack - March 27, 2023
- Part 1 – How to Back Up in OpenStack - March 27, 2023


