)
Preface
First of all, a brief explanation of why I’m doing this at all: In a project in my main job we are expanding our infrastructure from a pure OpenStack environment to a Sovereign Cloud Stack compatible and then hopefully certified environment. Also, this is in advance: the errors and problems described are more or less based on the fact that I tried the CiaB deployment on a laptop with unsuitable hardware or configuration. But, I just wanted a proof of concept.
So, now to the first question: is this possible? A complete cloud stack in one box? In short: Yes, it is possible. Thanks to the work of the [OSISM] (https://osism.tech/de) team, two ISOs are available for download on the SCS documentation page. One for SATA/SAS and one for NVMe drives. What interested me and made me curious while on vacation was another question: Does this also work on a single laptop? And again: Yes, it is possible! Well, the answer is a bit long, and if you want, you can take the shortcut directly to my successful attempt #4.
Attempt #1
I made my first attempt with my work device, a Lenovo P16 Gen1 laptop. With this mobile workstation, I essentially had the following hardware at my disposal:
- an Intel Core i9 -12950HX processor with 16 cores
- 64GB DDR5 RAM
- two internal NVMe drives, which I didn’t want to use, so:
- 1 x external SATA HDD, [email protected] rpm
- No RJ45 network connection (only WiFi or LAN via USB adapter)
That last point seems worth mentioning, as I think it may have caused some deployment issues. Incidentally, this miracle weapon on a laptop has a monstrous resolution that drove me crazy at first… More on that in a moment.
So, first, download an ISO. You can find two ISOs for SAS/SATA or NVMe here. In my case, the SAS/SATA ISO was copied to a bootable USB stick, the external disk connected via USB, and… There was my first problem: one USB stick, one external disk via USB, and one network adapter via USB. This results in three required USB ports; however, the P16 only has two USB ports, So, I had to work with an external USB hub. To what extent this could have led to later problems, I can’t say at the moment because I don’t have the time to investigate.
It is perhaps also worth mentioning that I did my experiments in the caravan without a fixed internet connection. I.e. I have an LTE router through which all updates and images have to be downloaded. If you’ve ever been to Germany, you might have an idea of what that means 🙁
Now to the resolution of my laptop – that drove me crazy at the beginning. 3840 x 2400 pixels are basically really good and nice if you want to watch videos in HD. But if the console of the installed system (Ubuntu) has entered a standard cursor resolution of 8×16 pixels in the config, then even with reading glasses I can hardly read it. It could have been displayed in Aramaic instead of English, I wouldn’t have been able to read it anyway 🙁
So, during the deployment, I open a second terminal (Alt+F2), log in and quickly change the line FONT_SIZE=”8×16” to FONT_SIZE=”16×32” in the file /etc/default/console-setup. There is also an option to change the resolution of the screen, but this was faster for me. Run the sudo setupcon command, and lo and behold: I can now read what’s going on… thank god, I’m back on track.
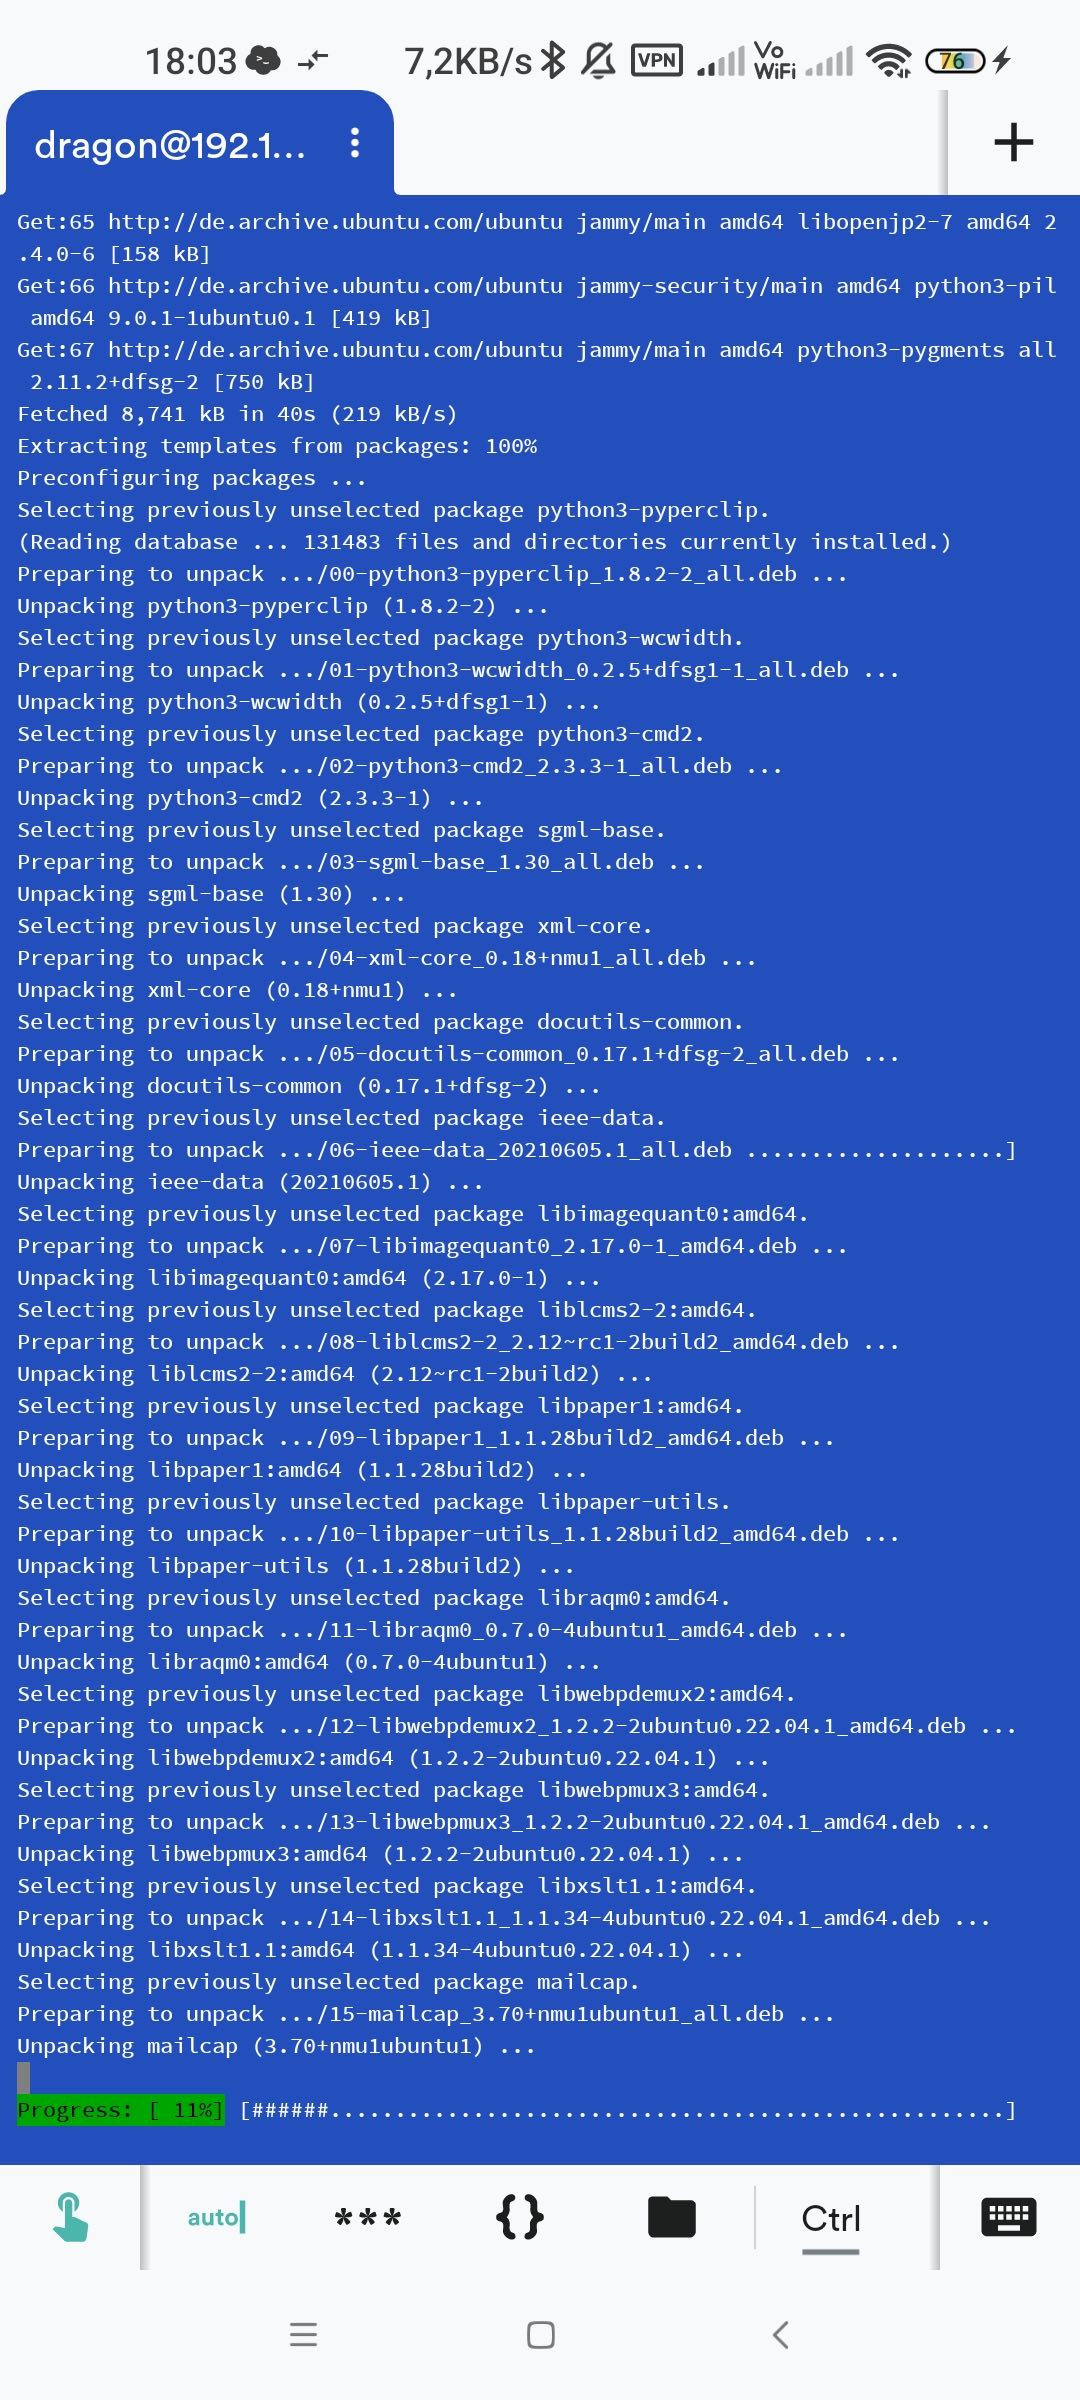
After the Ubuntu installation, the system shuts down, the boot USB stick must be removed and then the laptop can be switched on again (everything is described on the SCS documentation page). Now the actual deployment takes place, which in my configuration and via LTE can take up to two hours. This is certainly significantly faster with a server and wired internet. But I’m on vacation, So, what the heck? Time doesn’t matter.
The deployment just flies across my screen – thanks to the larger font, I can finally read along. Heaps of system messages appear in different colors, all of which have a meaning. Green is okay, blue or purple means skipped, and yellow means changed:
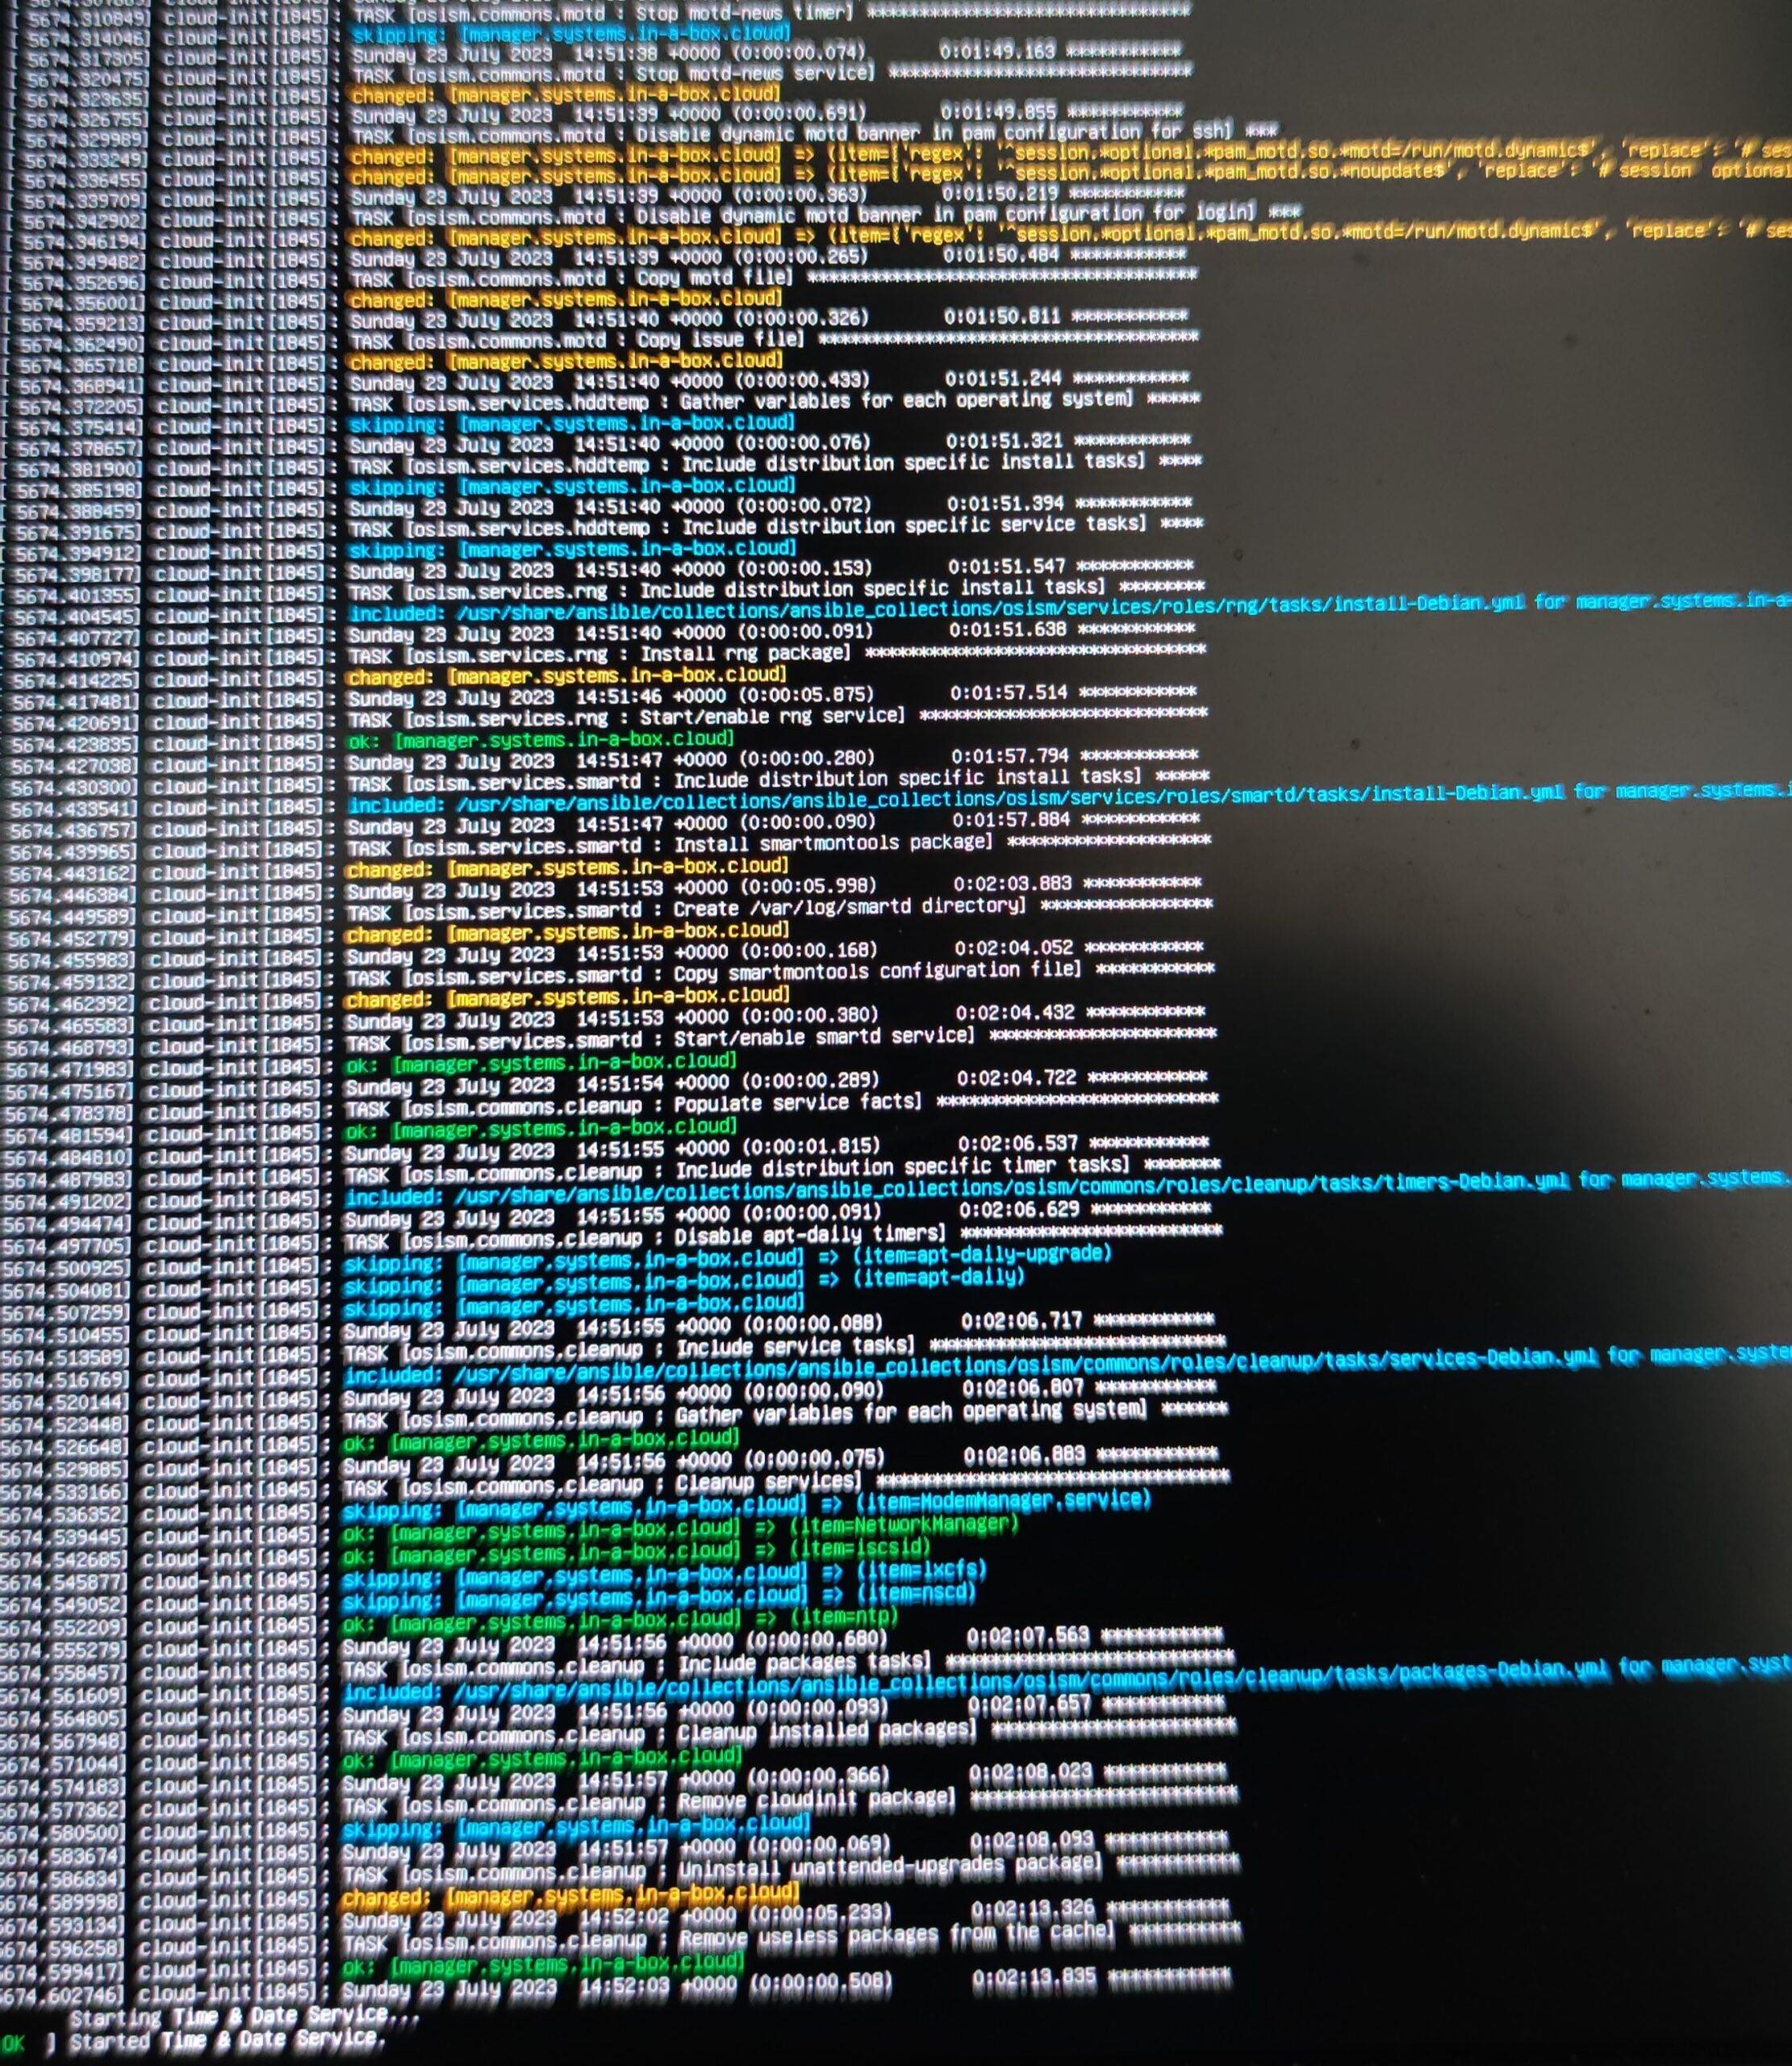
And then this came:
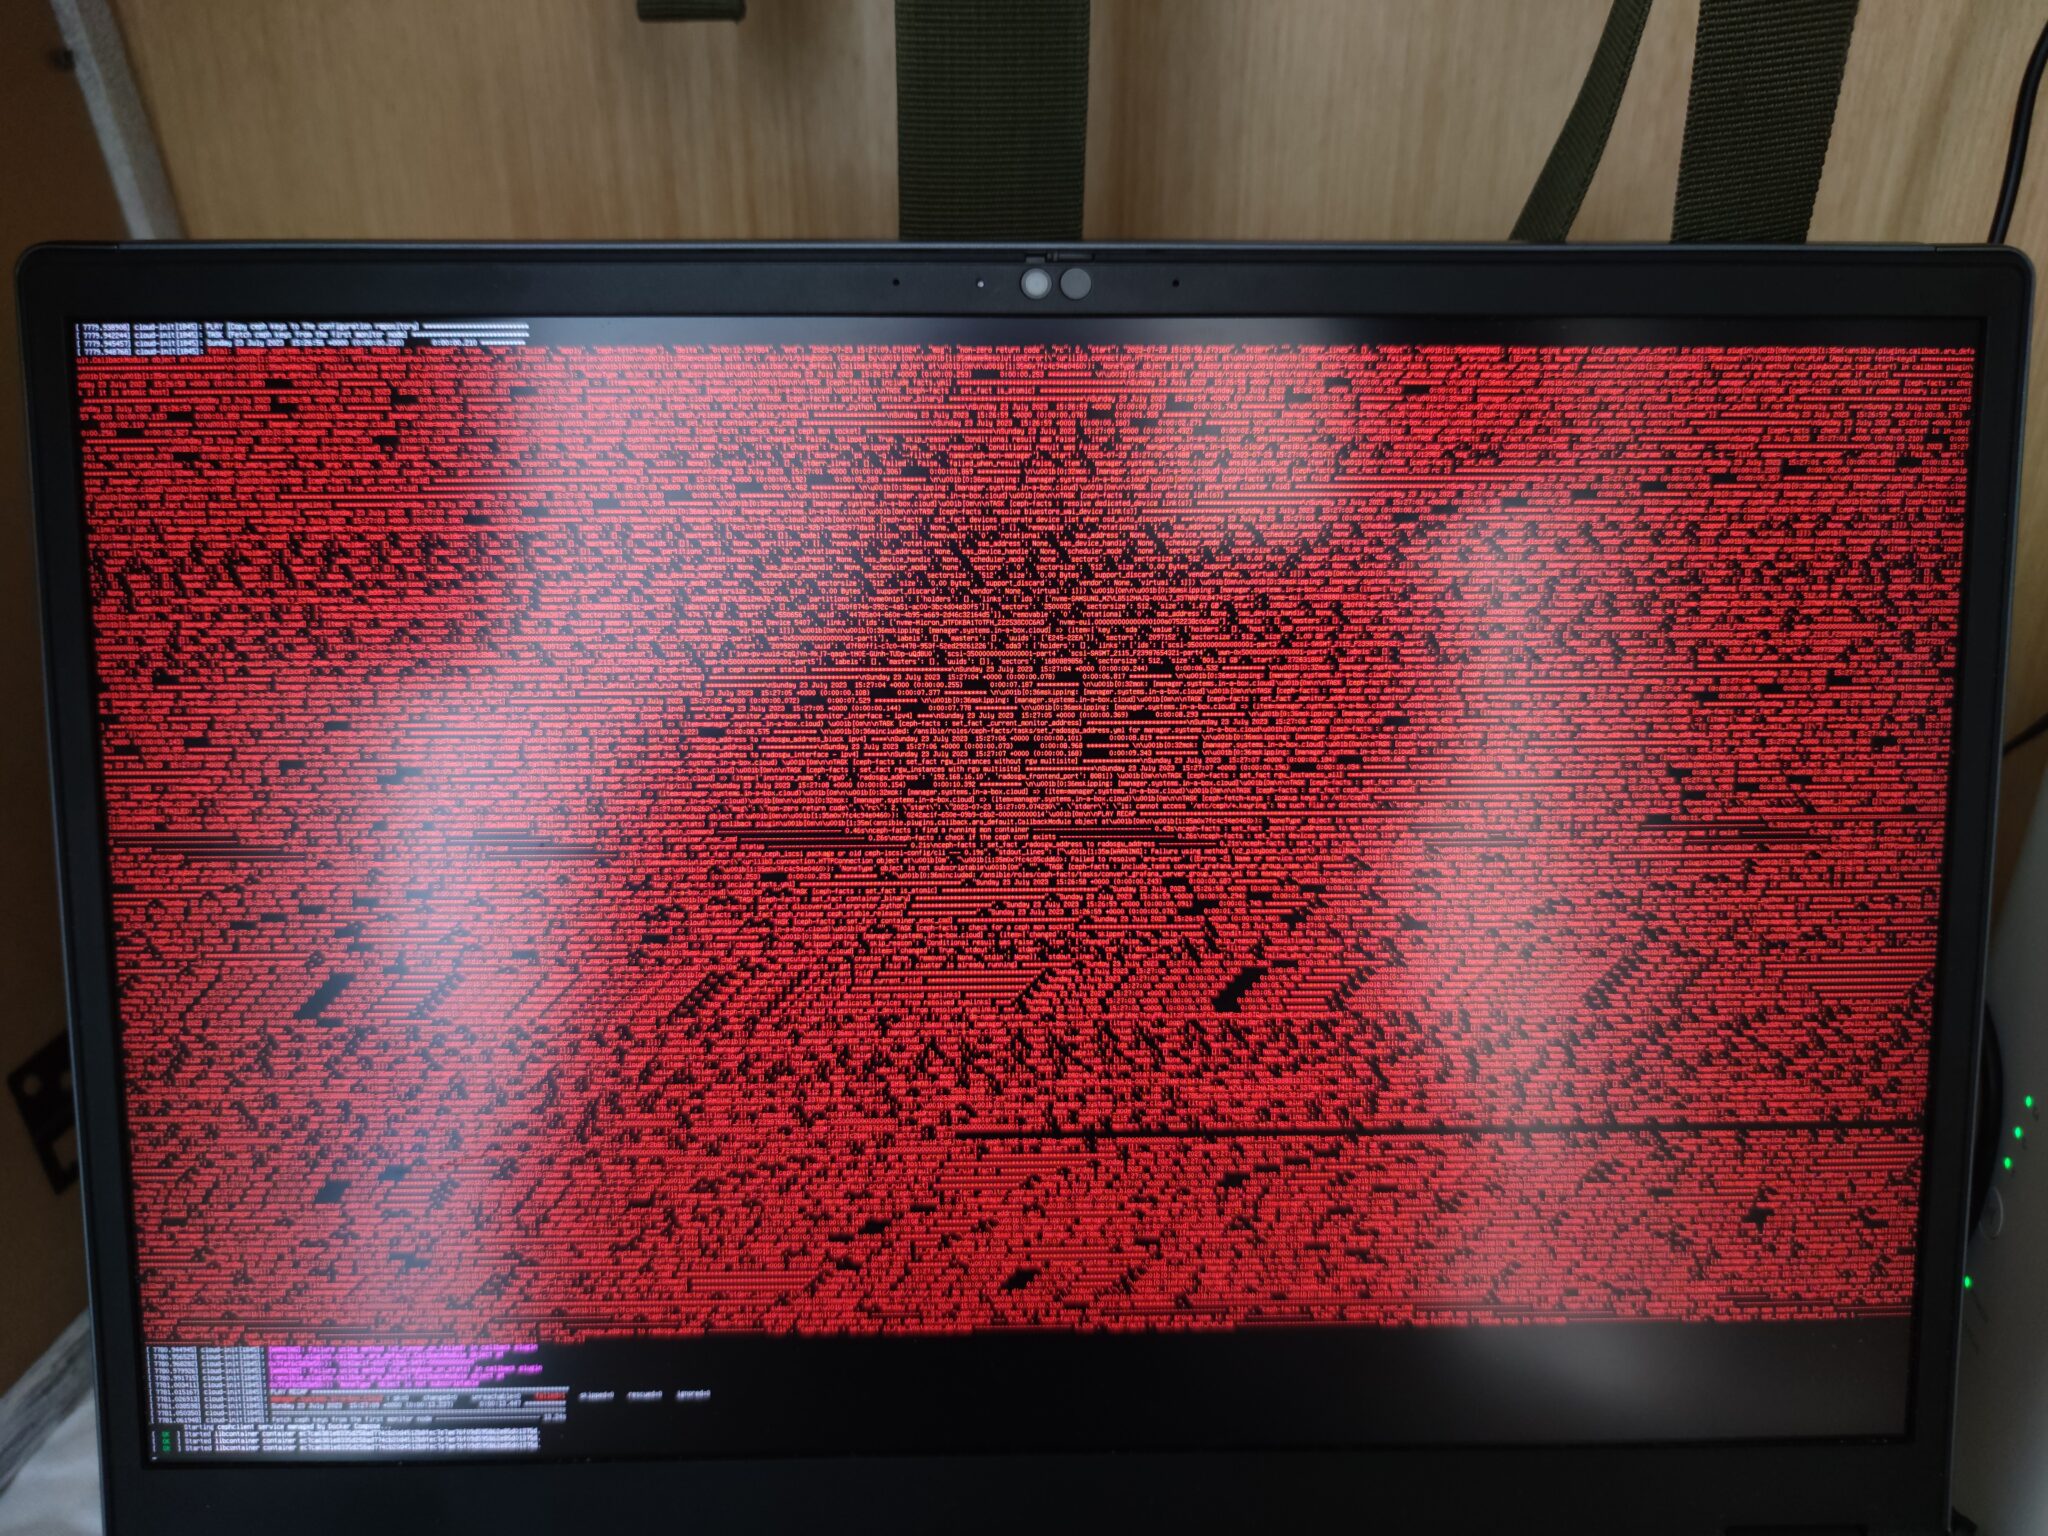
Does red just mean important now, or is that what I think it is?! It is it. An error – what else?
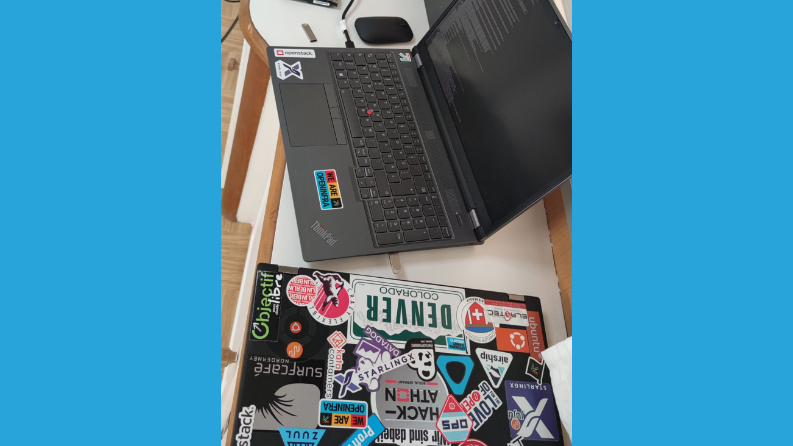
First of all: the deployment process went through completely, even if some red messages for failure appeared here and there. The first photo at the top of this post shows also my second laptop, which I now want to use to log into the freshly deployed system via SSH. So, take out the second laptop, switch it on, and: nothing. […] In short: a laptop like this simply won’t boot without RAM. Damned, and here is no one but me to blame. When I removed it there and why is beyond my knowledge, but it annoys me tremendously. Since I’m neither at home nor in the lab, I’m stuck for a moment.
Then it occurs to me that I still have my SmartPhone. Well, the display might not be designed for browsing large log files for hours, but I’m just too curious. So, I tried with my smartphone (a Xiaomi T10Pro) what I would have done with my second laptop, open the console app and log in to the deployed system via SSH.
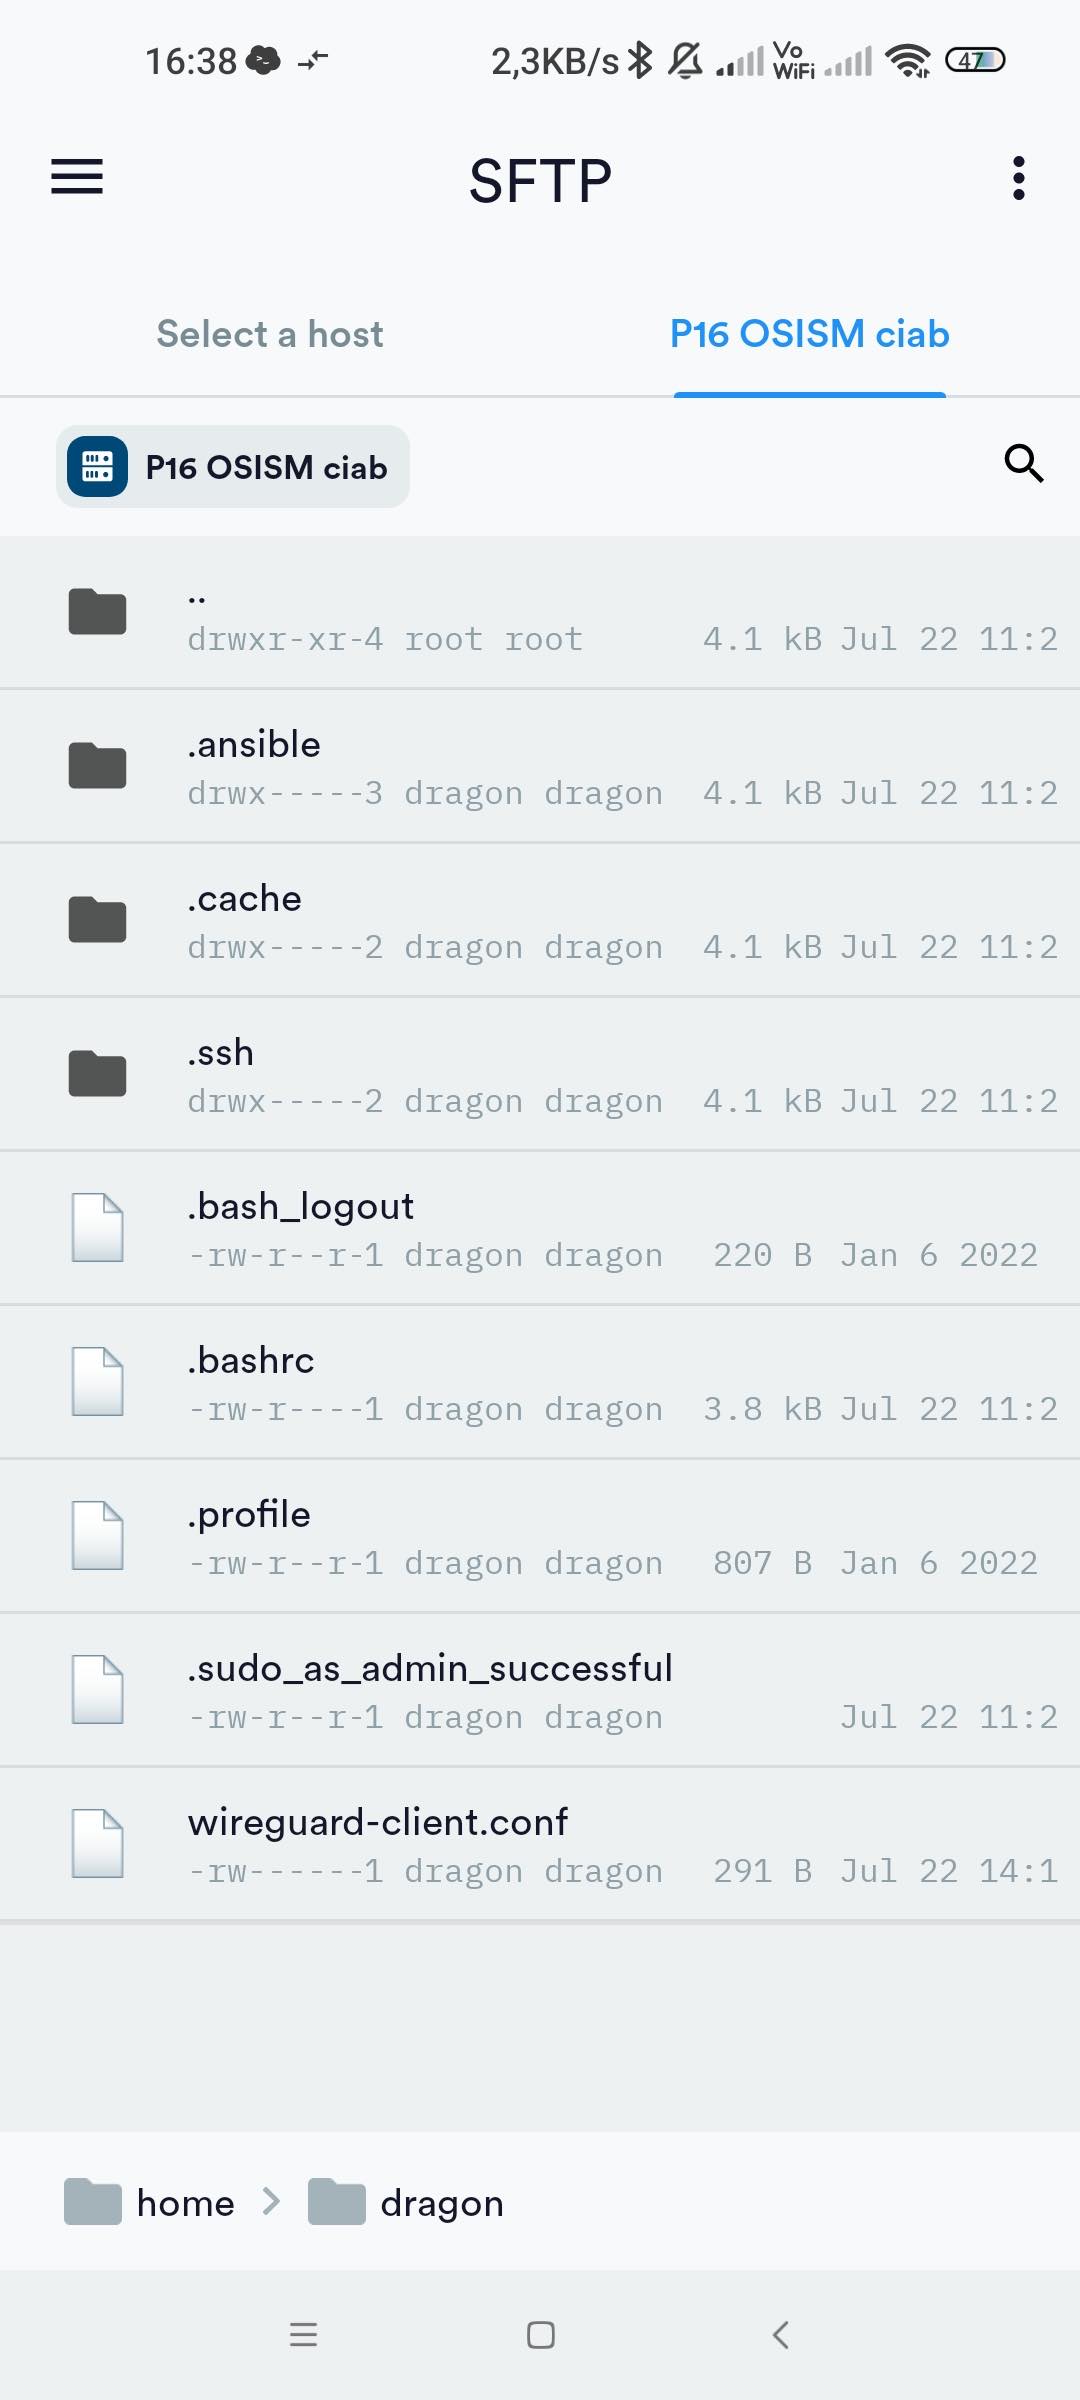
There is a config file for Wireguard in the /home/dragon/ directory. Using scp I copy and rename the file so that I can download it to my smartphone via SFTP. It all works so far. I installed Wireguard as an app anyway, since we also use it in our data center. So, the config was imported, the VPN switched on and lo and behold: the tunnel was up!
Up to this point, I’m pretty enthusiastic, knowing quite well that the disillusionment – due to the previous mistakes – will follow at some point. The SCS documentation page lists a number of URLs that direct me to my front ends. So much for the theory, now comes (my flawed) practice. I click on the link to the Homer service and an overview page prepared by OSISM opens with further links. I added the OpenStack Horizon Login, also.
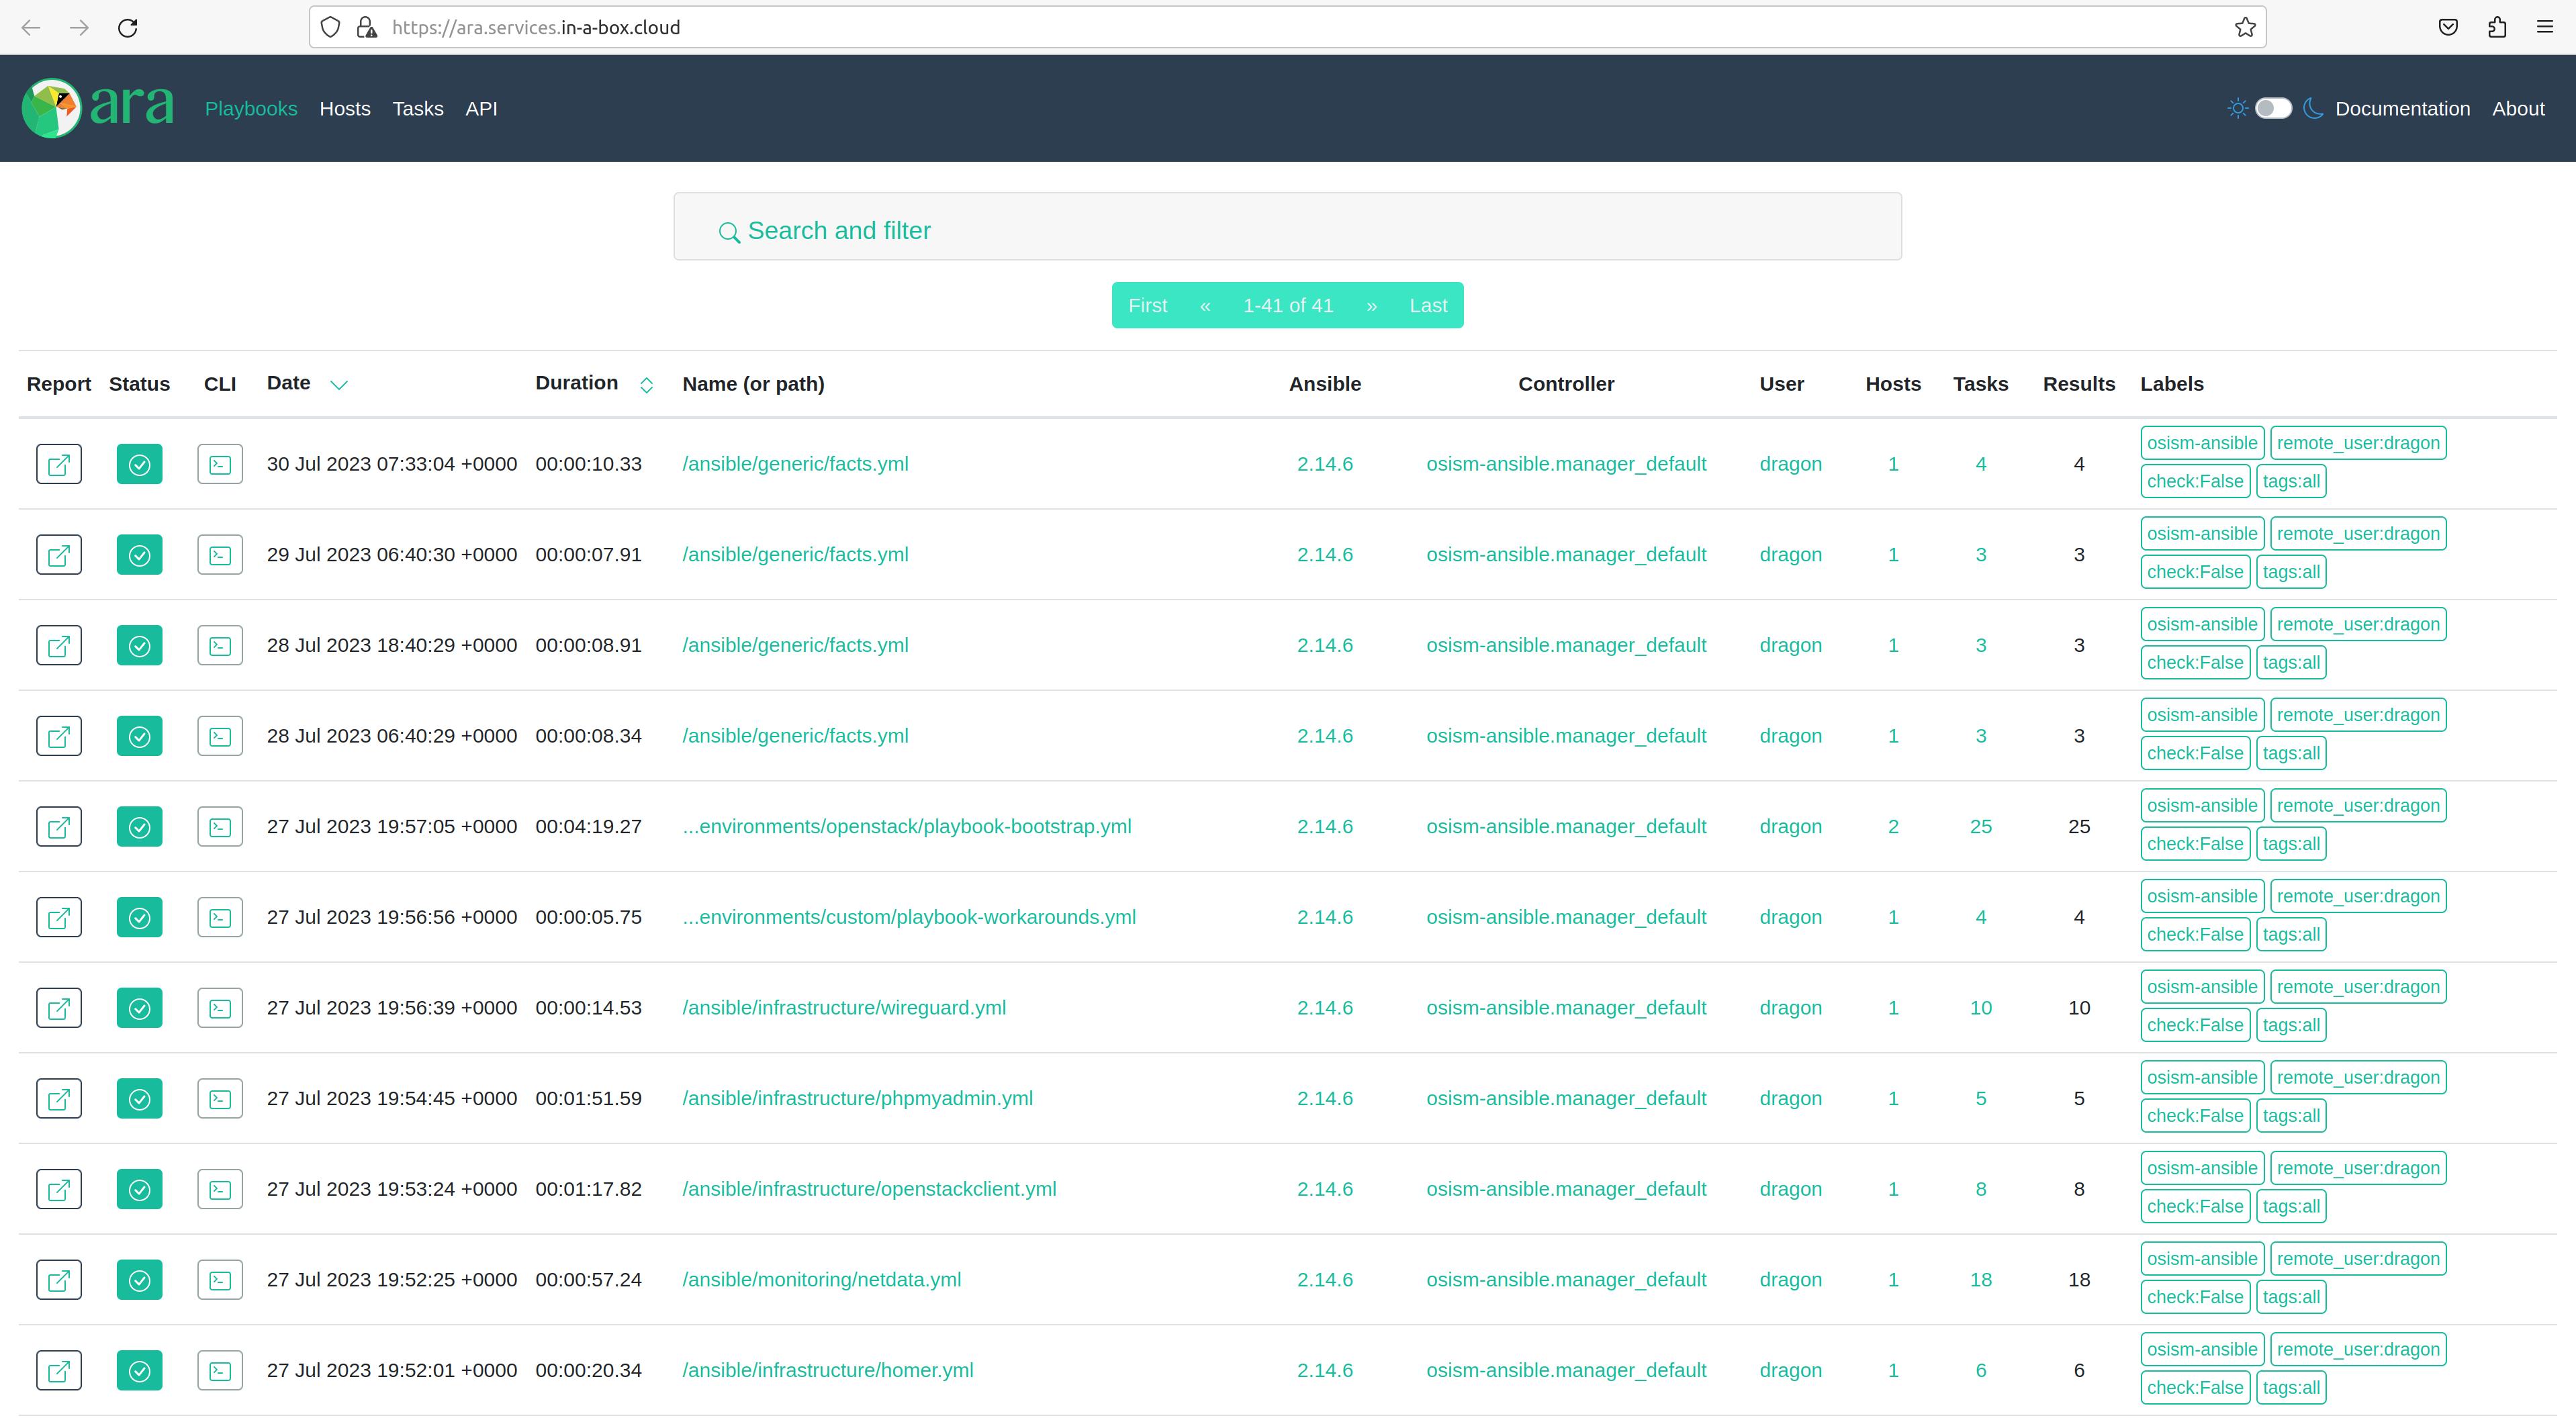
I can’t help but smile a little that I’ve come this far. What the individual services mean, more on that later. First of all, the Ara Web UI is important to me because I can view the Ansible log files here.
Once again: I work with my smartphone, not with a laptop or anything else…!
But back to the Ara front-end and Ansible log files. In this attempt, the first seven jobs ran through, the eighth threw up errors. Kolla-Ansible could not (correctly) deploy openvswitch. The container kolla_toolbox was not running. A total of 14 jobs failed, which caused me to start the whole thing again.
Attempt #2
It’s already the next day, the bootstrap and deployment process takes a long time with the comparatively weak hardware (to the server).
I haven’t changed anything on the actual setup, I’ll just run the whole process again to see if I get smarter this time. The process is basically the same as the first time. However, the symptoms of possible errors are different, which annoys me as a computer scientist. Incomprehensible, or even worse: irreproducible behavior is a nightmare. I don’t want to go into the details here. Overall, however, this made me come to the conclusion that another attempt in this hardware constellation makes no sense.
In wise foresight, the moment I realized the lack of RAM in my second laptop, I ordered the appropriate RAM for the campsite. When it arrived the next day, I quickly installed it on the laptop and started attempt number three.
Attempt #3
Another day of my summer vacation in 2023 has dawned. By the way, it’s still raining – or again – I’ve lost track. But still better than the hurricane two weeks ago, when the caravan was hit so hard by the gusts of wind that the walls shook. It would certainly not have been advisable to use conventional hard drives under these rugged conditions, despite SMART and other things. But whatever, that’s not what today is about.
I have now made my third attempt with my second laptop. A Lenovo P52, also a mobile workstation with the following features:
- An Intel Core i7-8850H @2.6GHz processor with six cores (12 threads)
- 64GB DDR4 RAM
- One internal SATA 6G HDD 2TB Seagate Barracuda @5400 rpm
- One RJ45 GbE connection onboard
I immediately noticed that the whole process was slower than before. But what is it? Well, it’s a Core i7, not an i9, it’s only six cores, not 16. RAM is 64GB in both cases, even if DDR5 RAM is used before and DDR4 RAM is now used. During the first step, the bootstrap and installation of Ubuntu, it doesn’t matter that much, but at the latest when the deployment starts in step 2, it becomes clear to me: The LED for hard disk access no longer goes out. That doesn’t change until I go to bed at 11:30 p.m. Sometime during the night after deployment is complete, the laptop turns off.
I checked the syslog again and saw that the system shut down around 01:30 at night.
The next day has dawned and for breakfast, around 07:30 am I switch on my laptop with the fresh CiaB deployment. In the first few minutes, I noticed that the kernel was throwing several messages saying it couldn’t access resources and would be waiting… There it was again: the HDD LED was permanently lit. I let the laptop be, take care of other things and check the device at irregular intervals. However, the HDD LED doesn’t change anymore until such time as I unlock the system and hard press the power button for more than five seconds. That’s around 4:30 p.m. in the afternoon, and the HDD LED is on continuously until then – no joke.
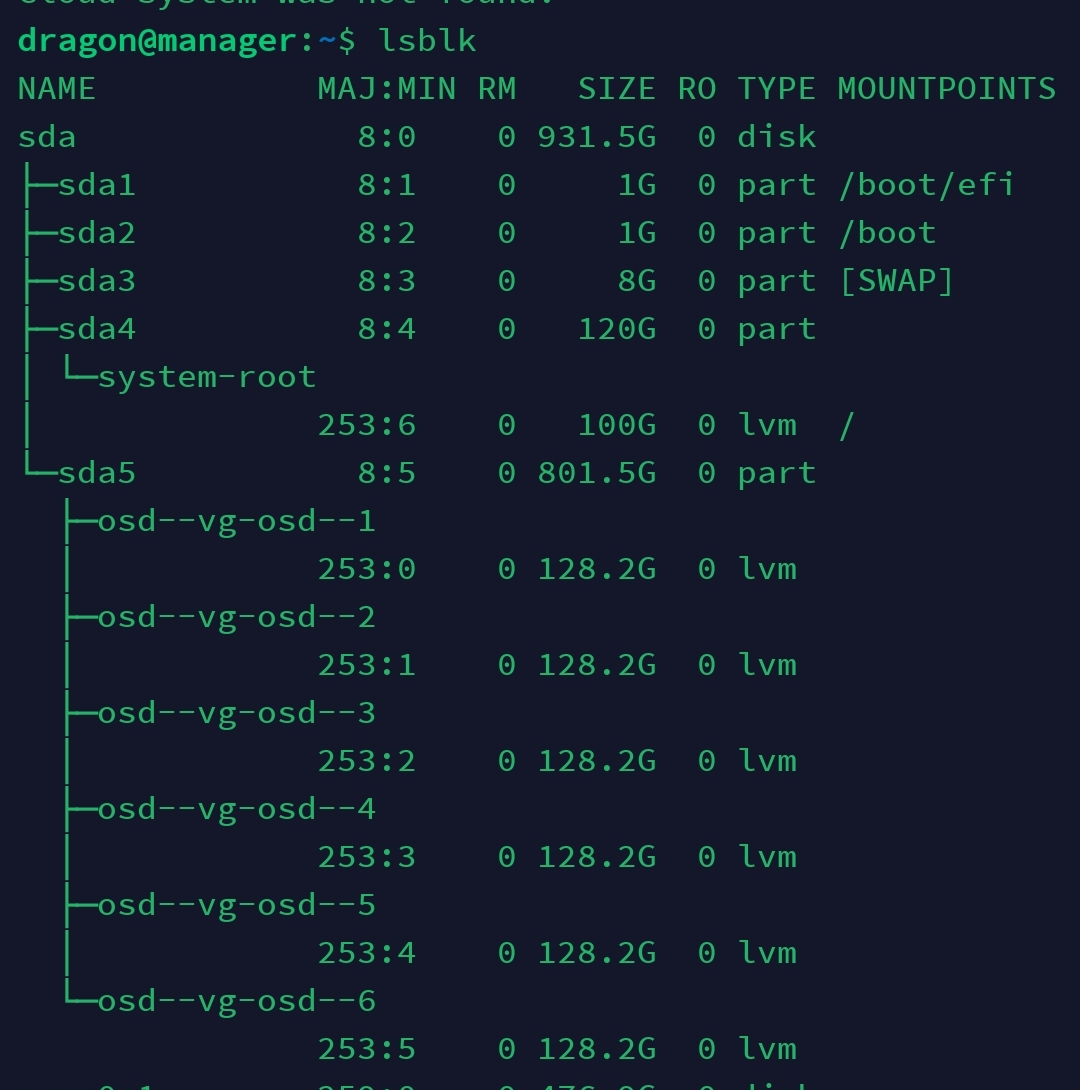
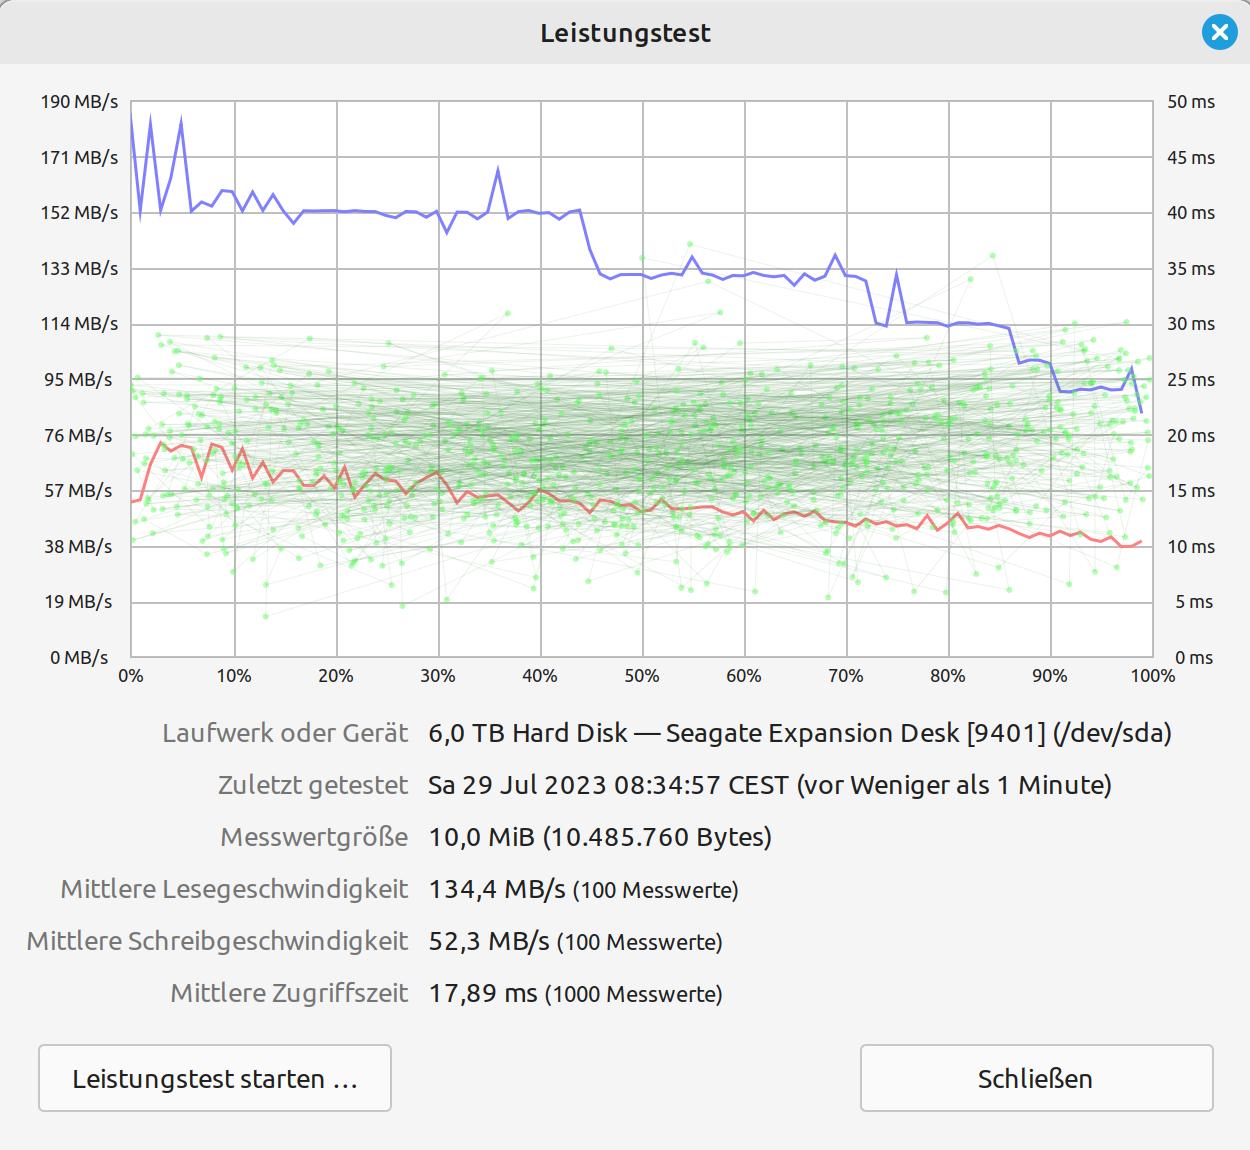
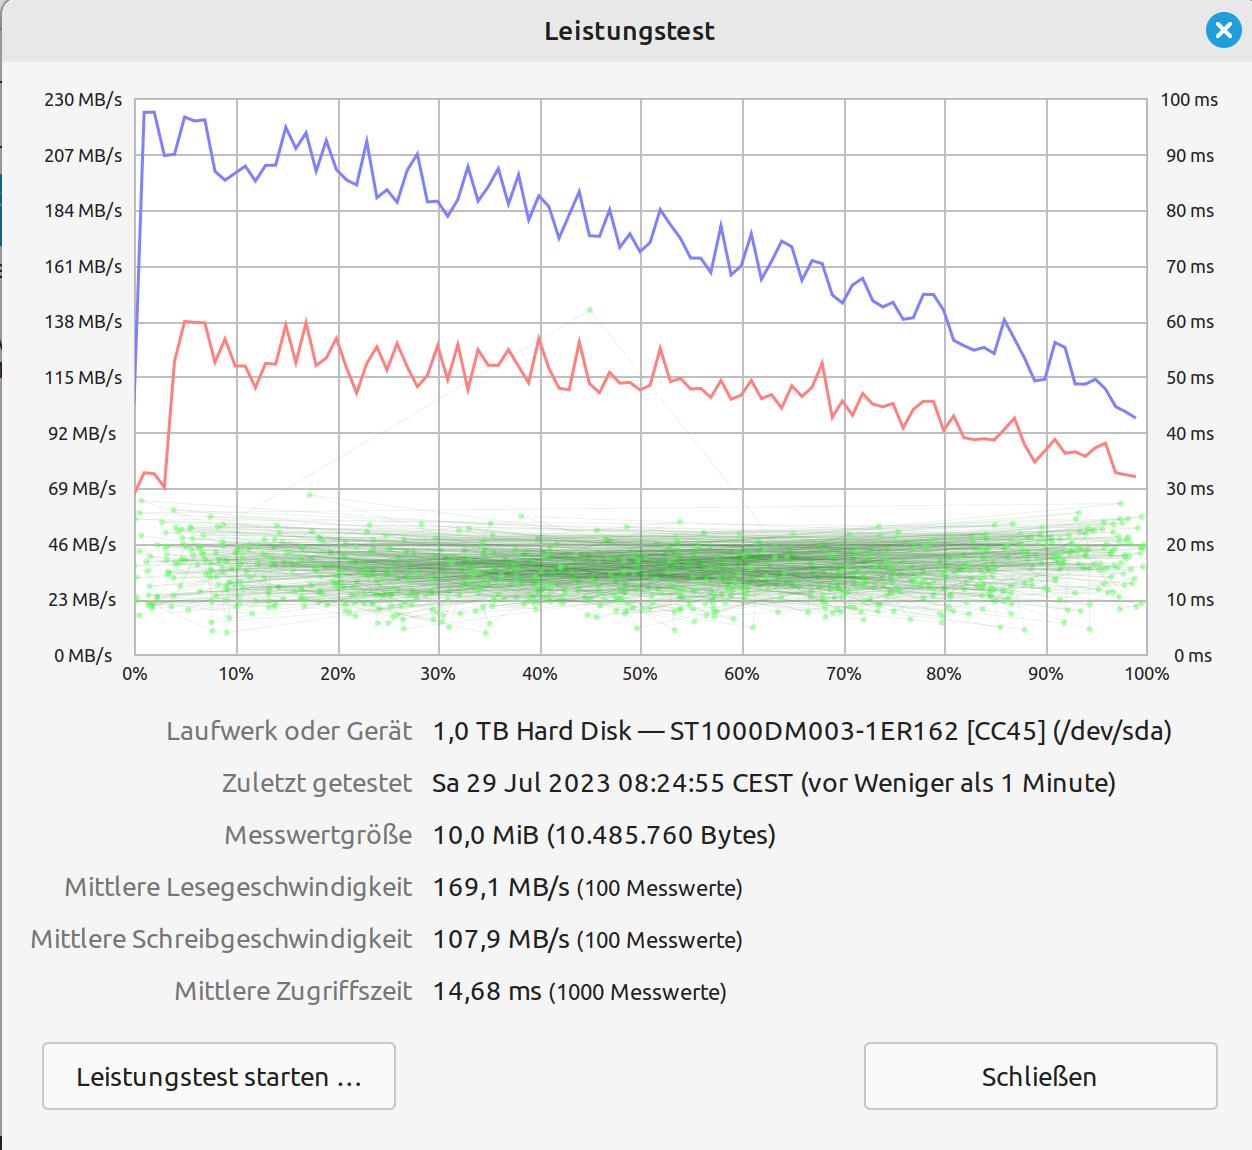
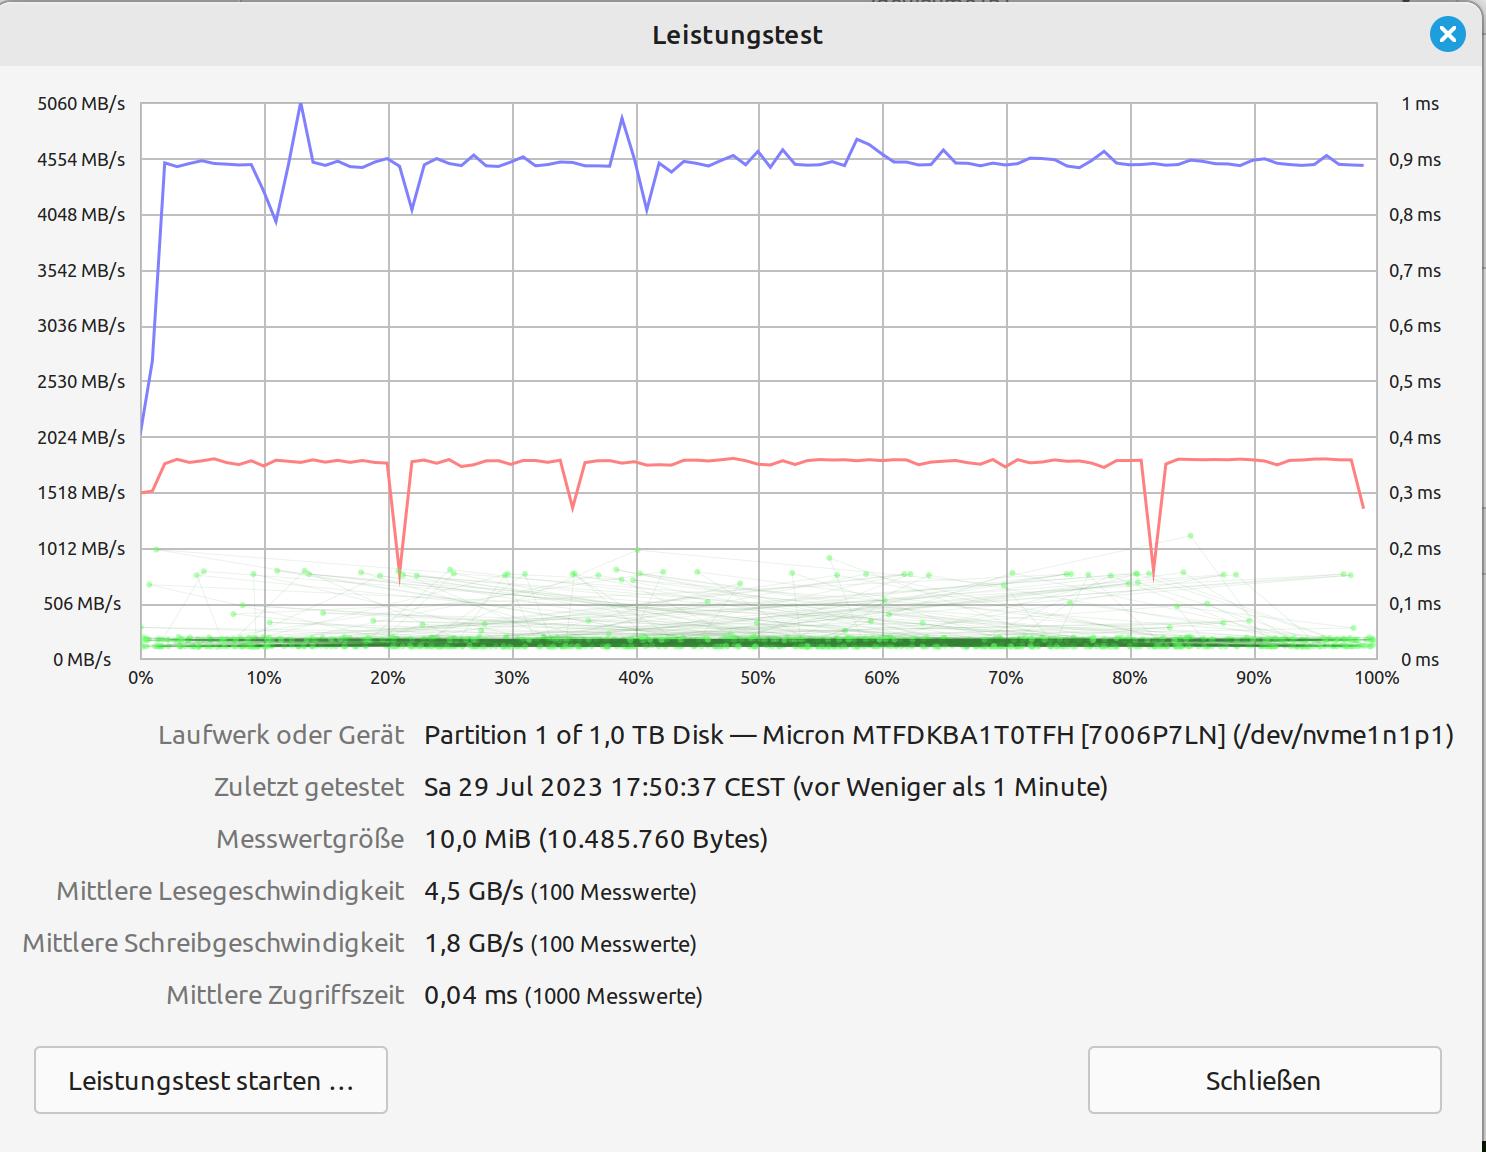
OK, I get it: don’t use a 5,400 rpm SATA disk. So, let’s see what else I have with me, here on the island. As an alternative, I dig out a 1TB SATA SSD and swap it for the 2TB HDD. And so, I arrive at my attempt number four. As you can here see a random test on three different HDDs/SSDs, I made during idle times.
Attempt #4 – Succeded
Same setup as attempt number three; except for the HDD that was swapped for an SSD. Lo and behold: everything runs much more smoothly and significantly faster than before. Ergo: SATA HDDs are not an alternative for this project (not really a surprise).
I reboot at 20:13:56 (first syslog entry) and boot from the USB stick. Since the SSD also has a SATA interface, I don’t need to change the ISO image either. Less than two hours later I got the system message Jul 27 22:04:26 manager systemd[1]: Reached target Cloud-init target.
Excitement mounts because all I saw was one of those unloved red messages scrolling across the screen. So, let’s see what came out this time.
From my work device, I log into the machine via SSH: ssh [email protected] is in my case. In the $HOME directory of the user dragon is the file wireguard-client.conf, which I rename (strictly speaking, I use the scp command to copy the file within the $HOME directory and assign a new name (ciab.conf)) and transfer then via SFTP to the target directory /etc/wireguard/ on my computer. I close the SSH and SFTP connection because everything else runs via a VPN tunnel using Wireguard. Wireguard is already installed on my work device (take a look here, if you have to install WG on your system), So, I set up my tunnel in the terminal with the command sudo wg-quick up ciab.
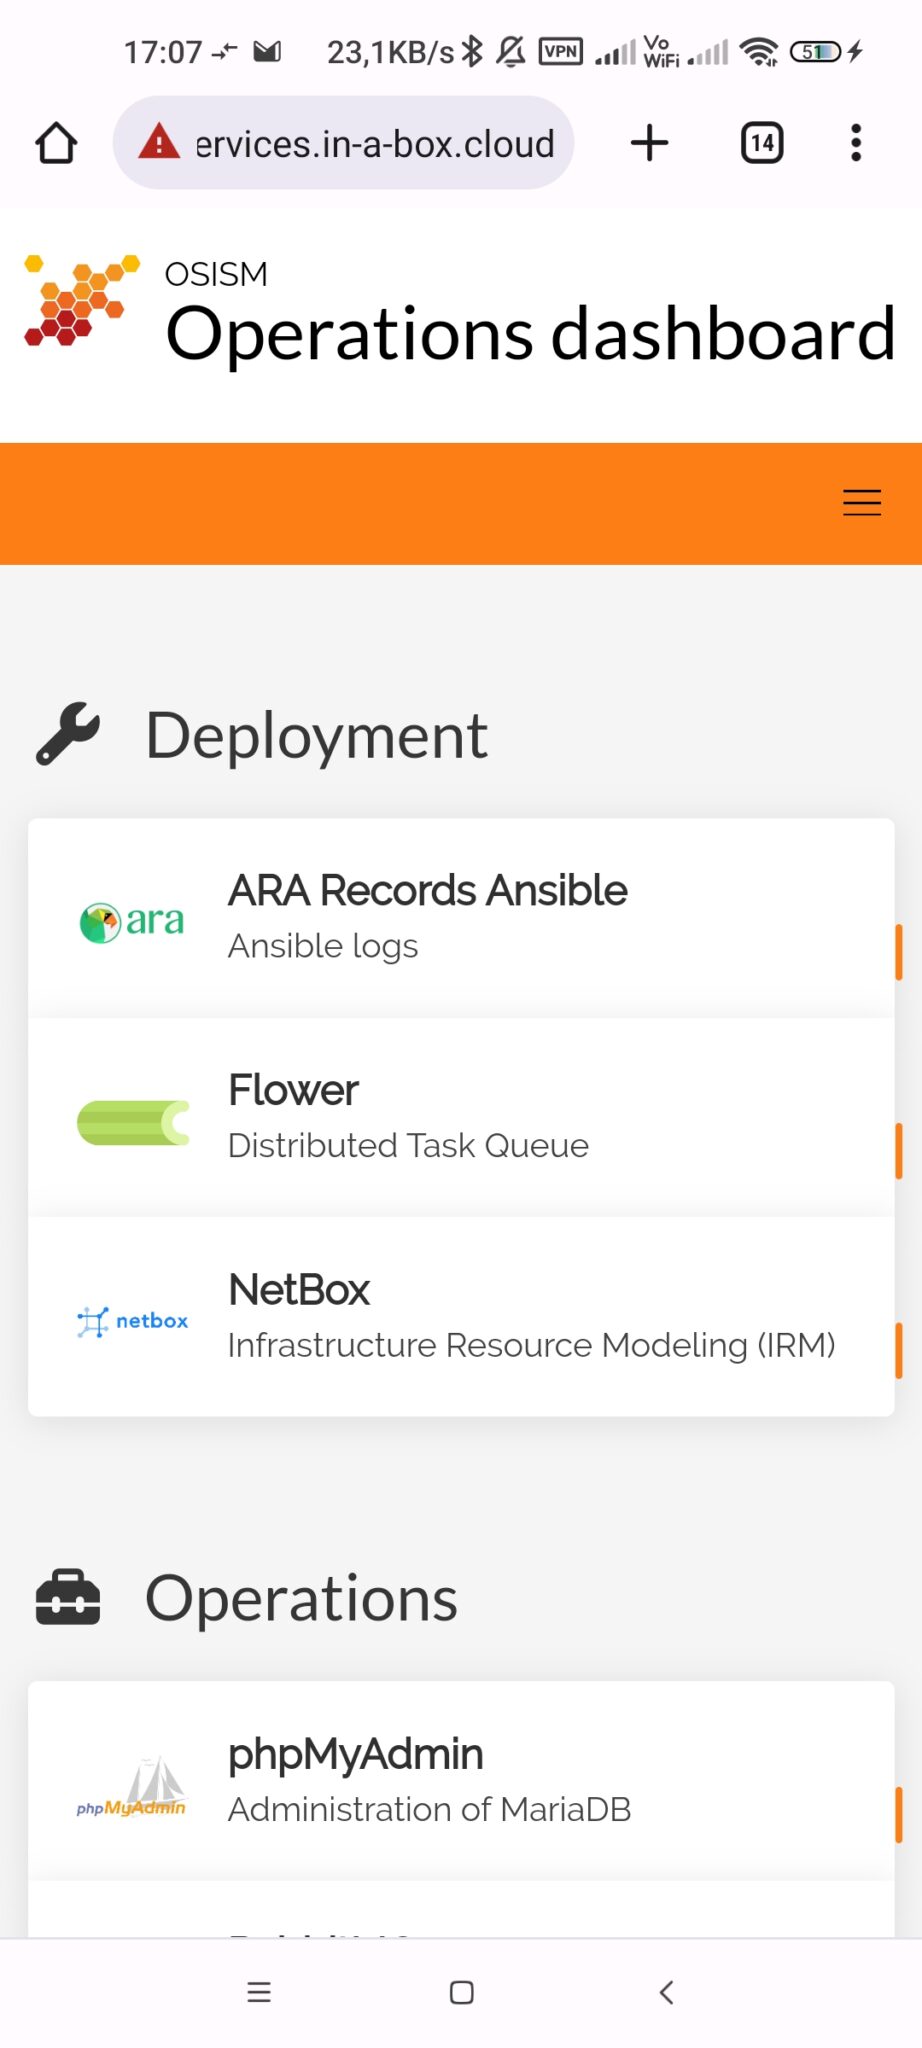
Now it’s getting exciting: my first check is on the URL of the Homer service, the operations dashboard: https://homer.services.in-a-box.cloud – and… whoops the page is there. I won’t go into the special features of the certificates and some browsers here, that would be worth a separate entry.
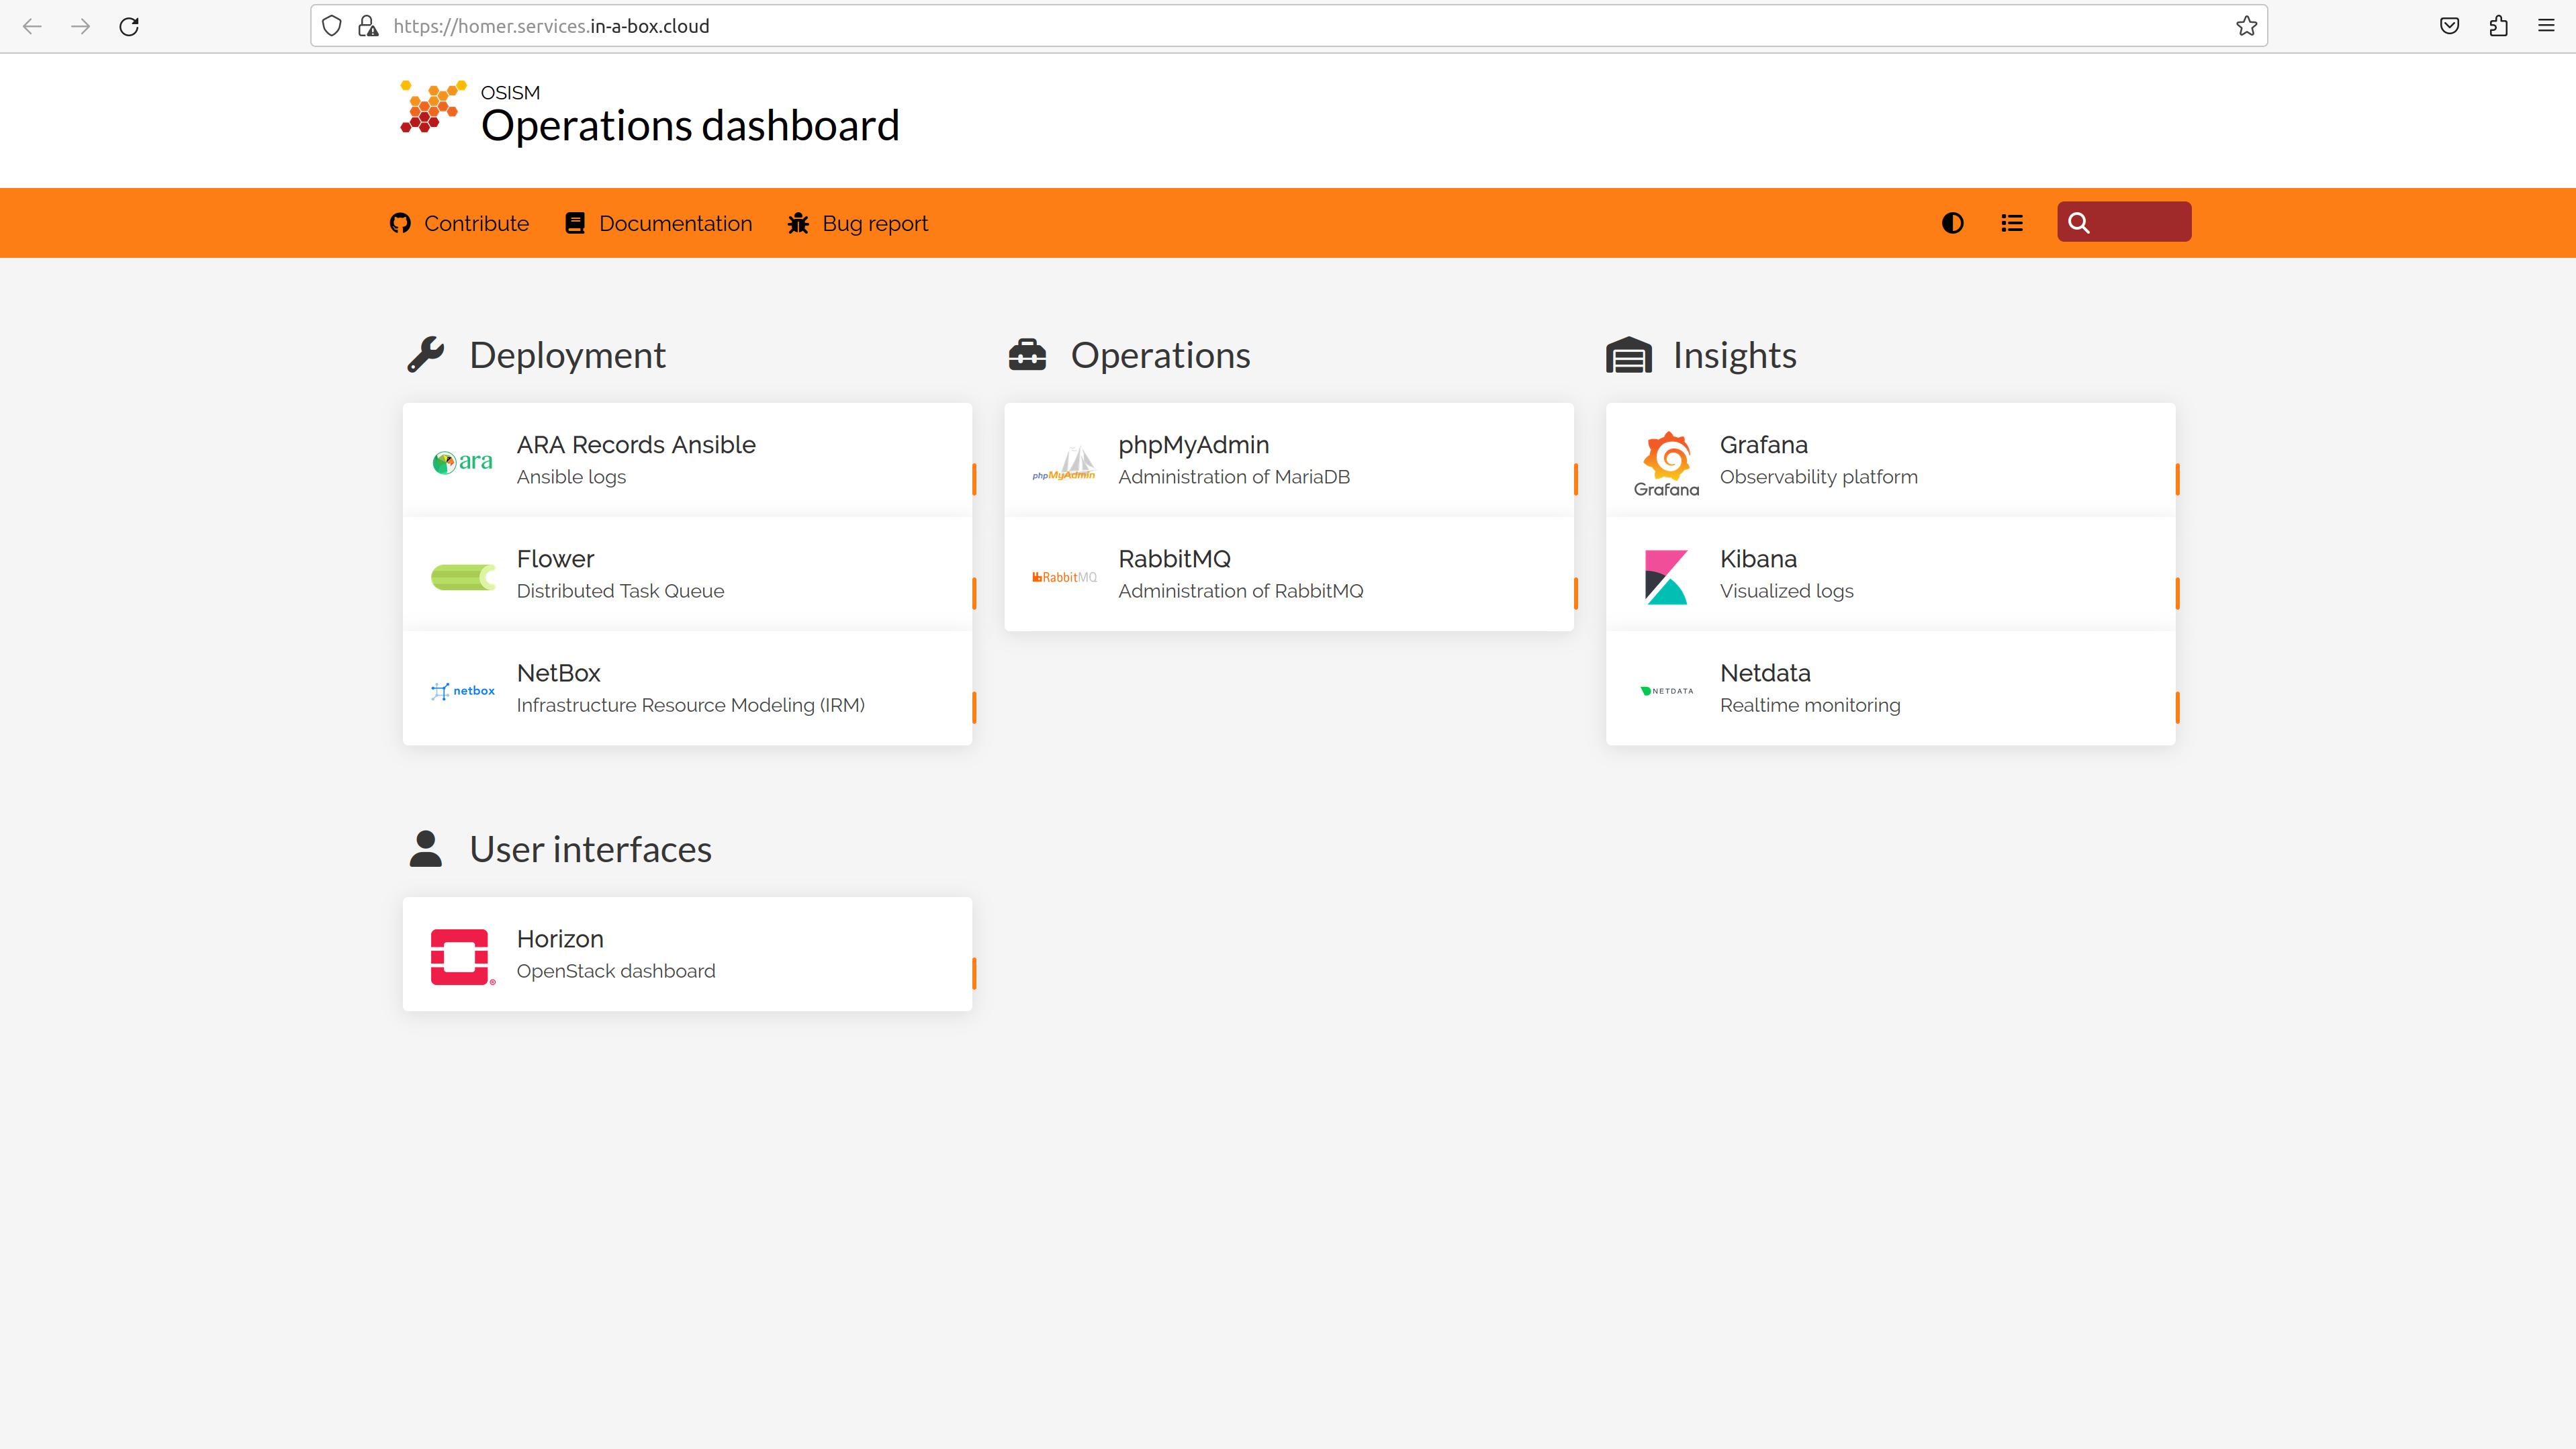
From this page, I go to the various dashboards and front ends. An overview of the URLS, the default users and passwords can be found on the Sovereign Cloud Stack documentation page.
ARA. In this web UI, I can find the reports on the Ansible playbooks to get a first impression of how the deployment went. In my case of attempt number four, only one playbook was throwing an error.
I opened an issue on Github and received a prompt response. From this answer, I could see that it is obviously not a real problem.
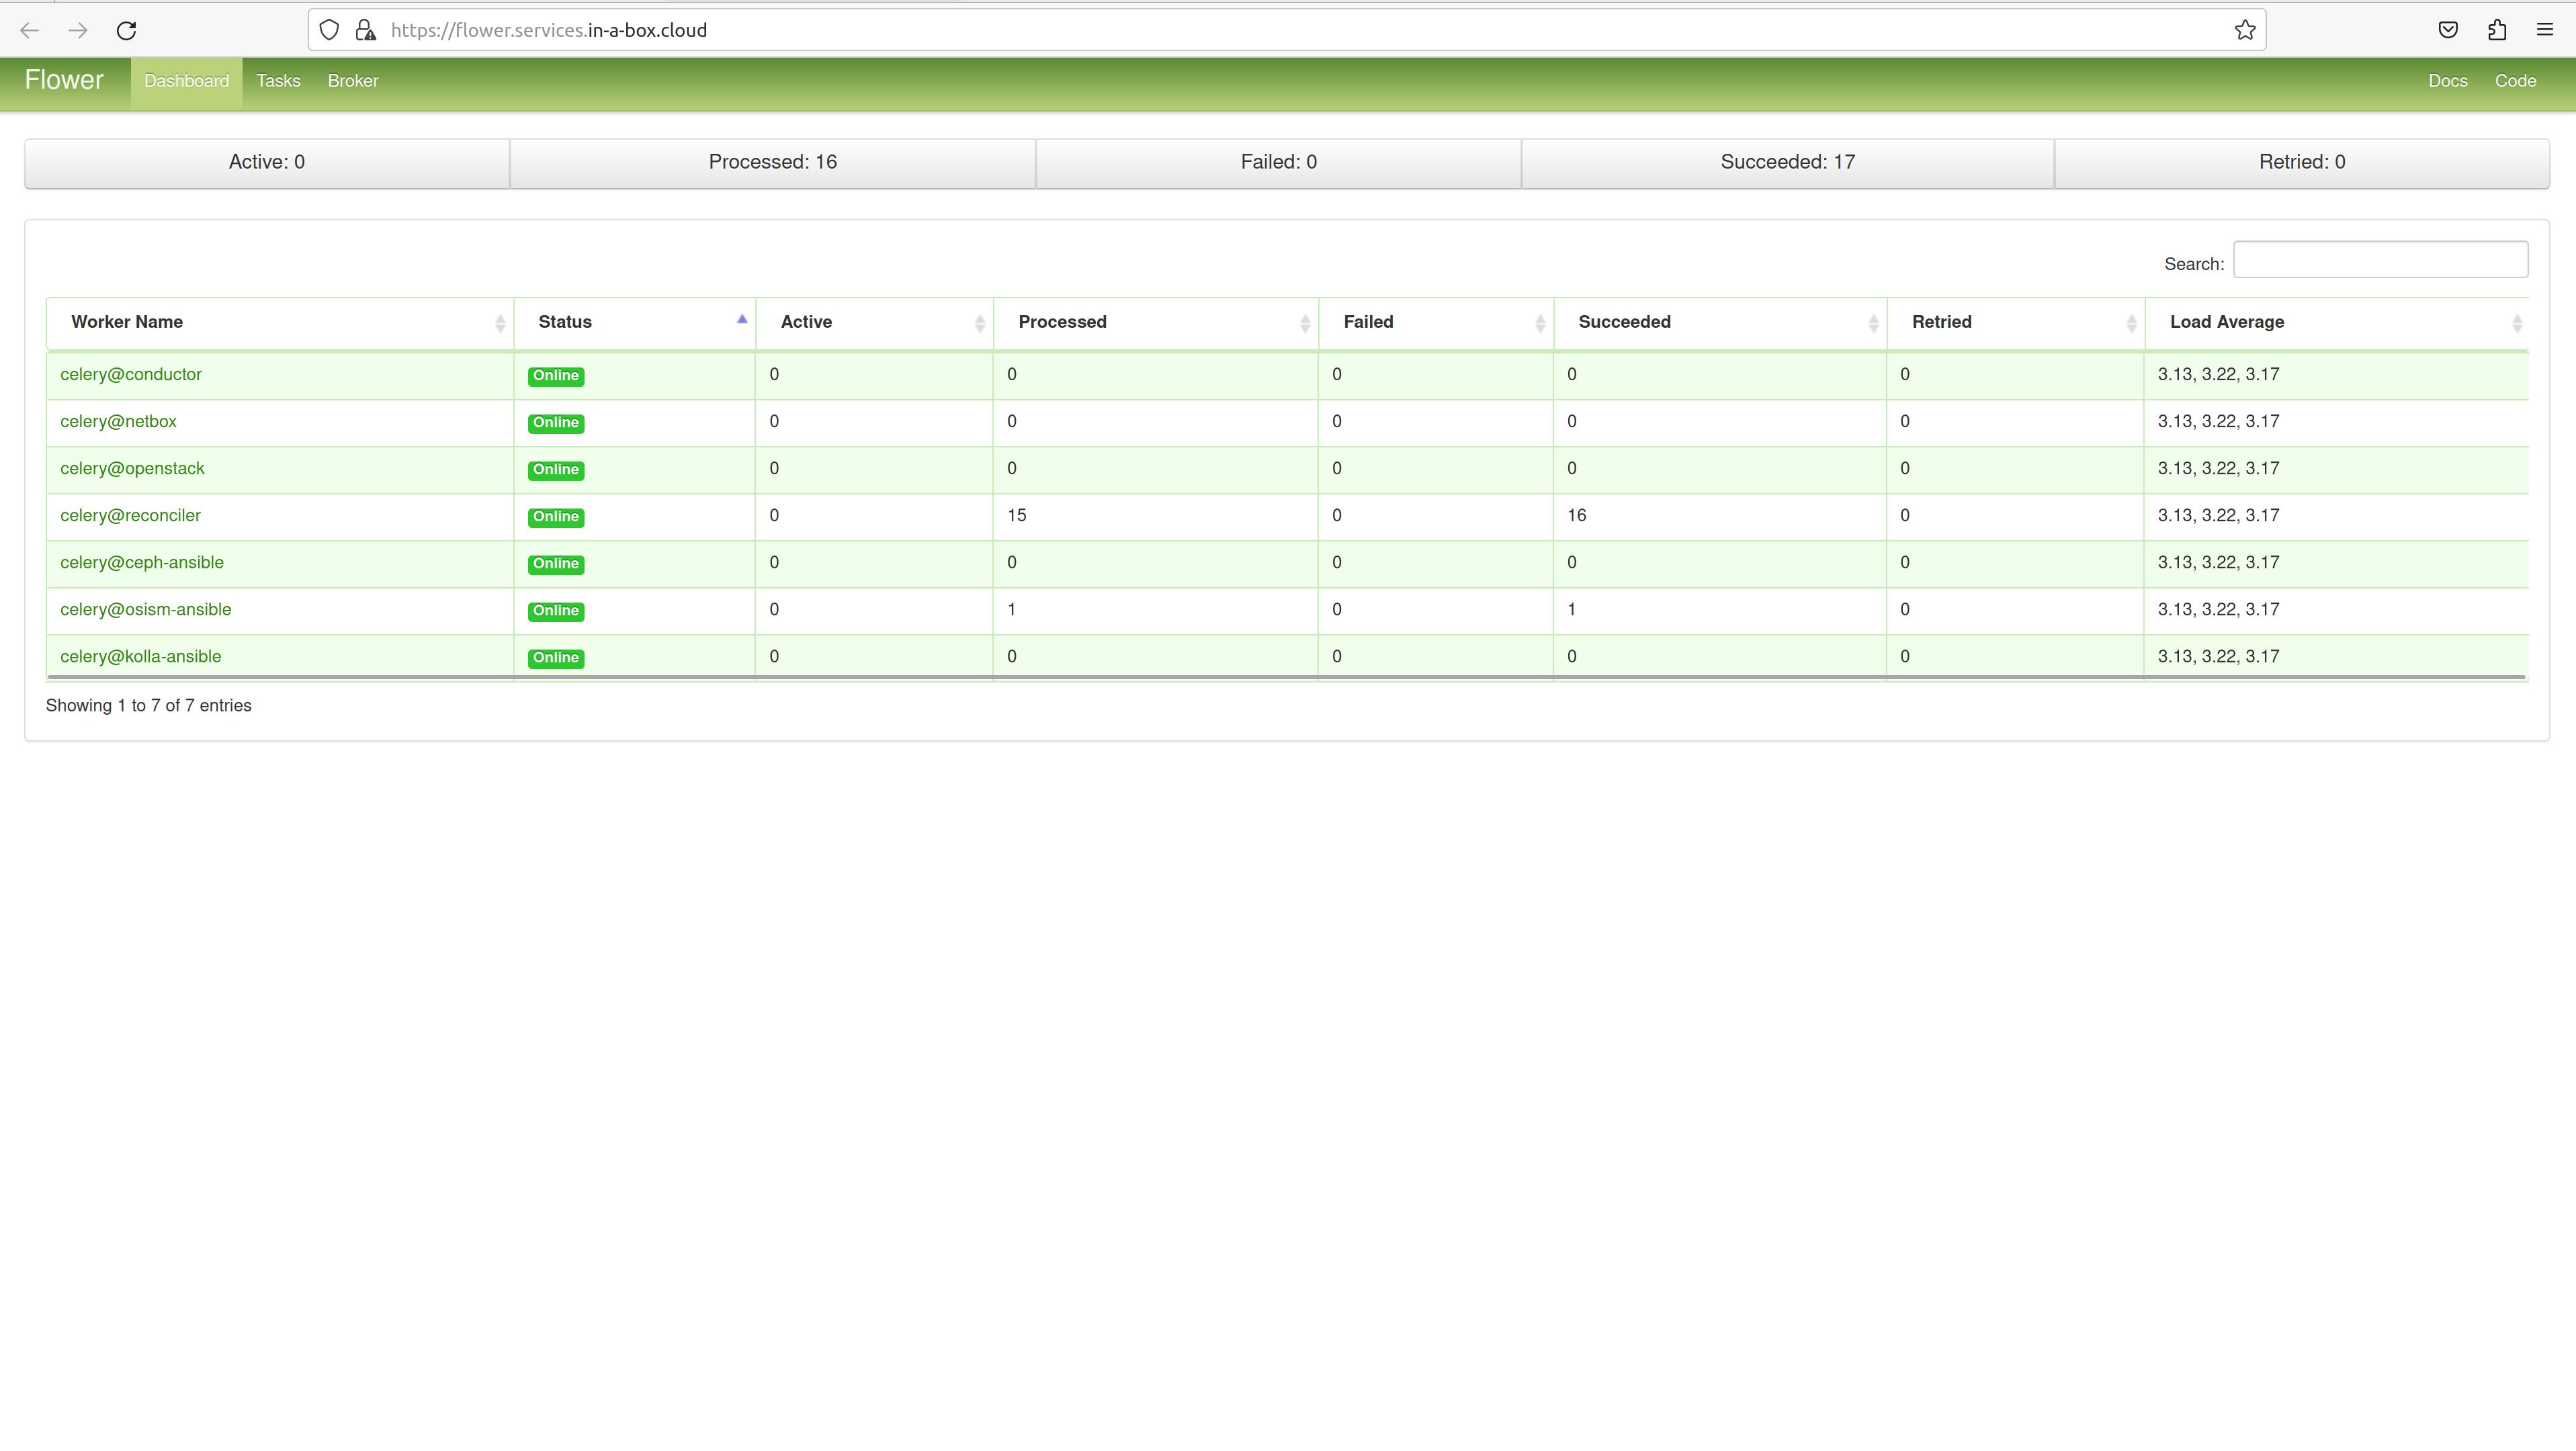
With this dashboard, you can drill down to the results of the respective playbooks. Flower. Is a dashboard to visualize distributed task queues.
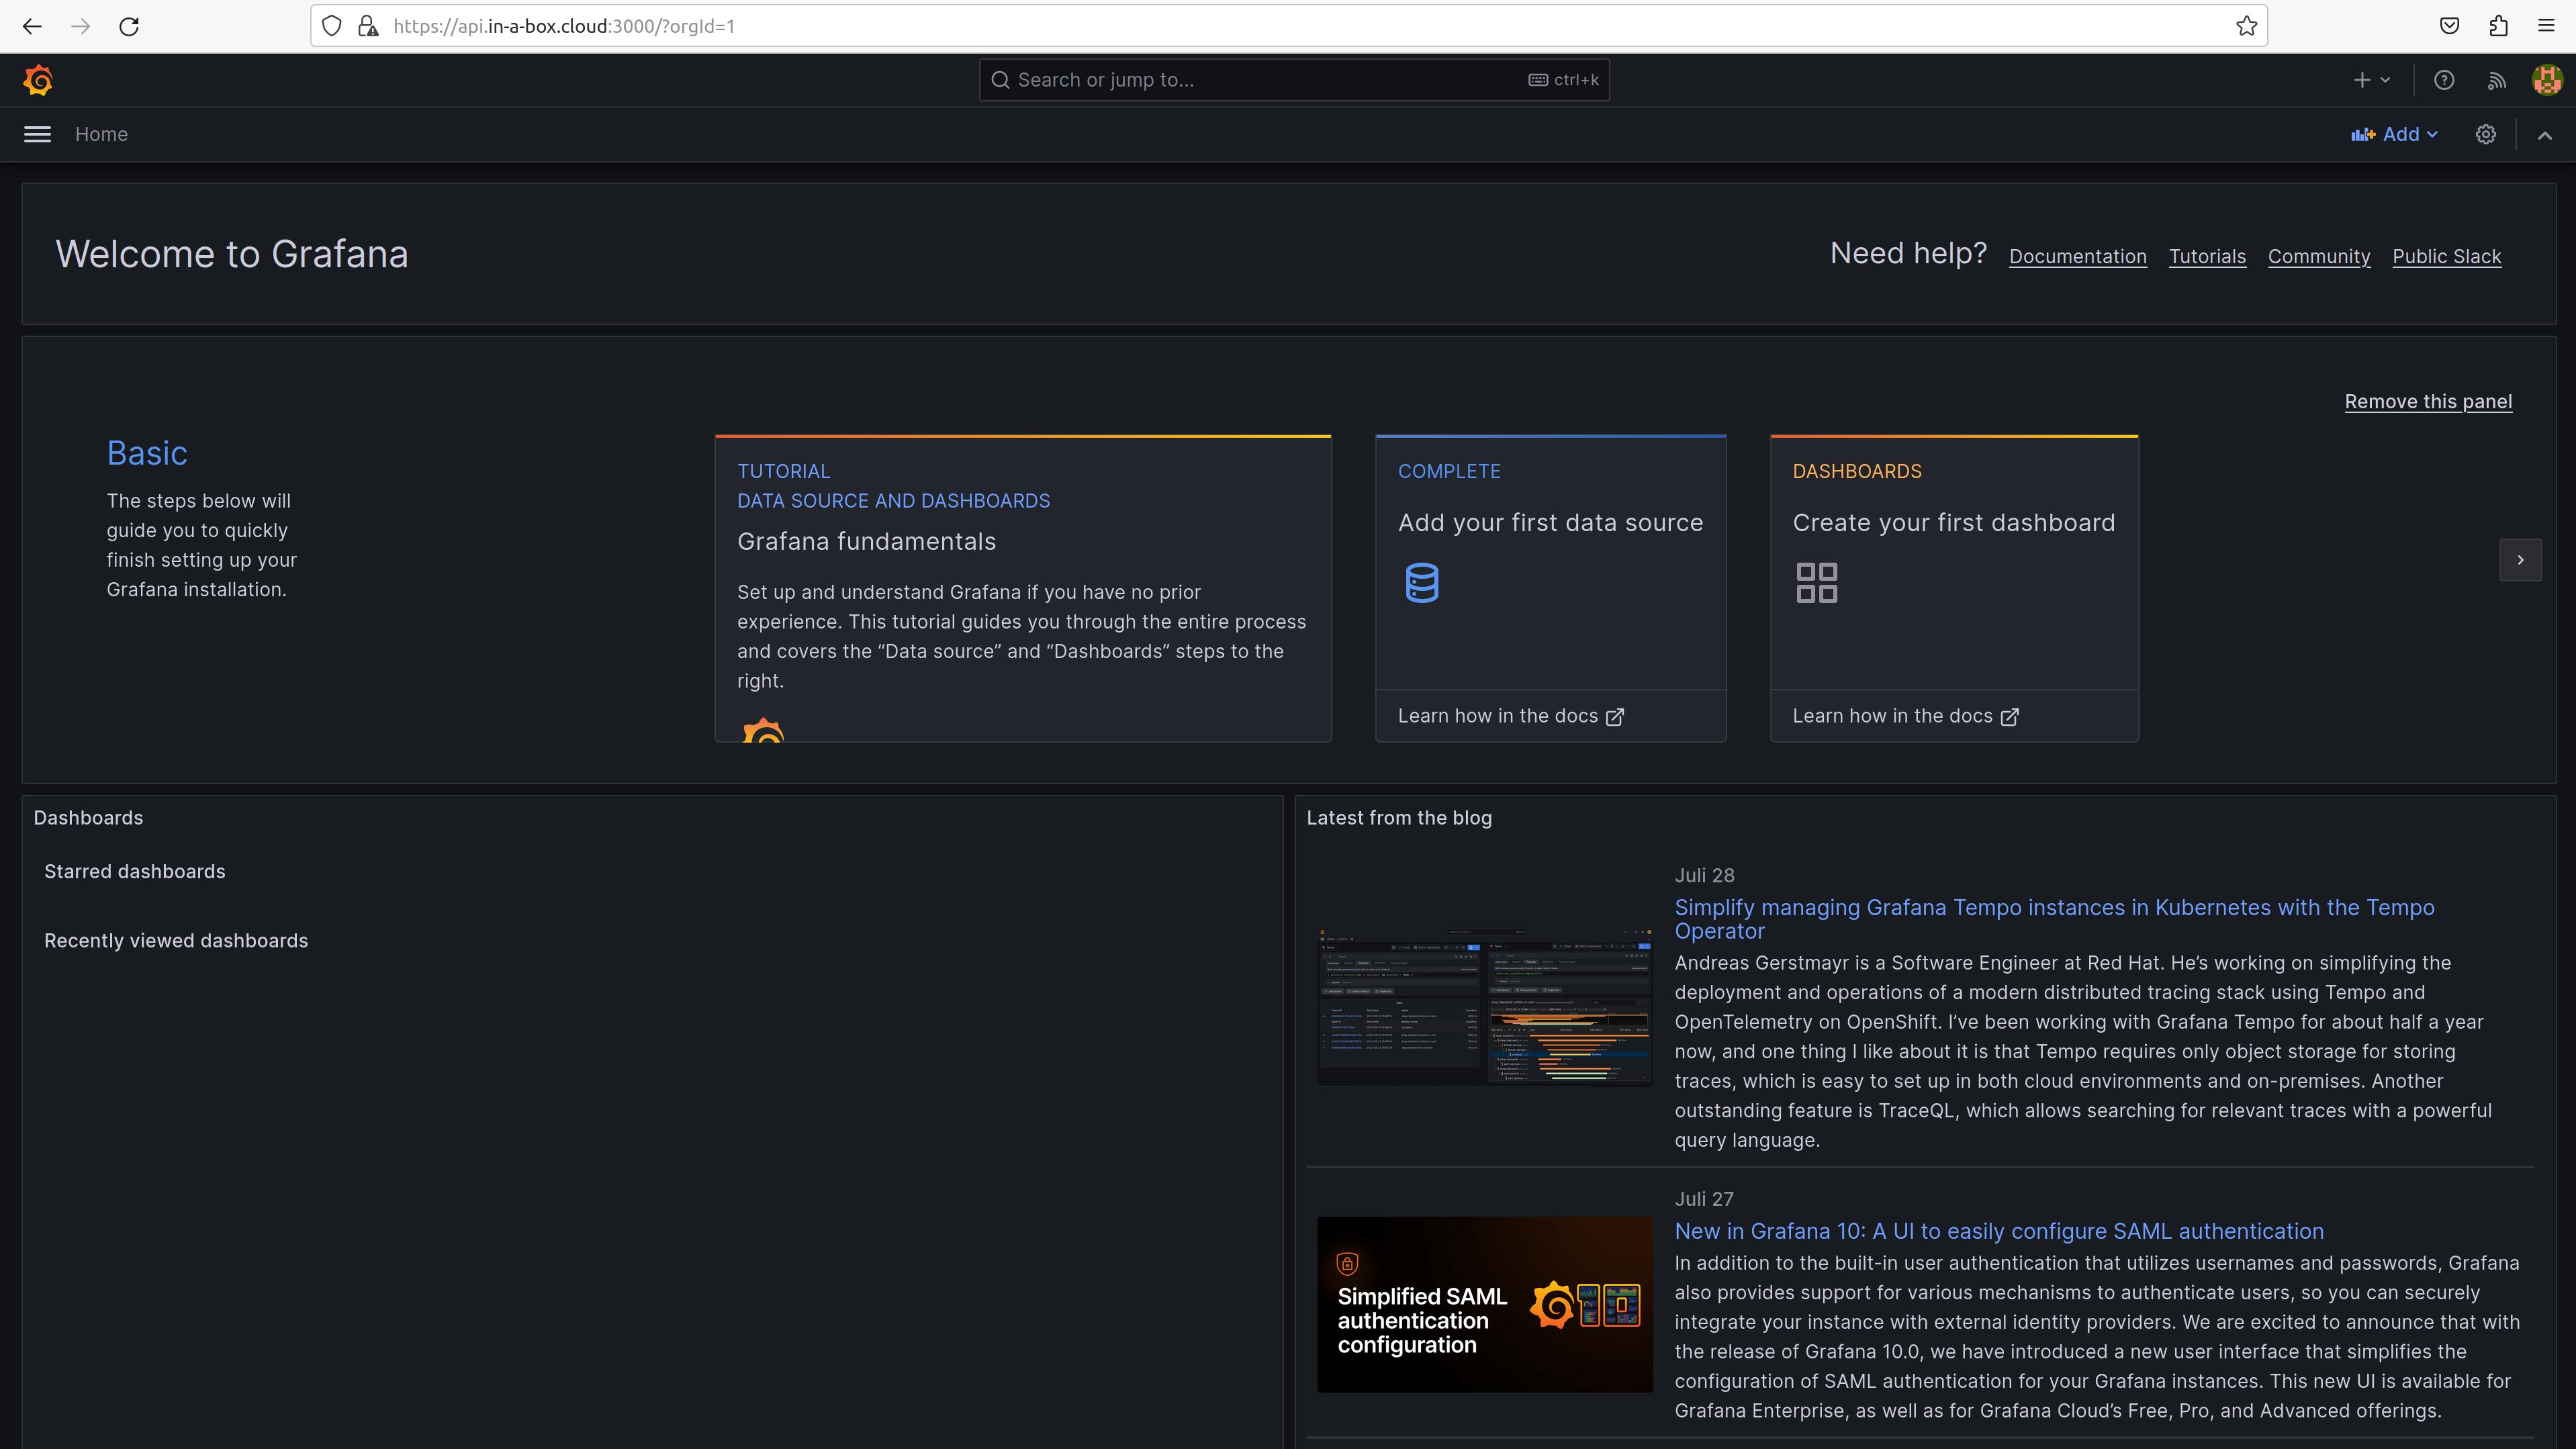
Grafana. Visualization of (almost) any data (sources), the de facto standard in this area. No dashboards or graphics are defined, so your own creativity is required here. Everyone certainly has different ideas about what should be visualized and how.
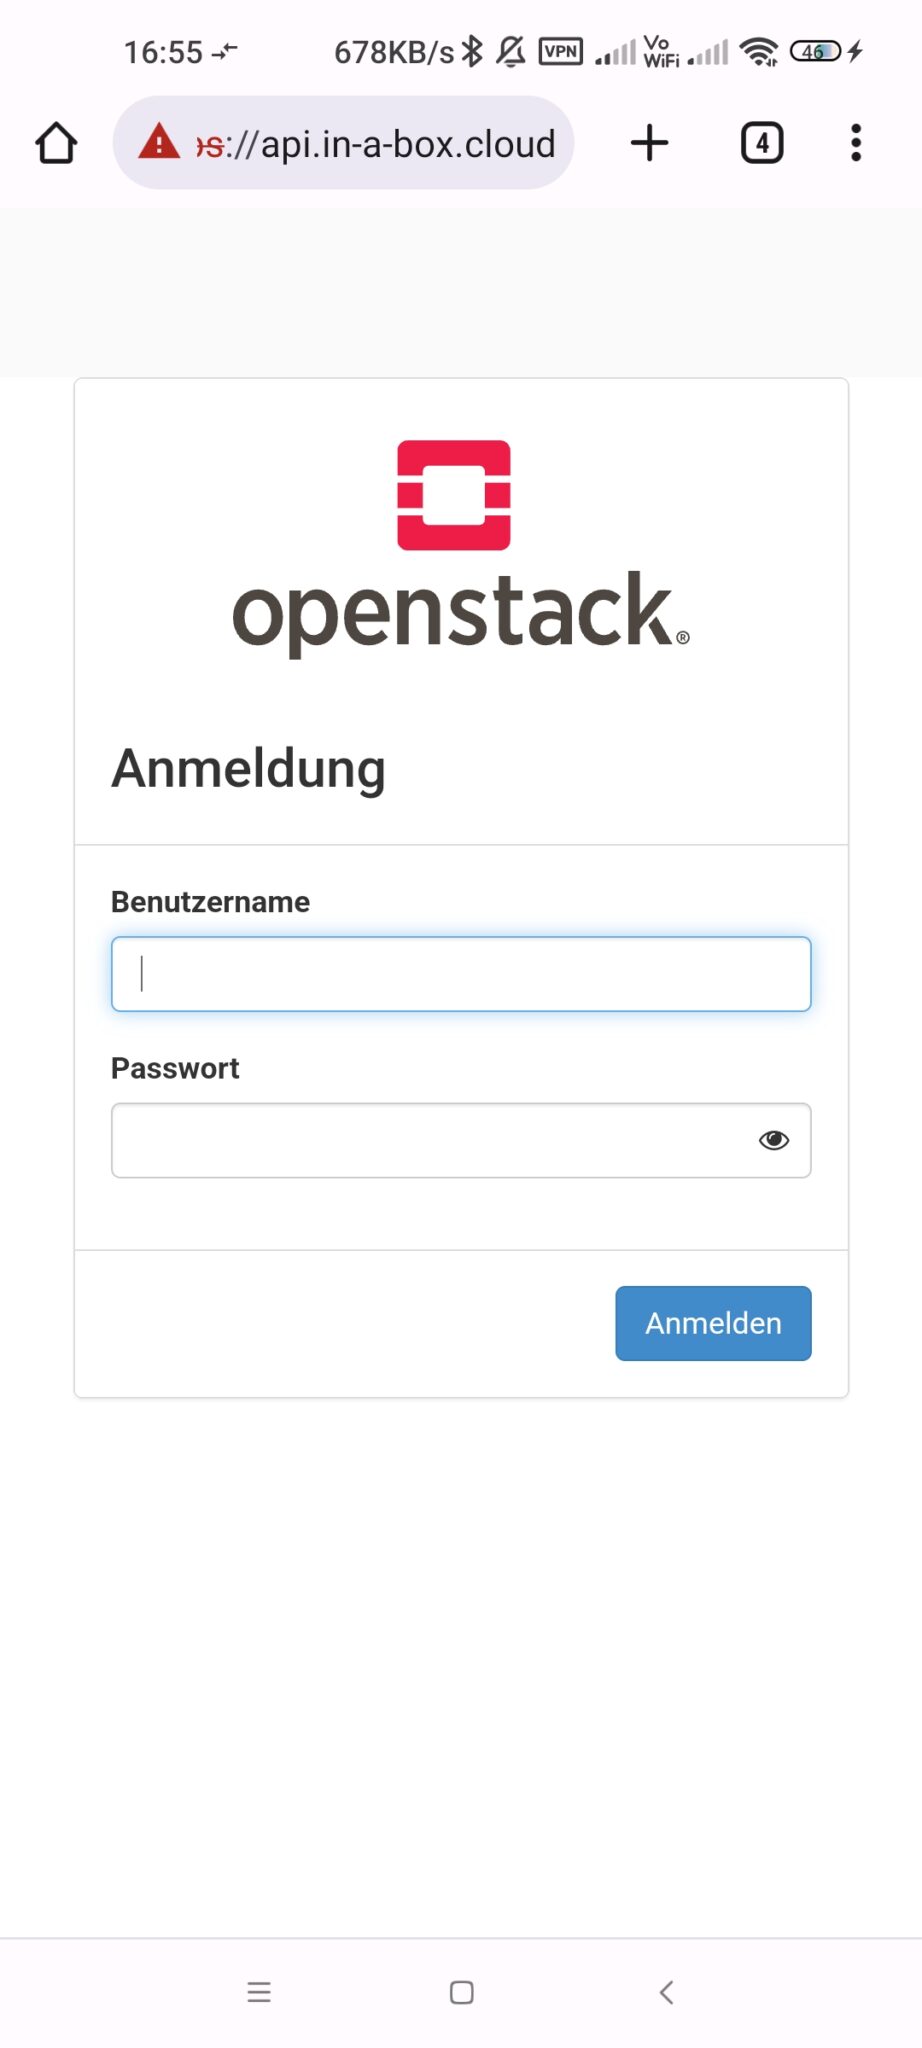
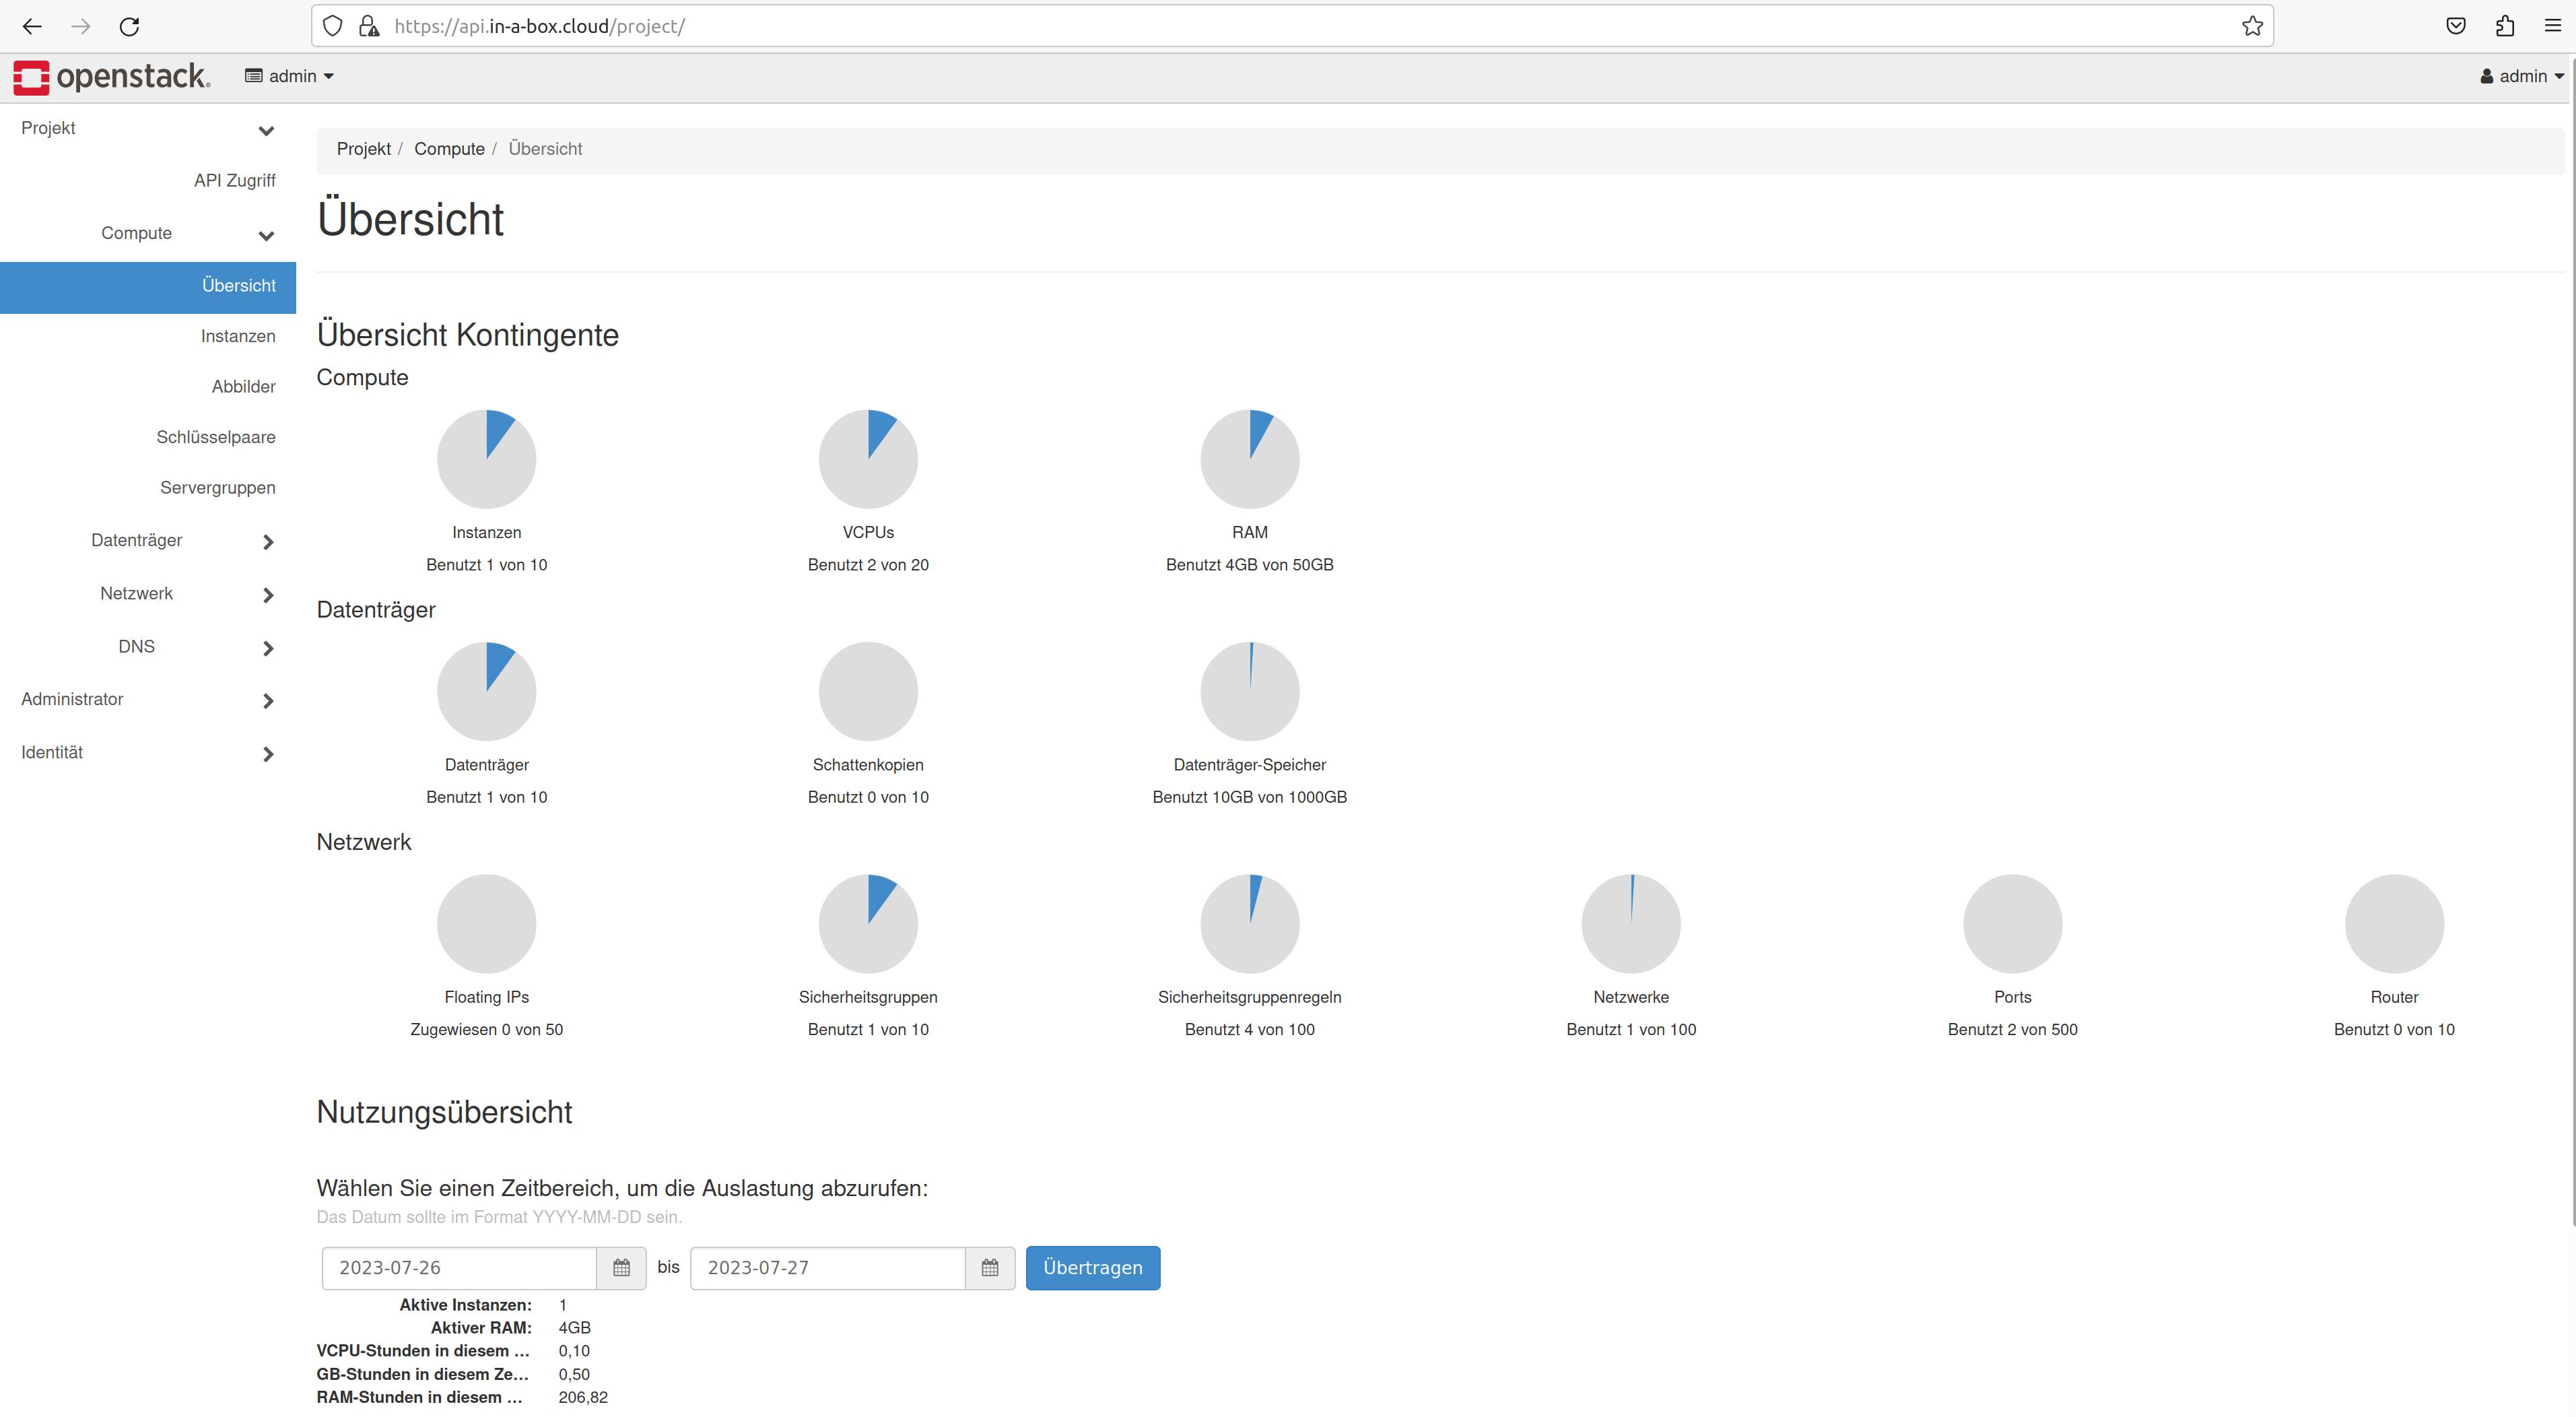
Horizon. The OpenStack web UI, and particularly interesting for me and our concerns (besides the OpenStack CLI client). Accordingly, I tested this front end more intensively. That is, creating, changing and deleting networks, instances, routers, drives, etc. I was surprised by the speed at which everything happened. Well, starting an Ubuntu server instance takes a few seconds, after all, there aren’t that many resources available (because of limitations by my laptop). But it works – I love it!
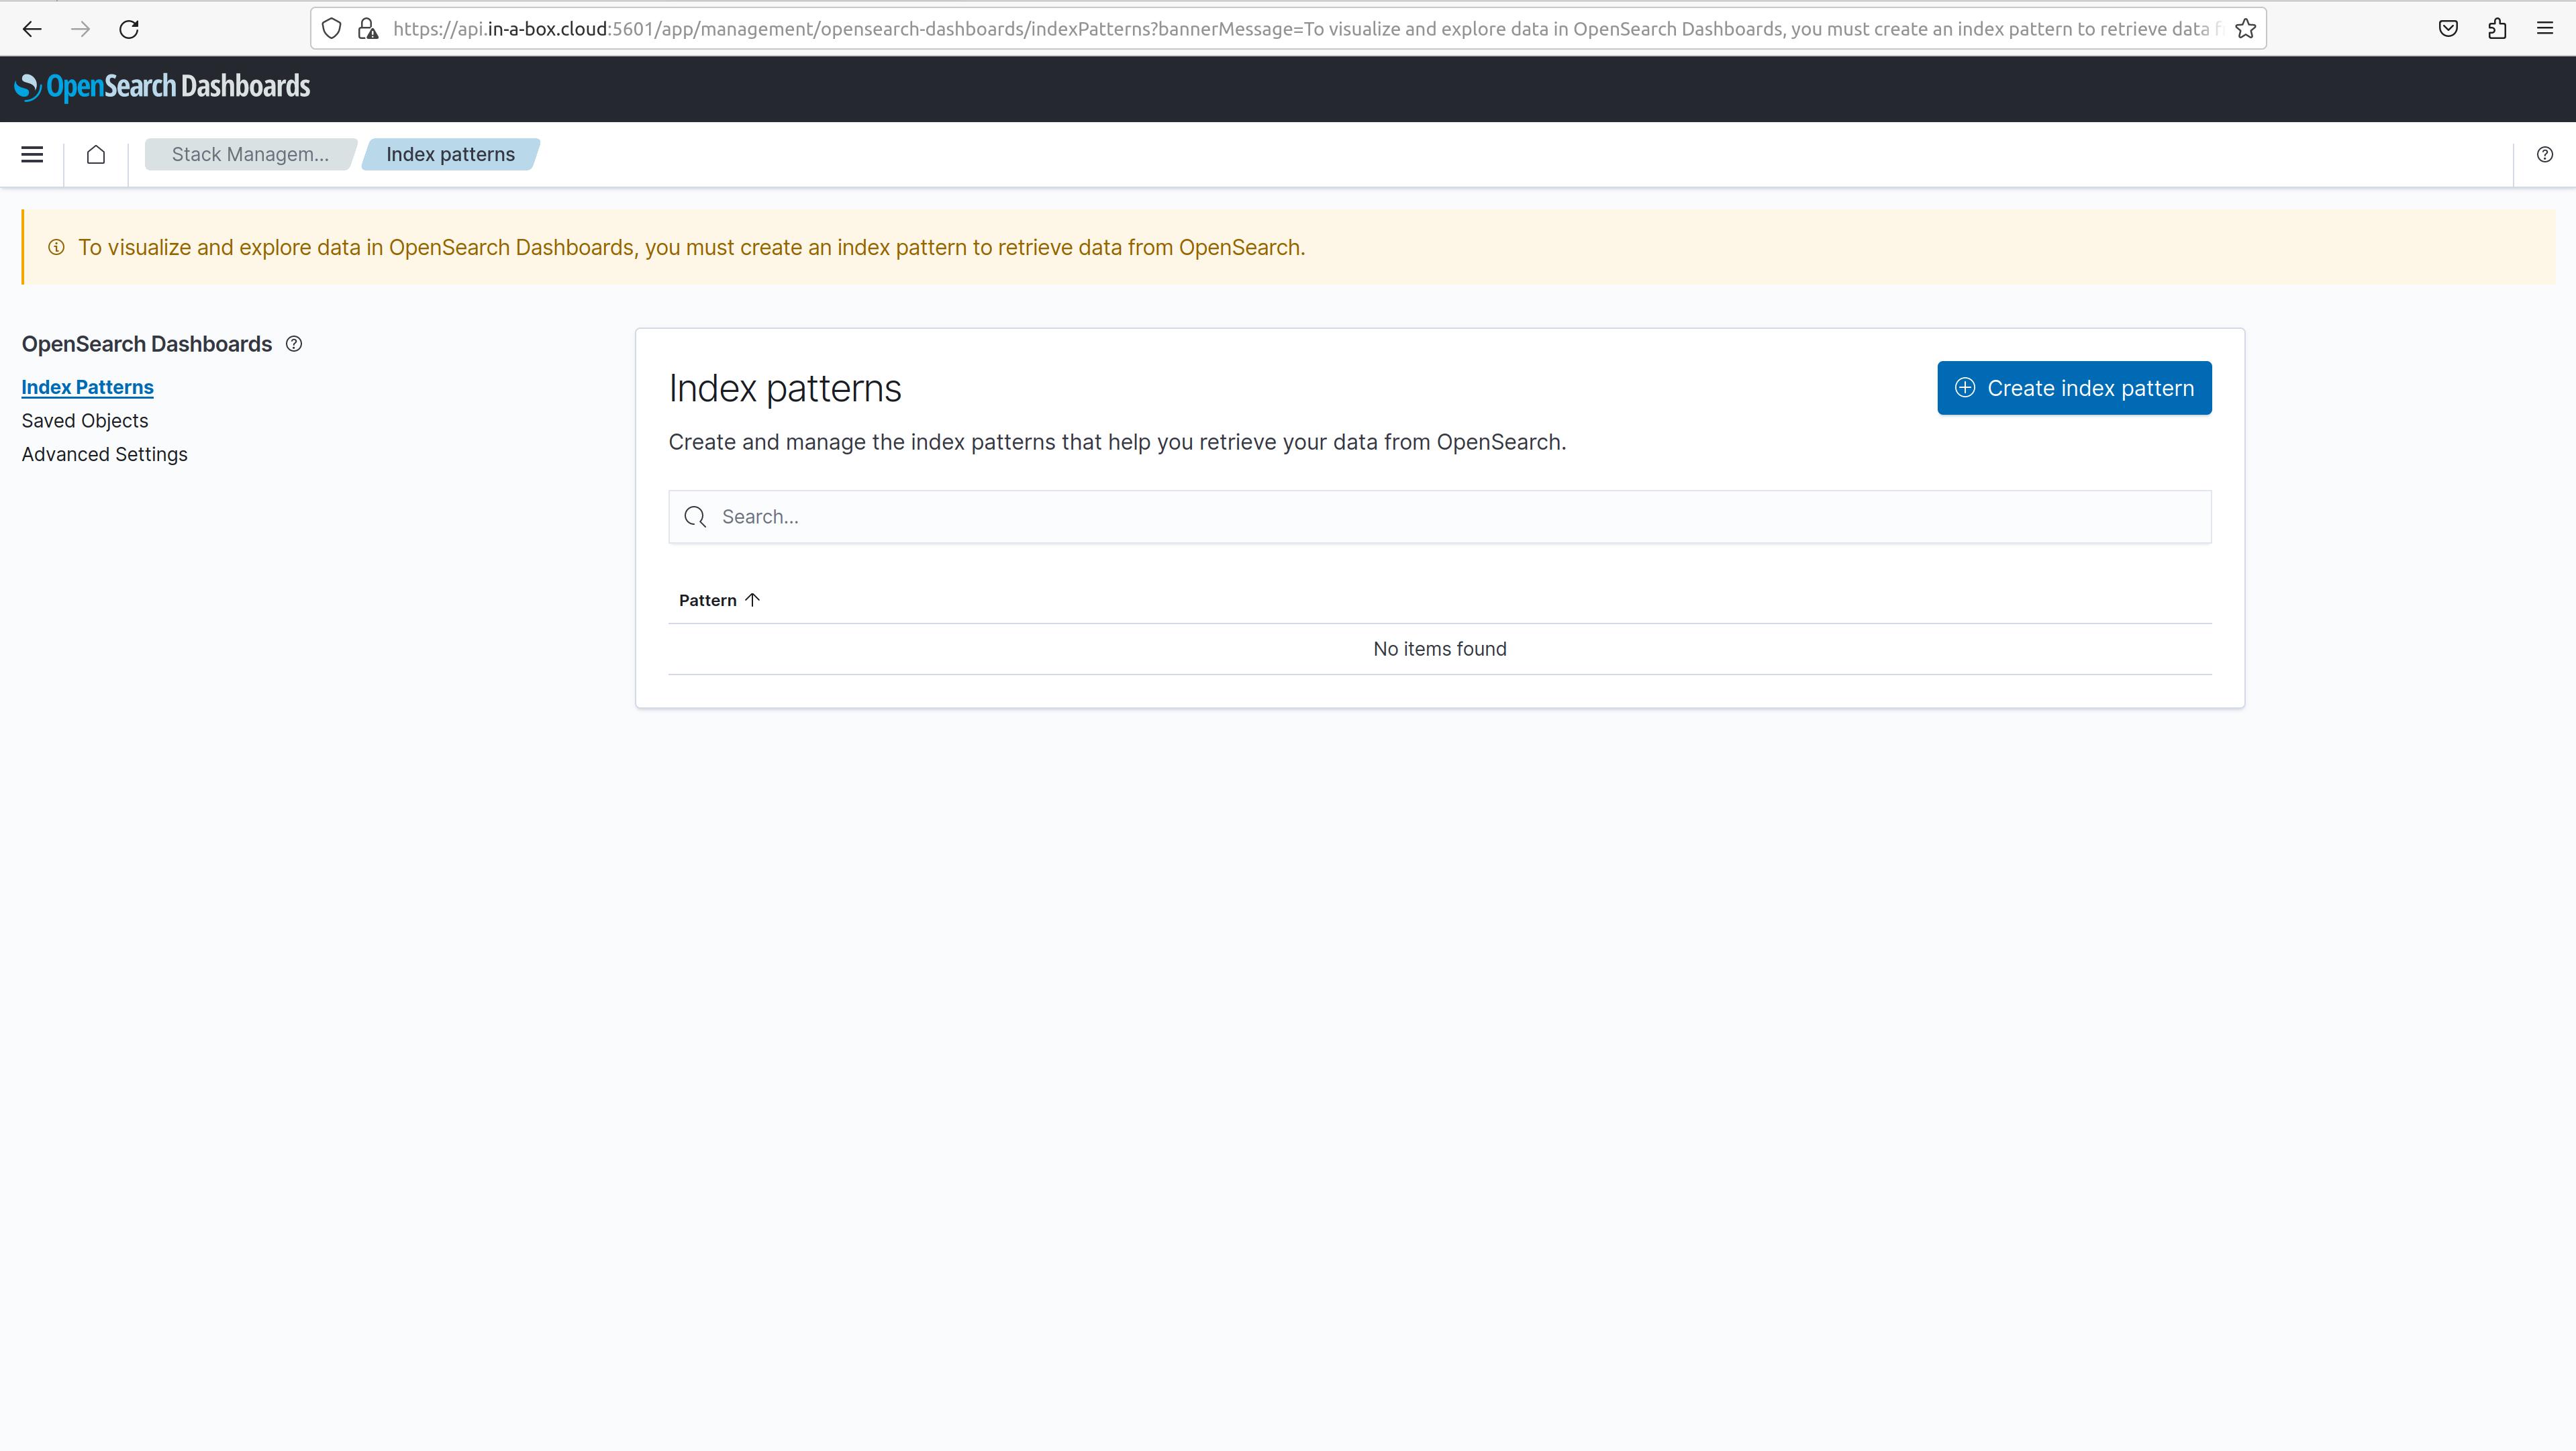
OpenSearch. Don’t get confused, in my version, the Homer dashboard still says Kibana on the button, but a page with OpenSearch opens. Kibana has been replaced by OpenSearch, but the name in Homer has not yet been adjusted.
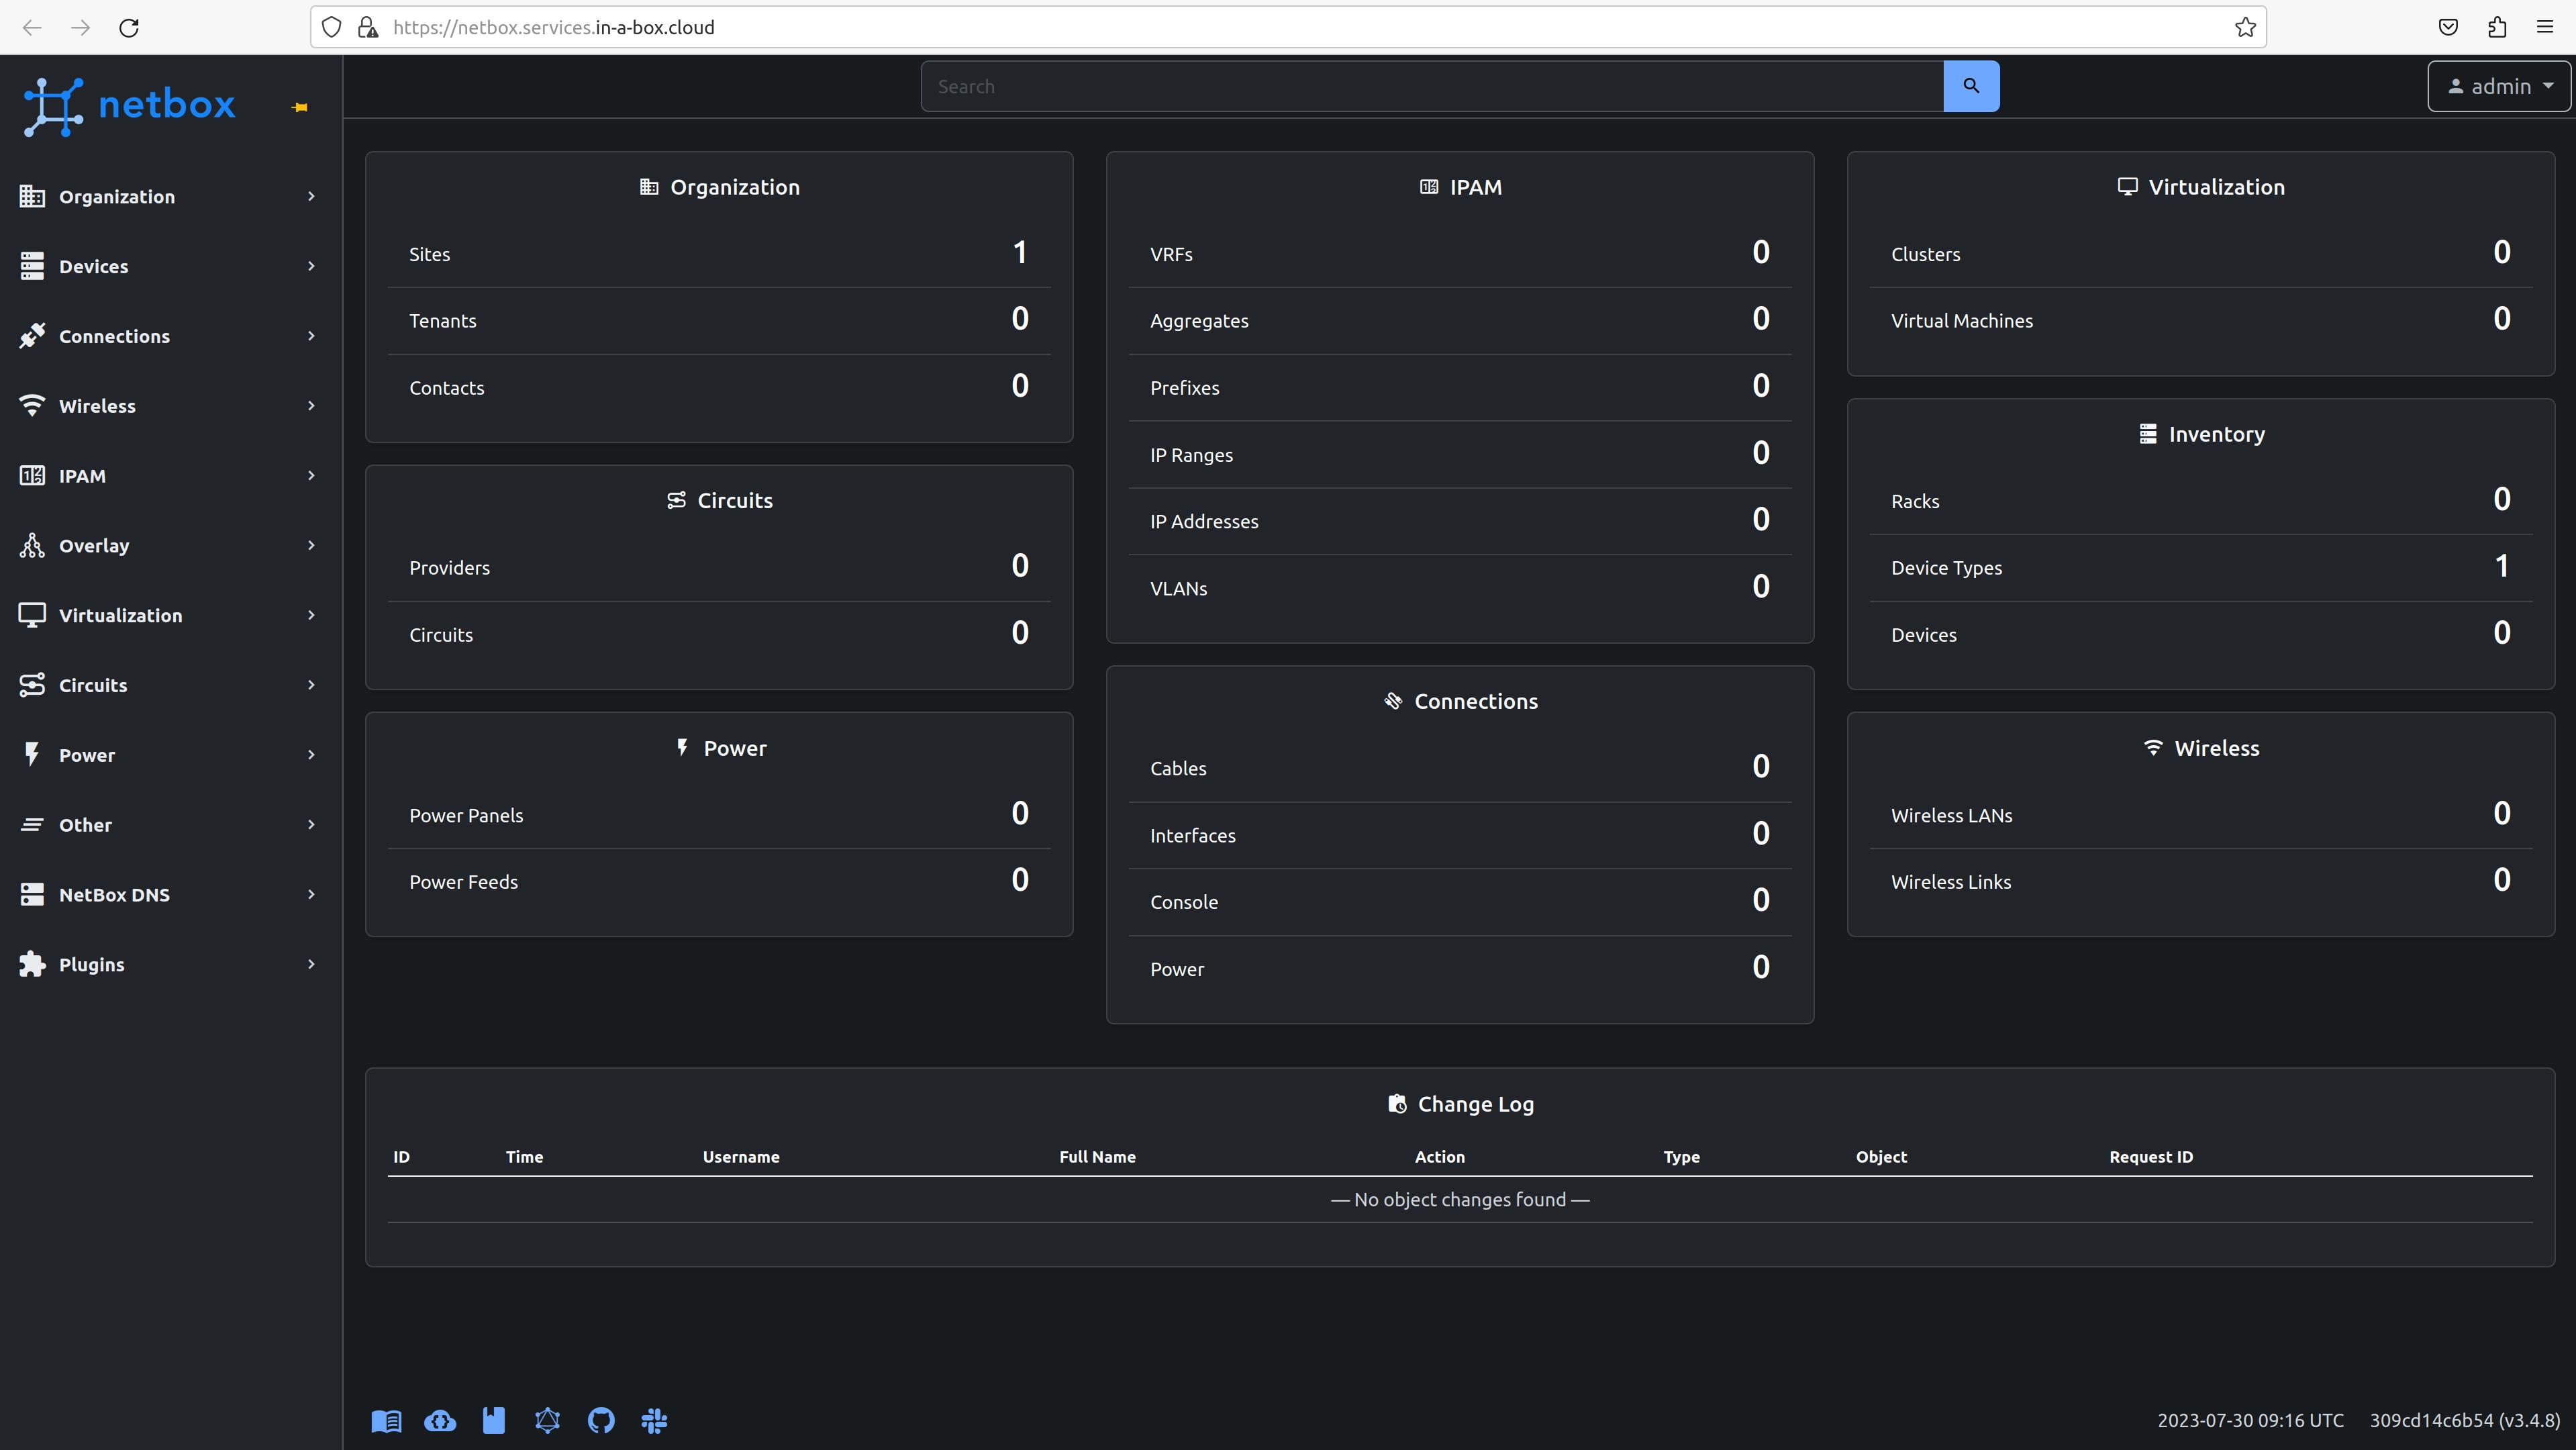
Netbox. The solution for network management, IPAM, DCIM, etc.
Netdata. Monitoring with a whole bunch of predefined graphics in the dashboard. Very extensive and great front end.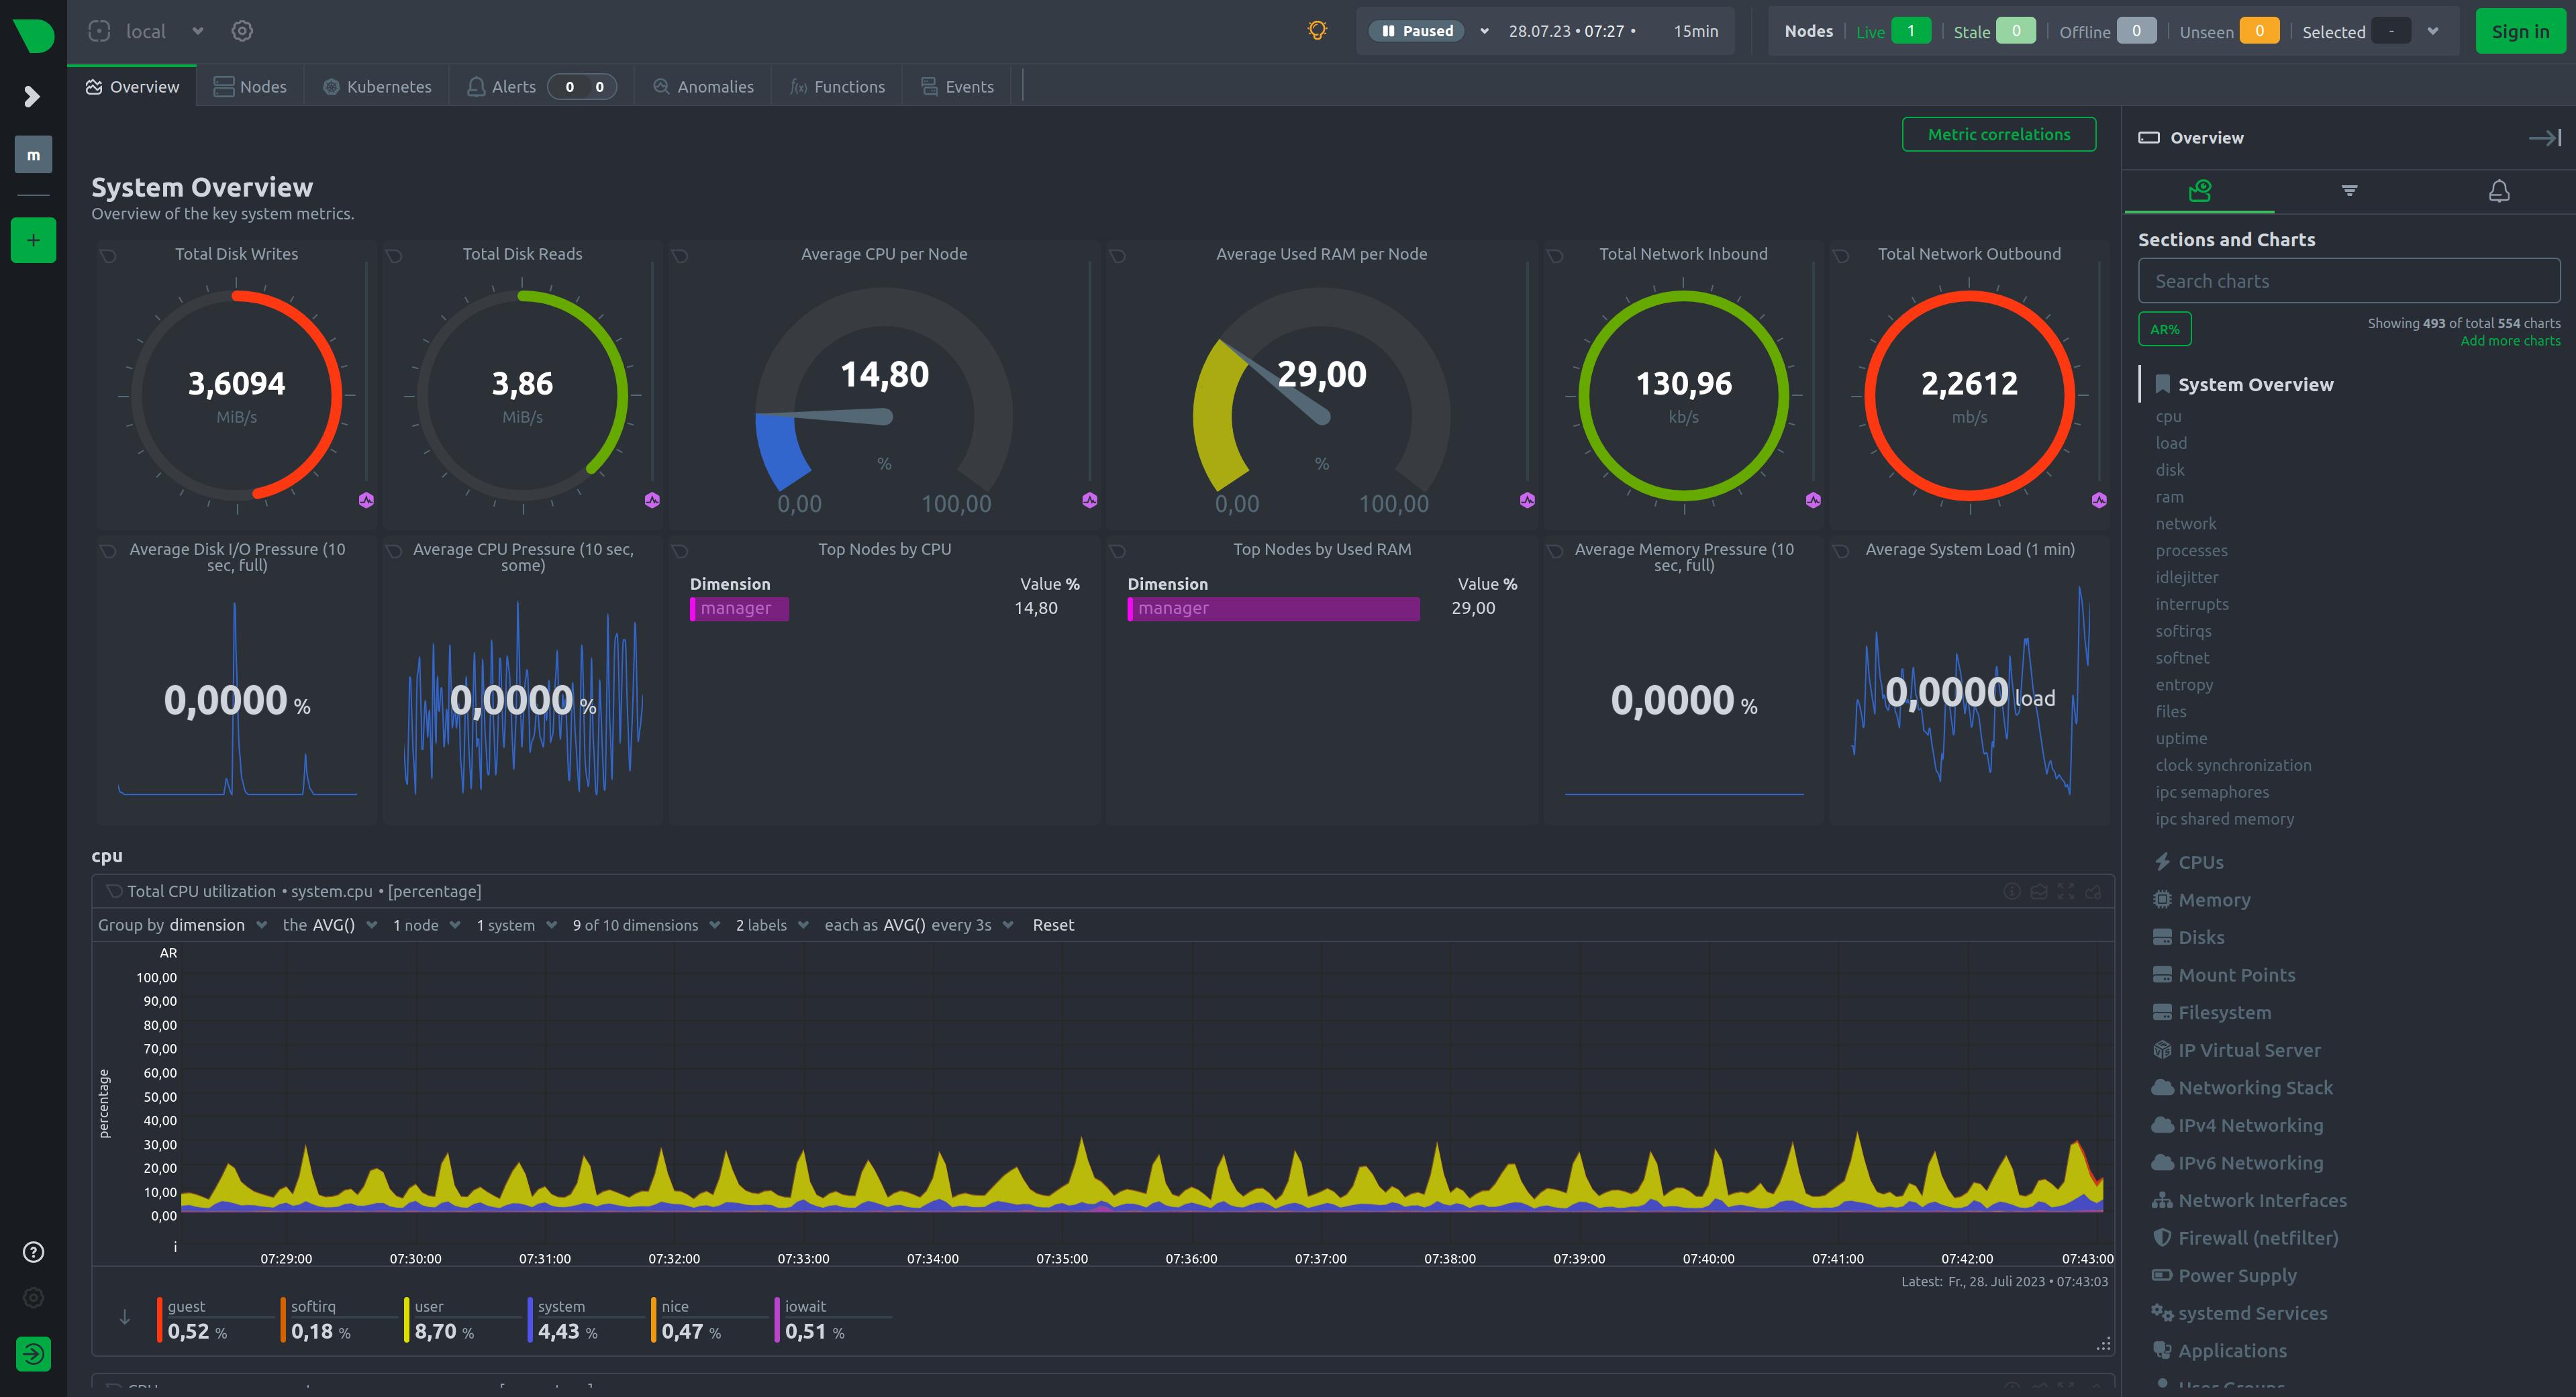
phpMyAdmin. I don’t know how far this needs to be explained. If you want to know more about it, click on the link.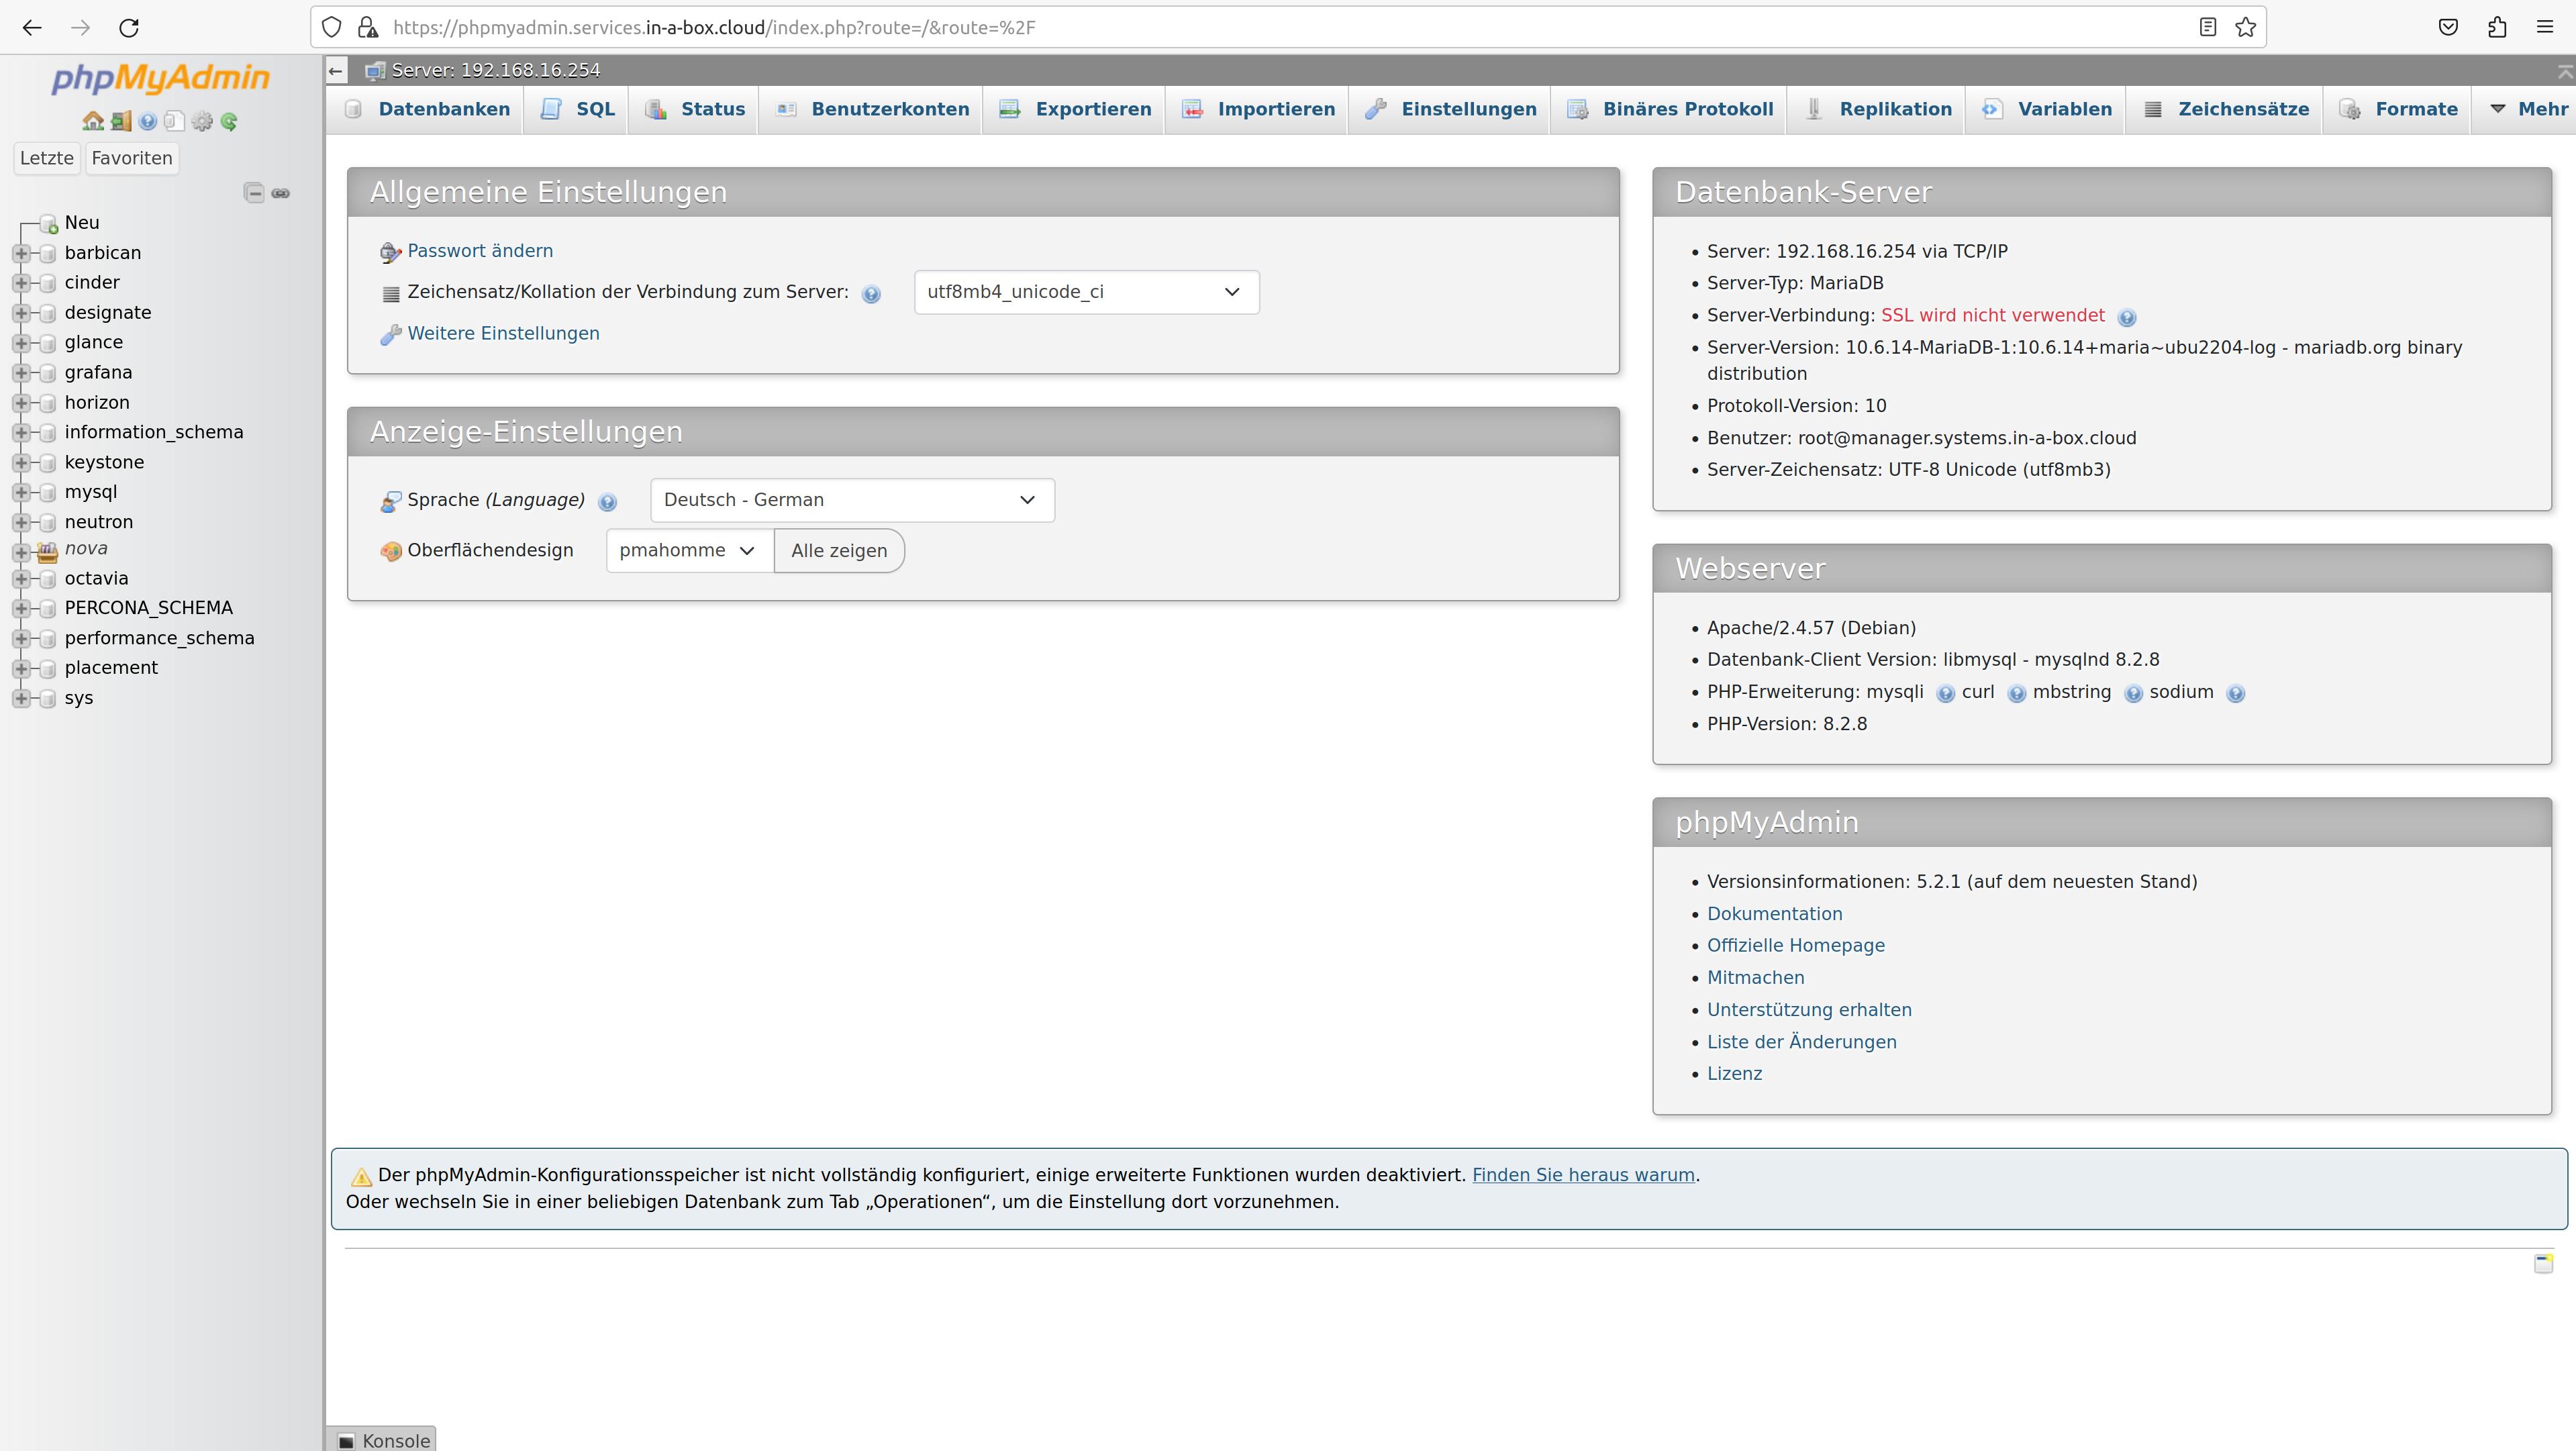
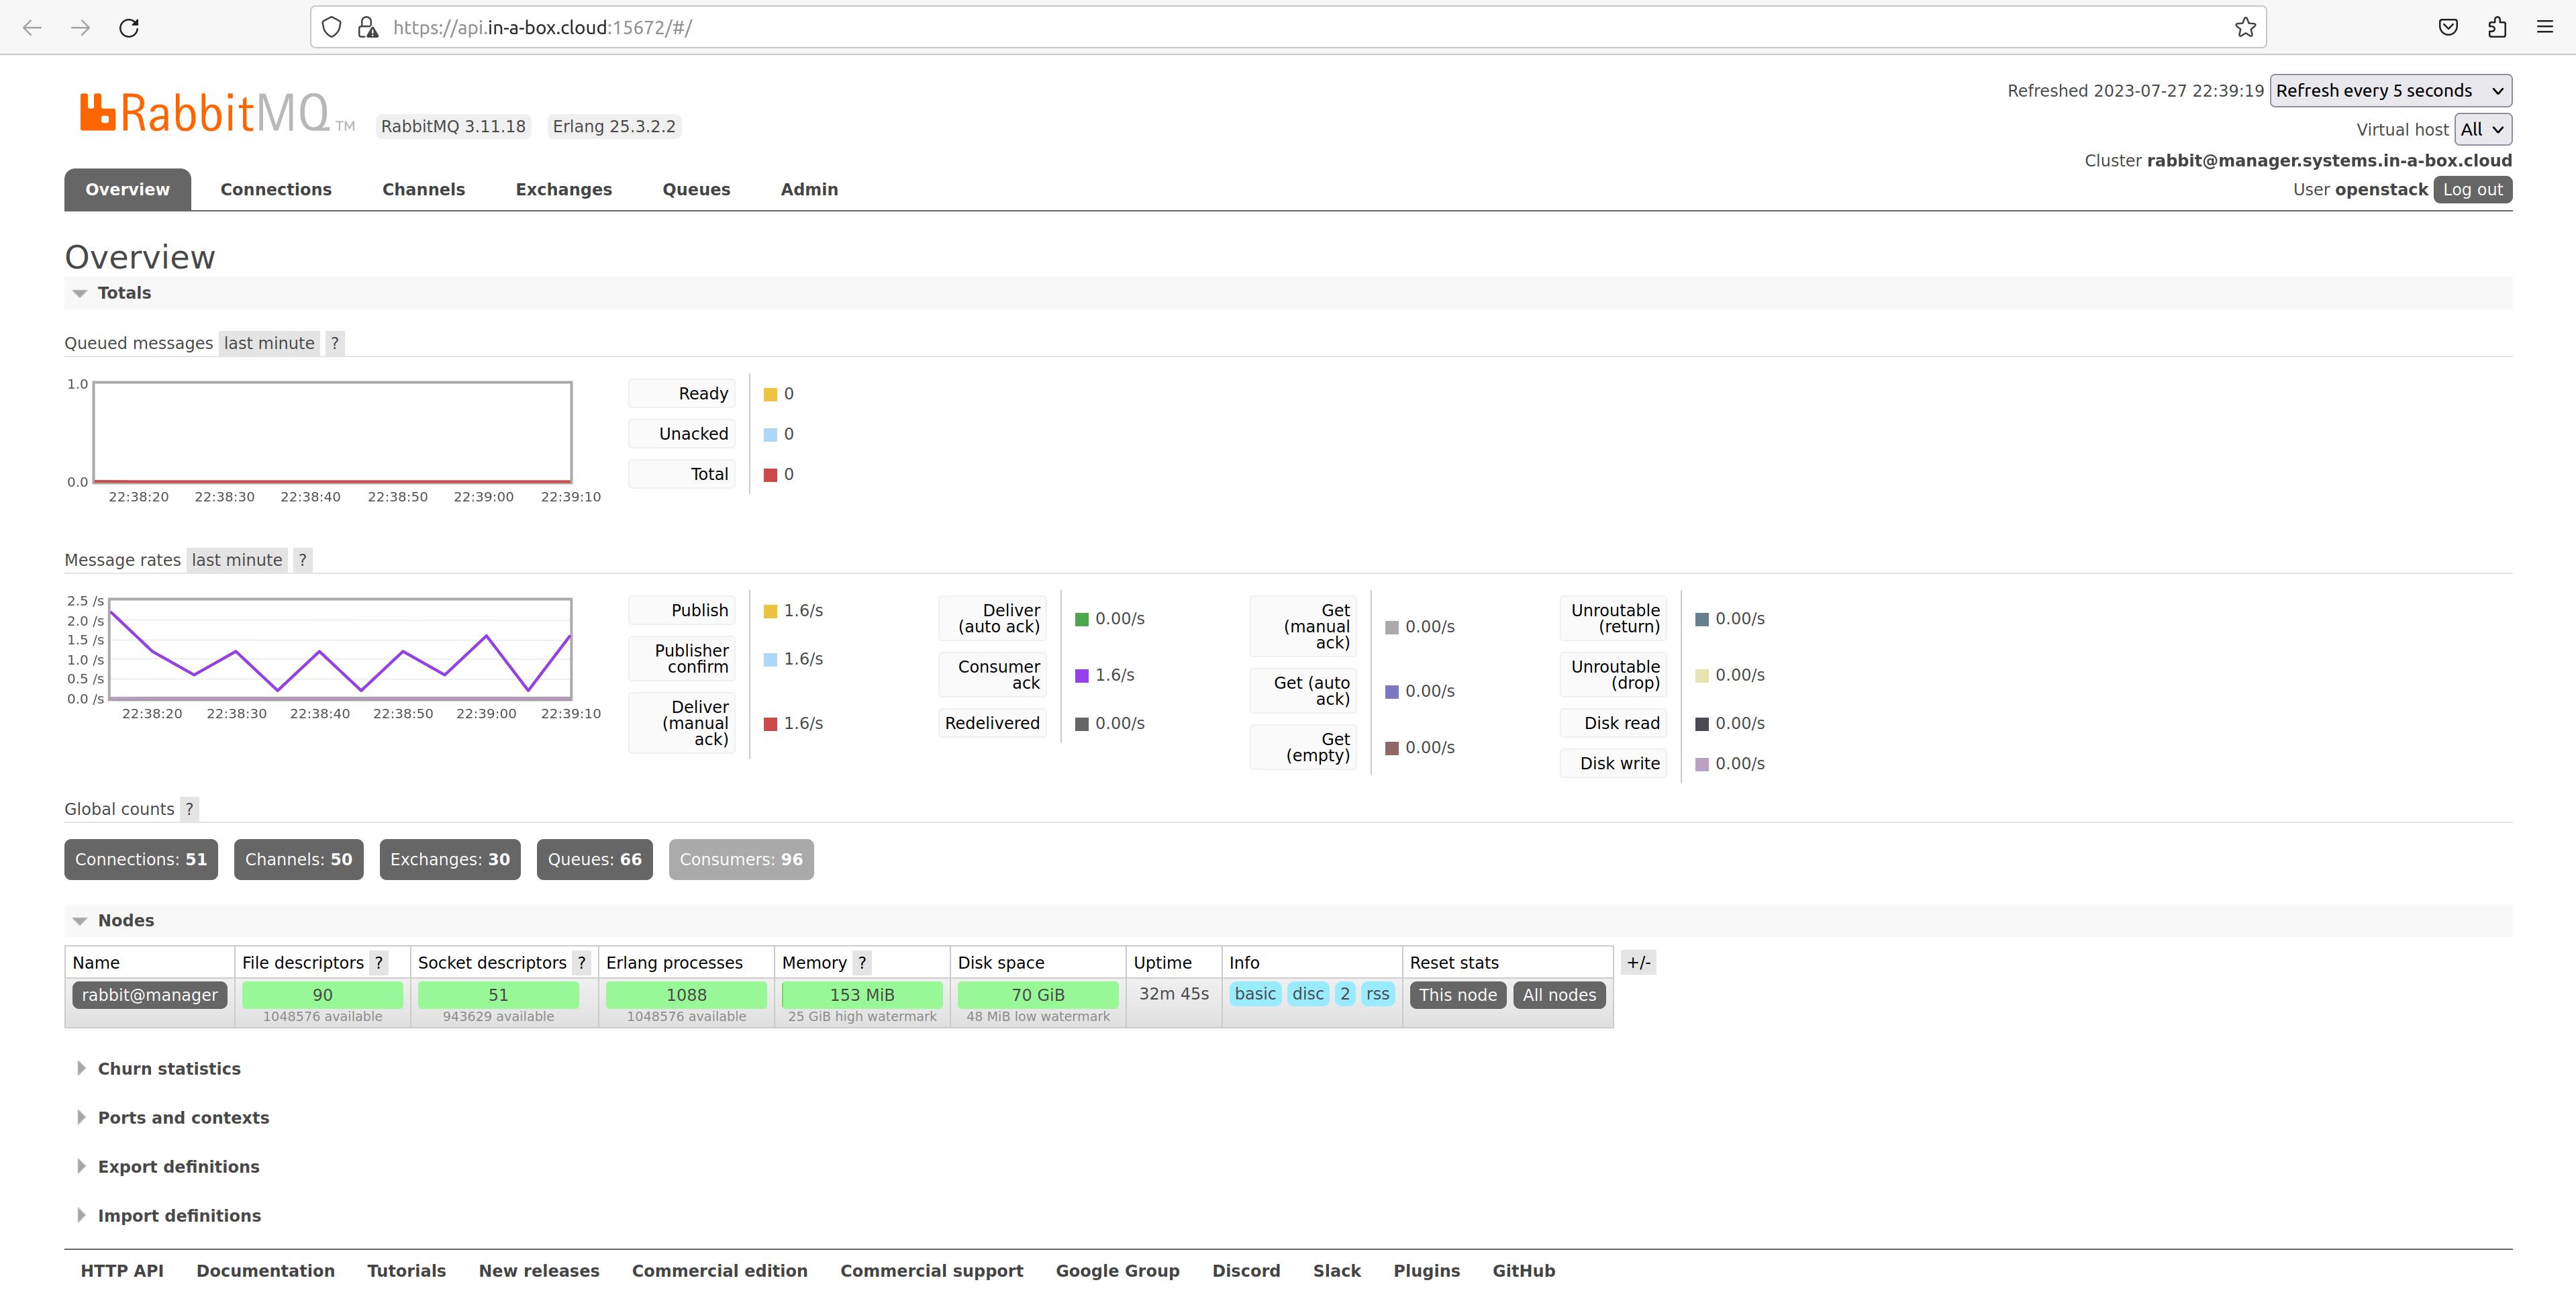
RabbitMQ. The most widely used open source message broker.
Conclusion
So, what have I learned in the last few days, or what is my conclusion?
- The CiaB deployment works, even on my laptop
- It’s not enough to simply randomly plug hardware together
- I was able to test the OpenStack layer; everything I tested, worked
- I haven’t been able to fully test the container layer with Kubernetes yet, due to a lack of personal skills (my homework is clear)
- So, if you want to get a first impression of the Sovereign Cloud Stack (in a box) quickly, you have a good opportunity with CiaB – just do it!
- Cloud in a Box (CiaB) – Running on a Laptop - September 8, 2023