)
Purpose of this article
Many open-source projects need a centralized channel or group as a means of communication, and some of them have opted for an IRC channel, which is very uncommon among regular people or daily mentions. This will serve as a barrier to beginners that want to contribute to the project when they are left out of conversations in the project.
What is the meaning of IRC?
IRC is an acronym that means Internet Relay Chat.
According to Wikipedia:
“Internet Relay Chat (IRC) is a text-based chat system for instant messaging.”
In simple terms, IRC is an instant messaging application that can be likened to WhatsApp or Telegram group chat in operation but differs from both of them in some ways. A group on an IRC server is called a channel.
IRC channels differ from regular chat groups in the sense that they are not owned by a specific company or group of companies, and anyone can own an IRC channel without being monitored. Away from the introduction, let’s see how to join an IRC channel.
Step 1: IRC Client
An IRC client is an application you need to download to join an IRC channel, just like you download WhatsApp to join a WhatsApp group. There are numerous IRC clients; I will recommend the one I have used, but you can go for any IRC client; the steps are pretty much the same for all of them.
Download XChat here:
XChat is just one of the IRC clients you can check out other IRC clients here.
Step 2: Installation of IRC Client
After downloading a client, you can install it like any other application.


After Installation, you will see this ⬇️ or something close to it.
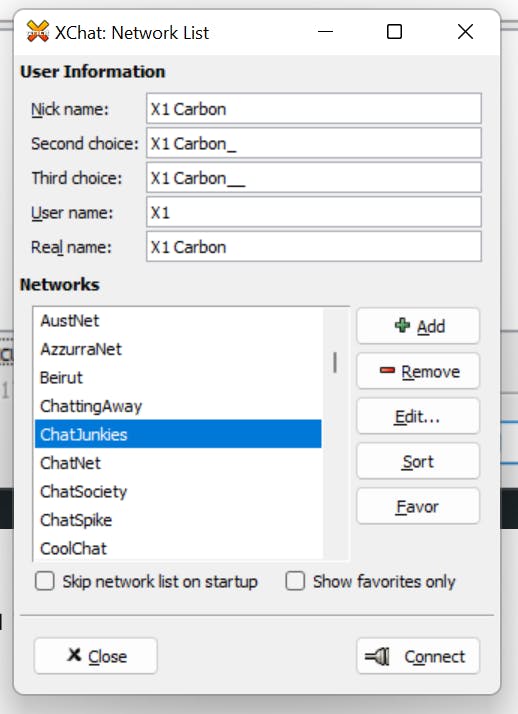
Step 3: Set up your details and select a network
As displayed in the image above, you should fill in your details. To join an IRC channel, you need to know the network on which the channel is hosted and the server.

To update the network server, you can click on “Edit” and change it to that of the channel you want to join.

If the server is updated, you can click on “Close” and click on the “Connect” button.
Step 4: Join a channel
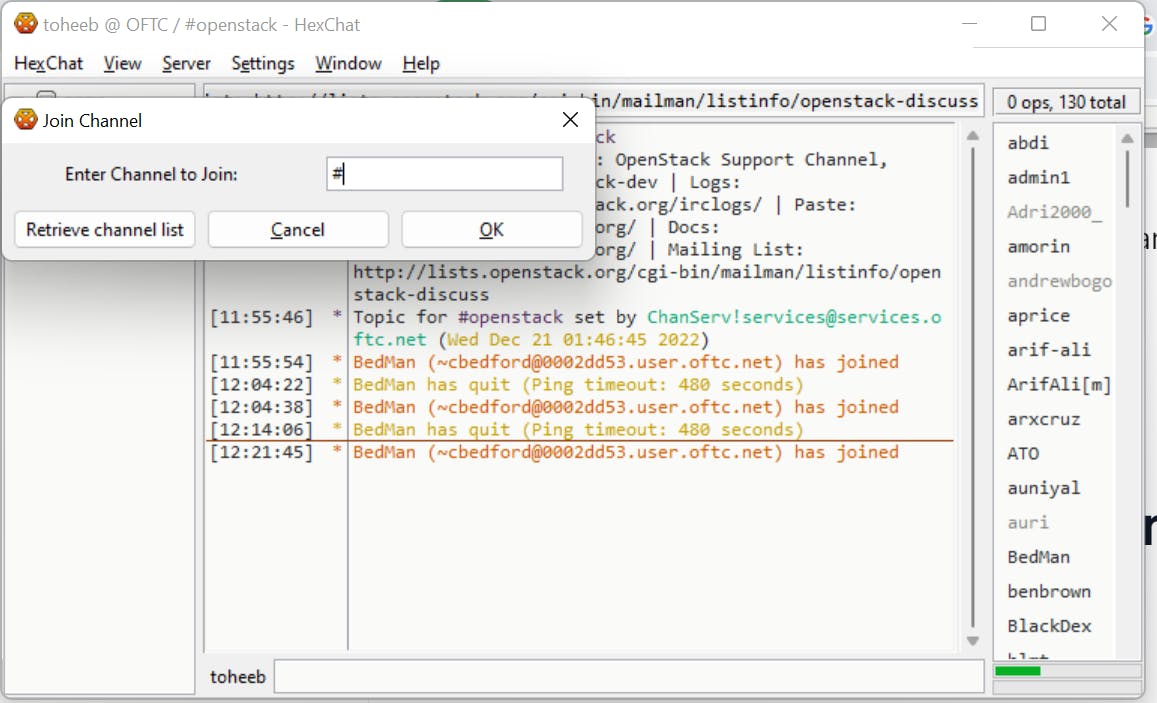
After selecting a network and updating the server details if needed, you will see a popup like this ⬇️

You can input any channel name in place of “#openstack“, this can also be any channel for OpenStack projects e.g. “#openstack-cinder”, “#openstack-manila”, “#openstack-ironic”.
Note: IRC channel names start with a # symbol.

On the right part of the XChat are the people who are also on the channel with you and they can be identified by their nick, which you filled in previously.
Now you are part of a channel on IRC and get all your questions answered or bond with the community.
Note: You should stick to a consistent nickname so you will be identified with it and can be communicated with appropriately.
Step 5: Join another channel
You can join more than one channel(group) just like any other instant messaging media.
Click on “Servers”, then “Join a Channel..” as displayed below.

Then you will see this ⬇️ popup and you can join any channel as previously described.
Input the channel name and click on “OK”.

Step 6: Autojoin channels
After joining a channel, it is not guaranteed that you will always remain there. Once you close your IRC client, you will not be there. This means you have to go through the process of joining a channel every time you open your client.
Autojoining channel is a solution to that. To autojoin a channel you can right-click on the channel name as displayed below and click on “Autojoin”.

Extra
Many things on an IRC channel can be achieved by IRC commands which will be beyond the purpose of this article but here is a quick guide by VM (Vicky) Brasseur on that.
Thank you for following through to the end. Your comments and feedback are highly welcome.
Resources
- OpenStack Installation on a Single Node - November 6, 2023
- How to Join an OpenStack-Related IRC Channel: A Step by Step Guide - August 18, 2023
- What is OpenStack? A Fresh Look From a Clear Mind - July 13, 2023