This article originally appeared on the Thoughts On Cloud blog. Emily is an Advisory Software Engineer at IBM, working primarily in testing and mainframe virtualization. She’s an active technical contributor to the OpenStack Tempest project, is a member of the Society of Women Engineers and holds two US Patents. You can follow her on Twitter.
As you begin creating patches for OpenStack, you have two choices: you can run some unit tests yourself and try to figure out your errors before taking them to the community, or you can write the code and then just throw it out there, hoping that reviewers and Jenkins will catch all your bugs. I highly recommend the first option. The second option will only make community members annoyed with you because they have to read your buggy code!
So, where should you start when running tests?
The OpenStack code base is written in Python. You could, of course, write your own automation to kick off tests, but let’s make it a little easier. There are two types of OpenStack tests: the OpenStack integration test suite, called Tempest, and unit tests in each particular project (Nova, Neutron, Swift and so forth).
Before you start, you’ll want to set up a virtual environment. This will isolate your working environment. If you’re using DevStack, the good news is this sets things up for you. If not, you might have to do more on your own. See this doc for a good guide.
Now you’re ready to run your tests. It’s a good idea to run the project’s unit tests first, especially the ones that pertain to your code. Then you can run some of the Tempest tests that pertain to your patch. The next two sections are various ways I’ve found to run these types of tests. At the end of the post I’ve put some tips and tricks I’ve learned and links to more information about testing within projects.
Running Unit Tests
Tox
First, install tox:
pip install toxTo configure, you’ll need to set up a tox.ini file. For most OpenStack projects, this is already created. It covers what the available environments are and what commands to use to actually run the tests.
Before tox would run in my environment (Ubuntu 14.04), I had to do:
sudo apt-get install libmysqlclient-dev
sudo apt-get install pkg-config
sudo apt-get install libvirt-dev
To run tests against the Python 2.7 level:
tox -epy27You can run a single test or let tox run the full suite. At the end of the test, you’ll get a nice printout of what exactly was run. Note that you don’t have to specify the full file path.
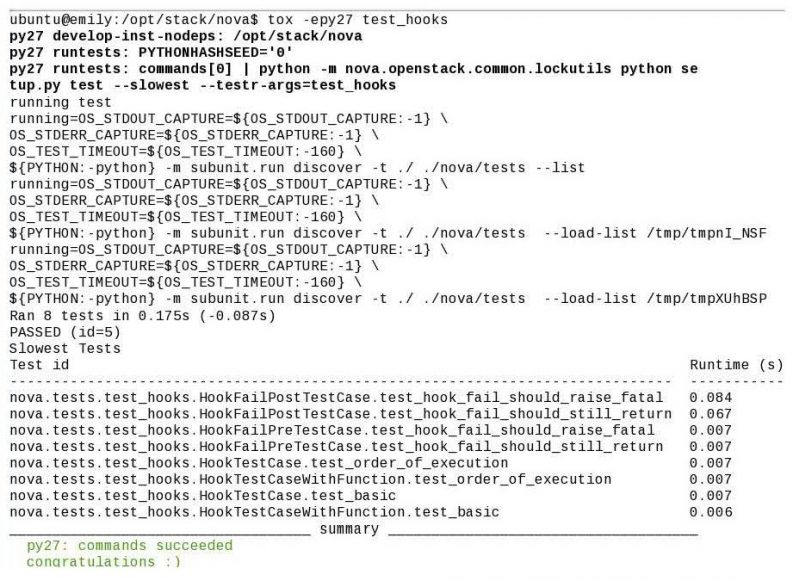
Example of a tox test
Test Repository
Test Repository (testr) manages the running of your tests. Tox can also use it to run tests. Note that before you run testr for the first time, you’ll need to run tox to initialize the virtual environment properly.
To configure, you’ll need to first set up your virtual environment:
source .tox/py27/bin/activateYou’ll then notice that your command line prompt changes:
ubuntu@emily:/opt/stack/nova$ source .tox/py27/bin/activate
(py27)ubuntu@emily:/opt/stack/nova$
You’ll also want to initialize testr to set up the .testrepository directory:
testr initTo run all tests:
testr run --parallel To run a single test file:

Example of a testr test.
Note that you should use “.” instead of “/” to specify the file path. You also don’t add the “.py” at the end of the file name.
The detailed runlog is available under the .testrepository directory and the runlog ID.
You can also use regular expressions to choose a subset of tests to run:
testr run --parallel test_name_regexIf you use testr to run a bunch of tests, you can then only re-run the tests that failed:
testr run --failingWhen done, you can deactivate your virtual environment:
deactivateTesttools
Testtools is a set of extensions to the unit testing framework, which you can use to run tests.
It’s especially useful when you’re using a debugger.
To configure, set up your virtual environment:
source .tox/py27/bin/activateTo run:

Example of a testtools test.
When done, you can deactivate your virtual environment:
deactivaterun_tests.sh
This is a test running script available in some projects, including Tempest, Horizon, Nova and Cinder. It sets up the virtual environment and runs the test for you.
To configure, you should remove the .venv, .testrepository and .tox folders, if you’ve run other tests too.
The first time through, it will do a lot of installation of dependencies and setup; subsequent runs will go faster.
To run a test file:
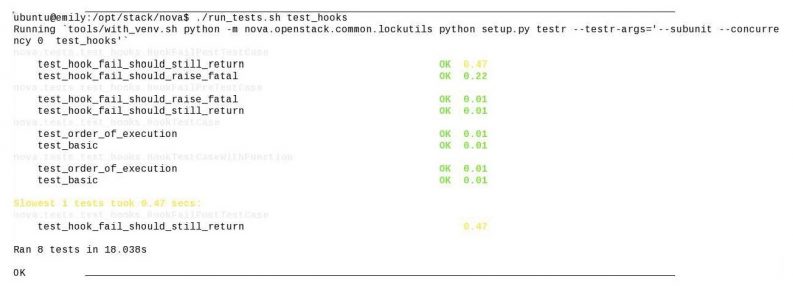
Example of a run_tests test.
Note that, like tox, you can just specify the file name instead of the whole file path.
Running Tempest tests
The main functional and integration test suite for OpenStack is the Tempest project. It offers you a few more options for running tests.
run_tempest.sh
This script is like run_tests, but for the tests in the tempest repository. Note that if you want to run tests that test tempest itself, there is a run_tests available too.
To run a test file:
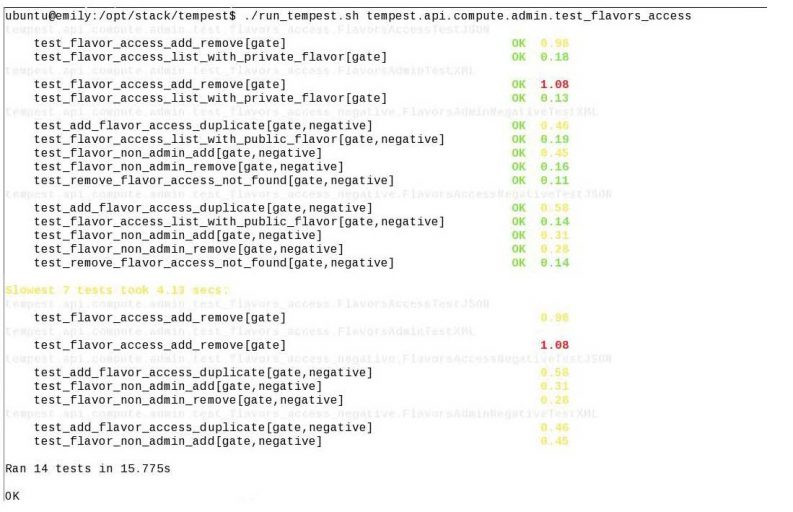
Example of a run_tempest test.
pretty_tox.sh
This runs tox (and under the covers, testr) but gives more information about how long the tests took to run and how they were distributed across workers.
To run a test file:
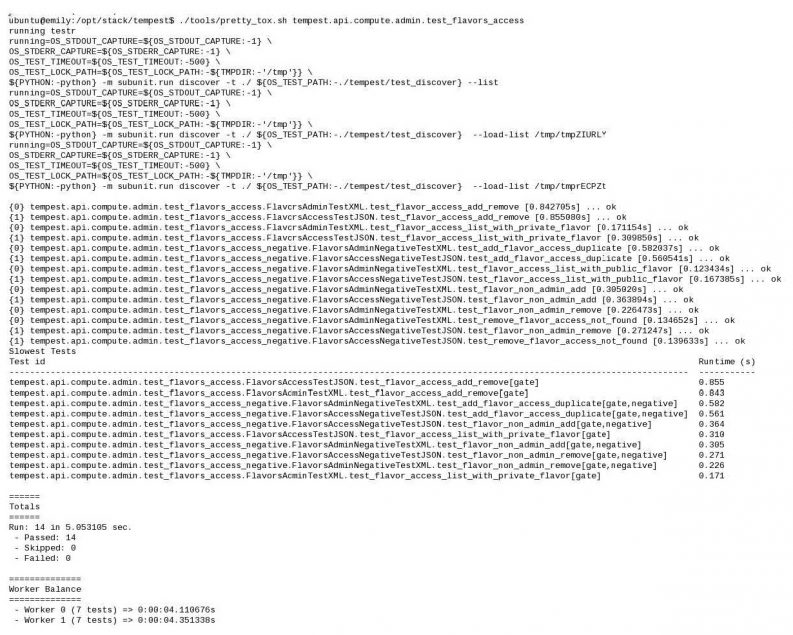
Example of a pretty_tox test.
pretty_tox_serial.sh
This is similar to pretty_tox, but will always run on one worker, so the tests are run serially.
To run a test file:
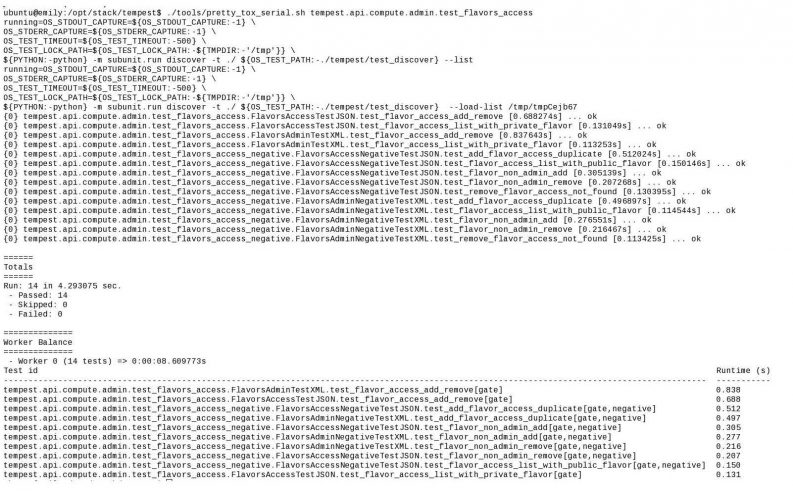
Example of a pretty_tox_serial test.
Tips and tricks for running tests
I like to start by running a style test. This ensures that my indents are correct, lines aren’t too long, and will make sure that there aren’t any glaring errors, like a missing parenthesis or quote. An easy way to run these is:
tox -epep8It’s sometimes useful to step through a test line-by-line, especially when the failing output is vague, or so long you can’t find the error! For this you can use a debugger such as pdb.
To set up your test file, put this line right before what you want to trace:
from pdb import set_trace; set_trace()Then call your test using the testtools command above in your virtual environment and use the pdb commands to step through it.
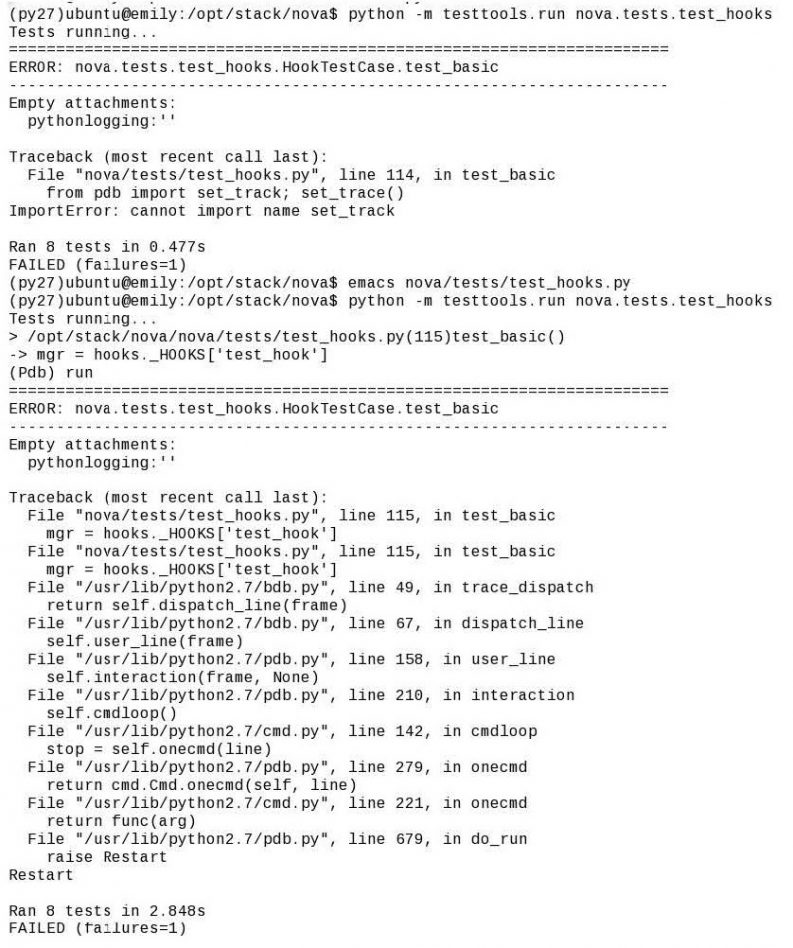
Always be a little careful when running debuggers in time-sensitive code, they can cause timeout errors that weren’t there before.
One other debugger to note is pudb. It is is a more GUI-ish (that’s a technical term) debugger. To
install:
sudo apt-get install python-pudbThen you can call your test (outside of a virtual environment this time) and use the pdb commands to step through it.
python -m pudb.run nova/tests/test_hooks.py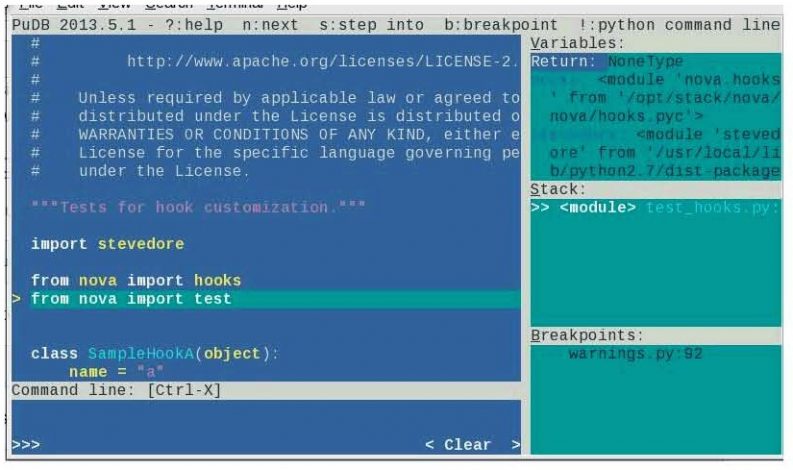
I’d love to hear about your progress, or any tips or tricks that you’ve come up with on your own. Leave a comment below to start the conversation, and happy testing!
Resources
Questions about using run _tests in Nova
Links to test instructions for specific projects
Related Articles on Superuser
- Triaging and classifying a gate failure
- OpenStack as Layers but also a Big Tent but also a bunch of Cats
- Helpful Gerrit Queries (Gerrit 2.8 Edition)
Photo by bobjagendorf // CC BY NC
- Making your list and checking it twice for the OpenStack Vancouver Summit - April 9, 2015
- A Guide To Testing in OpenStack - January 5, 2015

)


